Garden Archway Entrance
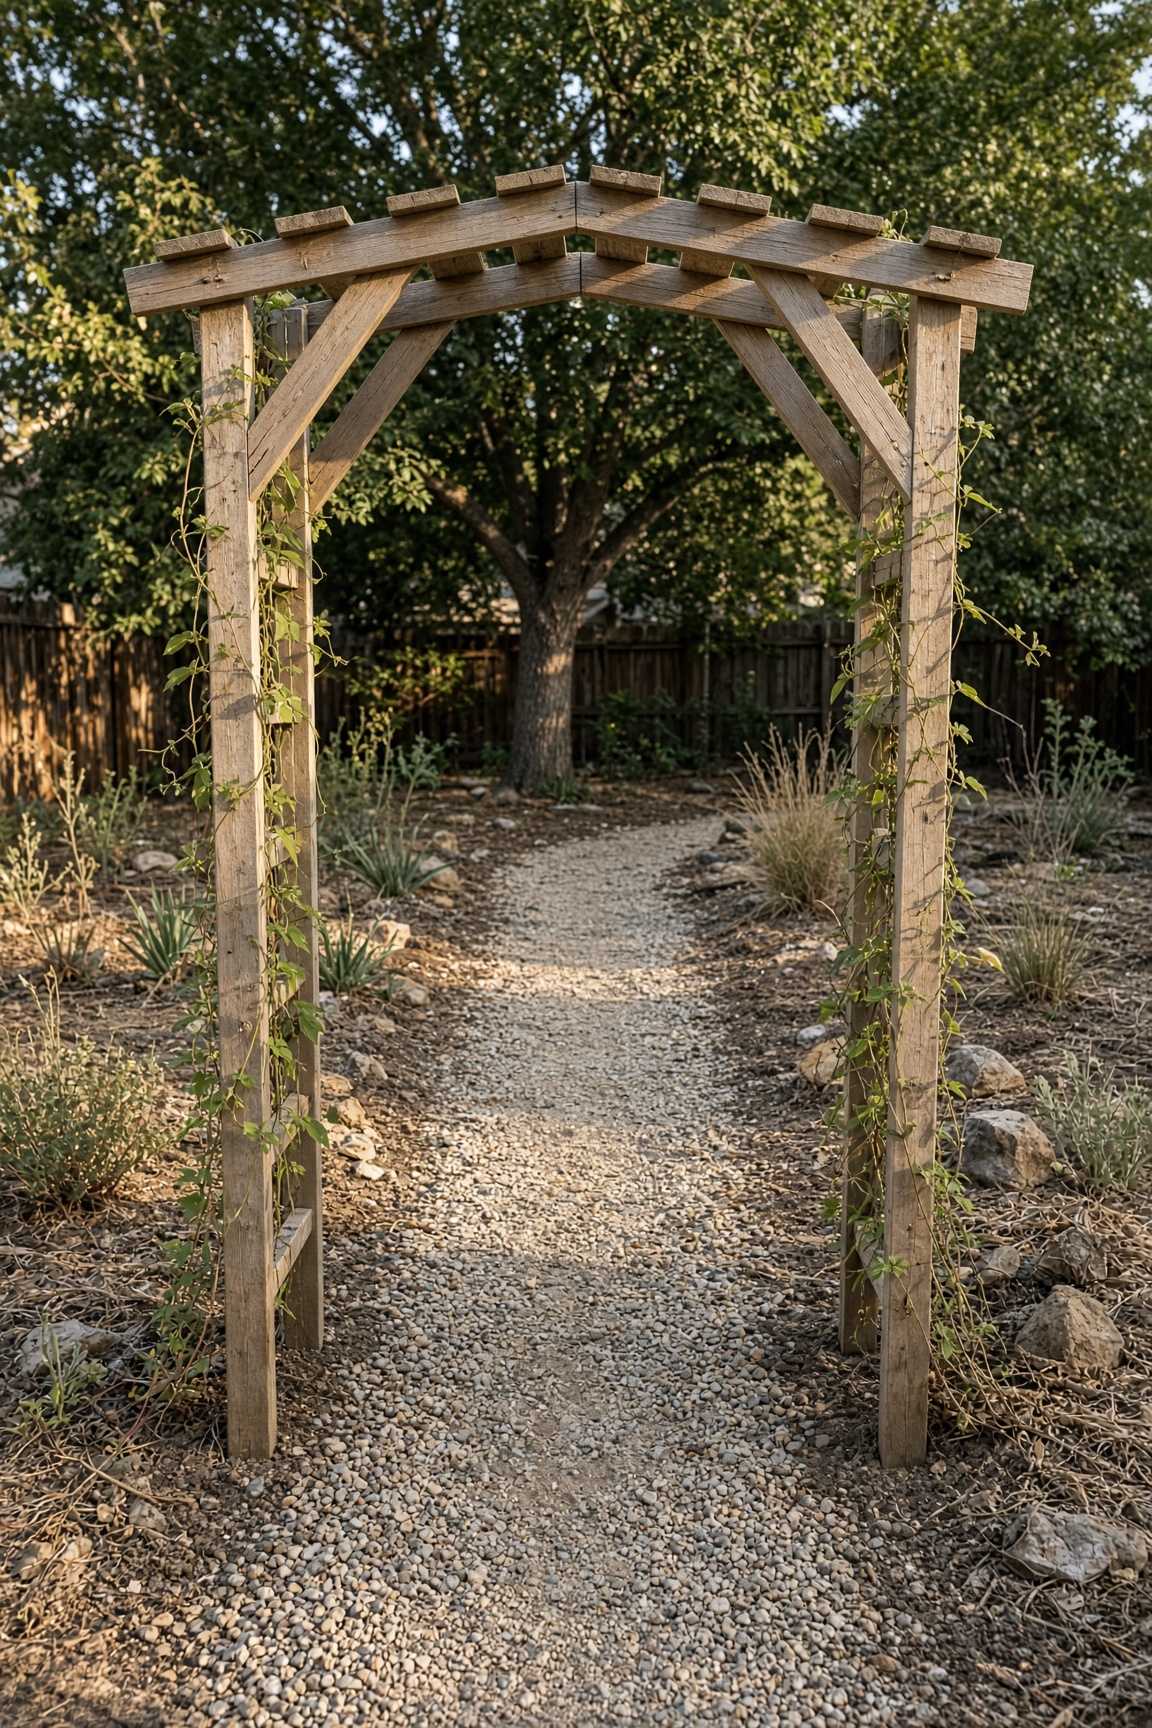
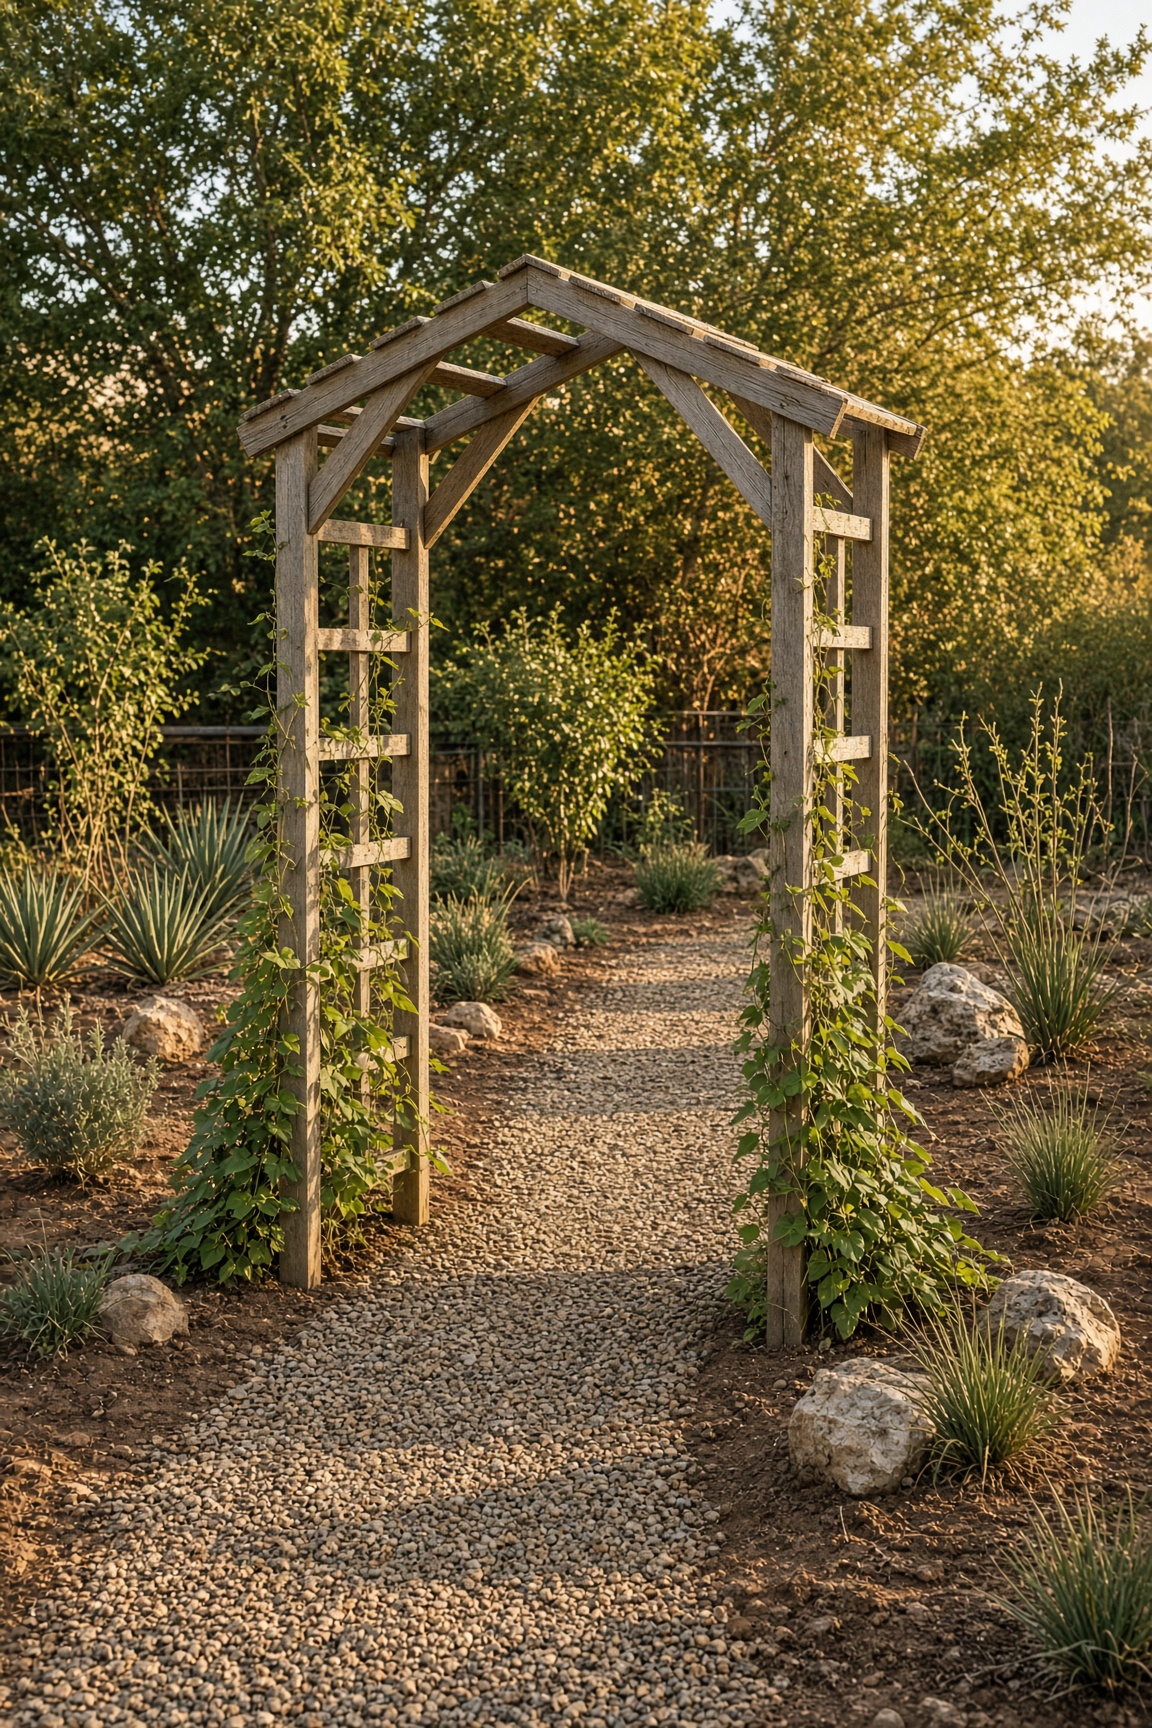
A freestanding wooden arch that frames a garden path and supports flowering or edible vines overhead, built from four 2×4s and four 1×4s with no bending or extra hardware.
Estimated time
1.5 – 2.5 hours
Lifespan
10–15 years
Soil needed
None — decorative structure
Weight empty
30–60 lbs
Weight full
100–200 lbs with vines
Best for
Marking a garden entrance and supporting pole beans, morning glories, clematis, or climbing roses
Placement
Anchor legs 12–18 inches into the ground and tamp firmly — no concrete needed. Make it wide enough for a wheelbarrow if it's the main path. Pressure-treated or leftover 2×4s and 1×4s work fine.
Parts to Buy
| Part | Quantity | What You Use Them For |
|---|---|---|
| 2×4 lumber, 8 ft | 4 | Two buried legs + two side rails / diagonal braces |
| 1×4 boards, 8 ft | 4 | Short ribs and peak pieces |
| Exterior screws, 2.5 inch | 1 lb | Assembly |
- ·Pressure-treated or leftover 2×4s / 1×4s (cedar is nice but not required)
- ·Optional: wood sealant or exterior paint if you want it to last longer
- ·Optional: cattle panel if you already own one — see the cattle-panel arch page instead
Steps
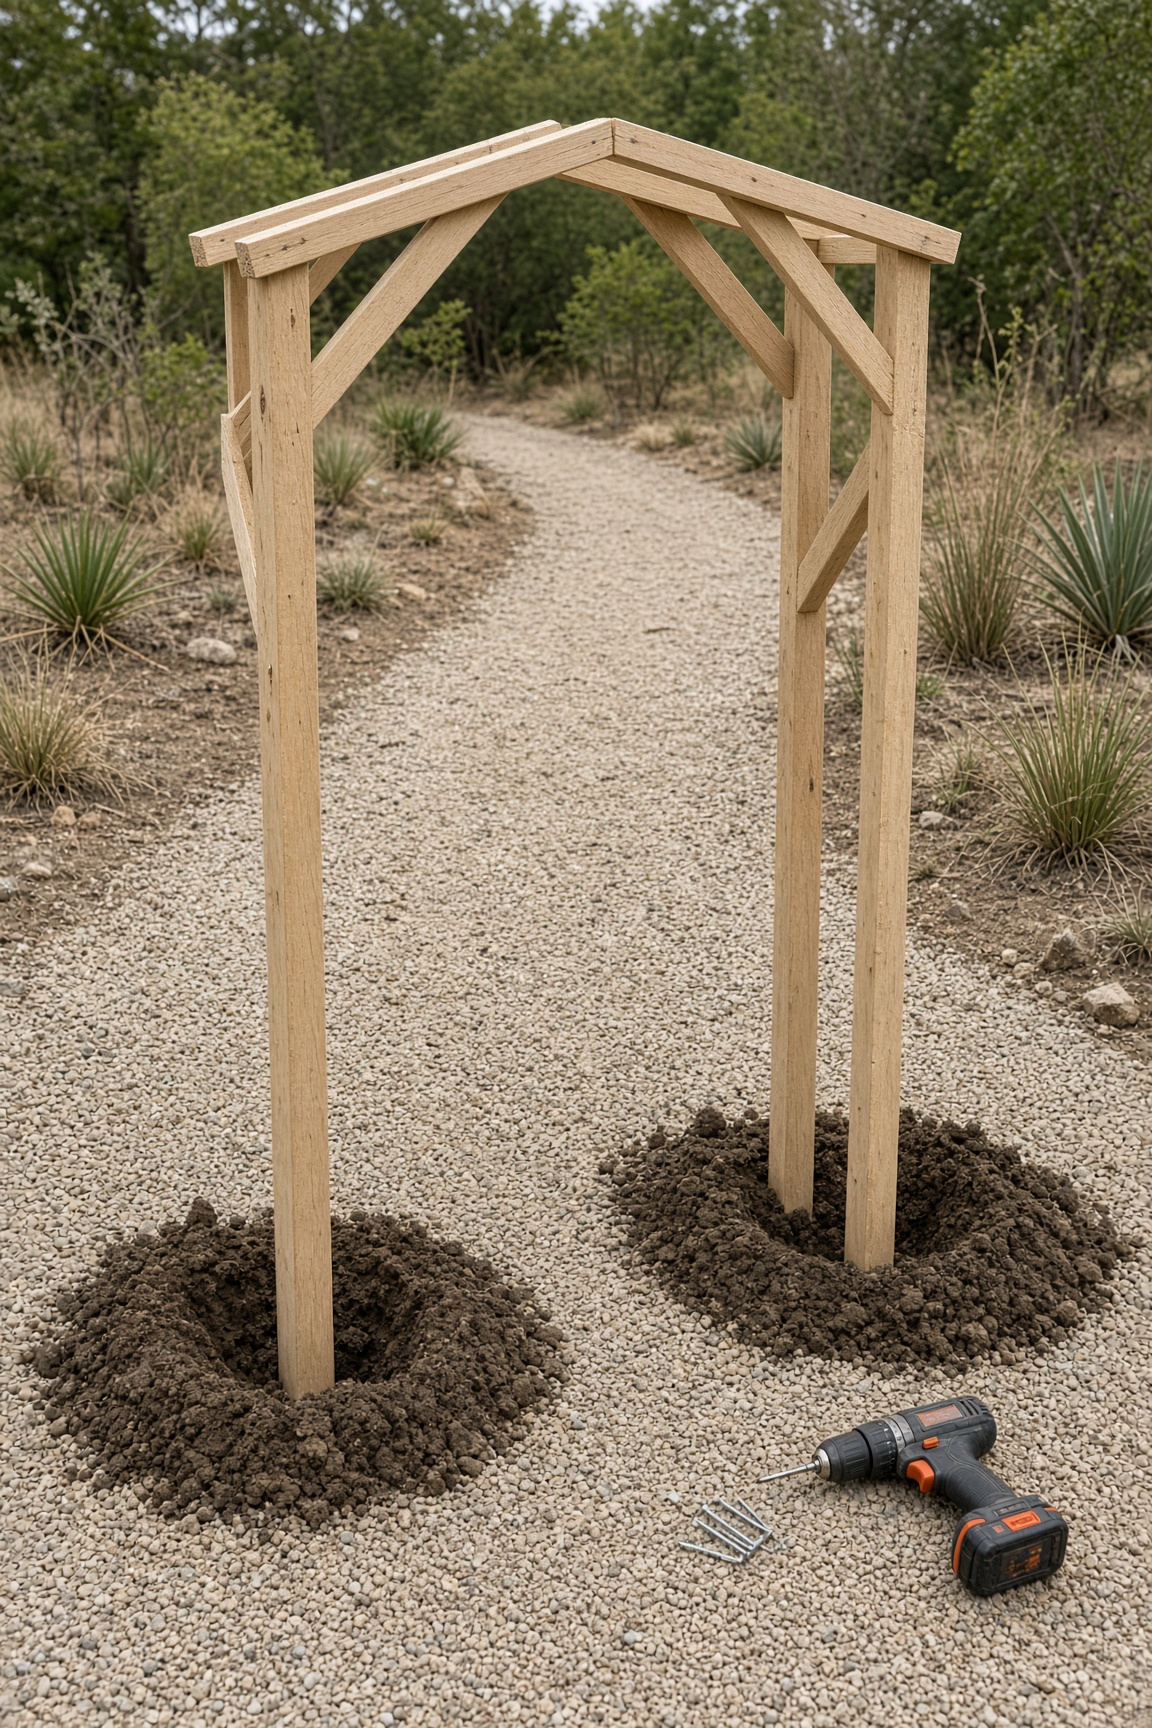
- 1Cut two 2×4s to 7.5 feet for the buried legs.
- 2Cut the other two 2×4s into short side rails and diagonal braces for each side.
- 3Screw the side rails and diagonal braces to the legs to make two identical side panels.
- 4Cut the four 1×4s into short rib pieces and two peak pieces that meet at the top like a shallow A or gothic point.
- 5Screw the ribs across the top of the side panels, then add the two peak pieces to finish the roofline.
- 6Assemble the arch on the ground first and check that it's square.
- 7Set it over the path and bury the legs 12–18 inches.
- 8Backfill and tamp soil firmly.
- 9Plant pole beans, morning glories, or another fast vine at the base of each leg.
Tools needed
- ·Circular or miter saw
- ·Cordless drill / driver
- ·Tape measure
- ·Level
Common mistakes to avoid
- ·Trying to bend 1×4s into a curve — they split; cut them into short ribs and a peak instead
- ·Legs not buried deep — arch tips over
- ·Opening too narrow for comfortable access
- ·No side bracing — wobbles in wind once vines grow
- ·Buying climbing roses for year one — plant beans or morning glories from a seed packet first
Maintenance tips
Tighten screws each spring. Prune vines to keep the arch shape visible. Re-paint or re-seal when the wood starts to gray.
Community builds
See how other gardeners built their garden archway entrance — and share photos of yours.
Sign in to view photos other gardeners have shared.
Sign in to share photos of your build.