Garden Shower / Rinse Station
A simple outdoor shower or rinse post that makes it easy to clean up and water plants without tracking mud inside. Build the polished version with new parts, or use what you already have for a same-day, $0 setup.
Estimated time
1 – 2 hours
Lifespan
5–10 years
Soil needed
None — utility fixture
Weight empty
30–60 lbs
Weight full
30–60 lbs
Best for
Rinsing off after gardening, washing muddy boots, and filling watering cans
Placement
Near a hose bib and on a gravel or paver pad so water drains away. Privacy screen optional (Track A only).
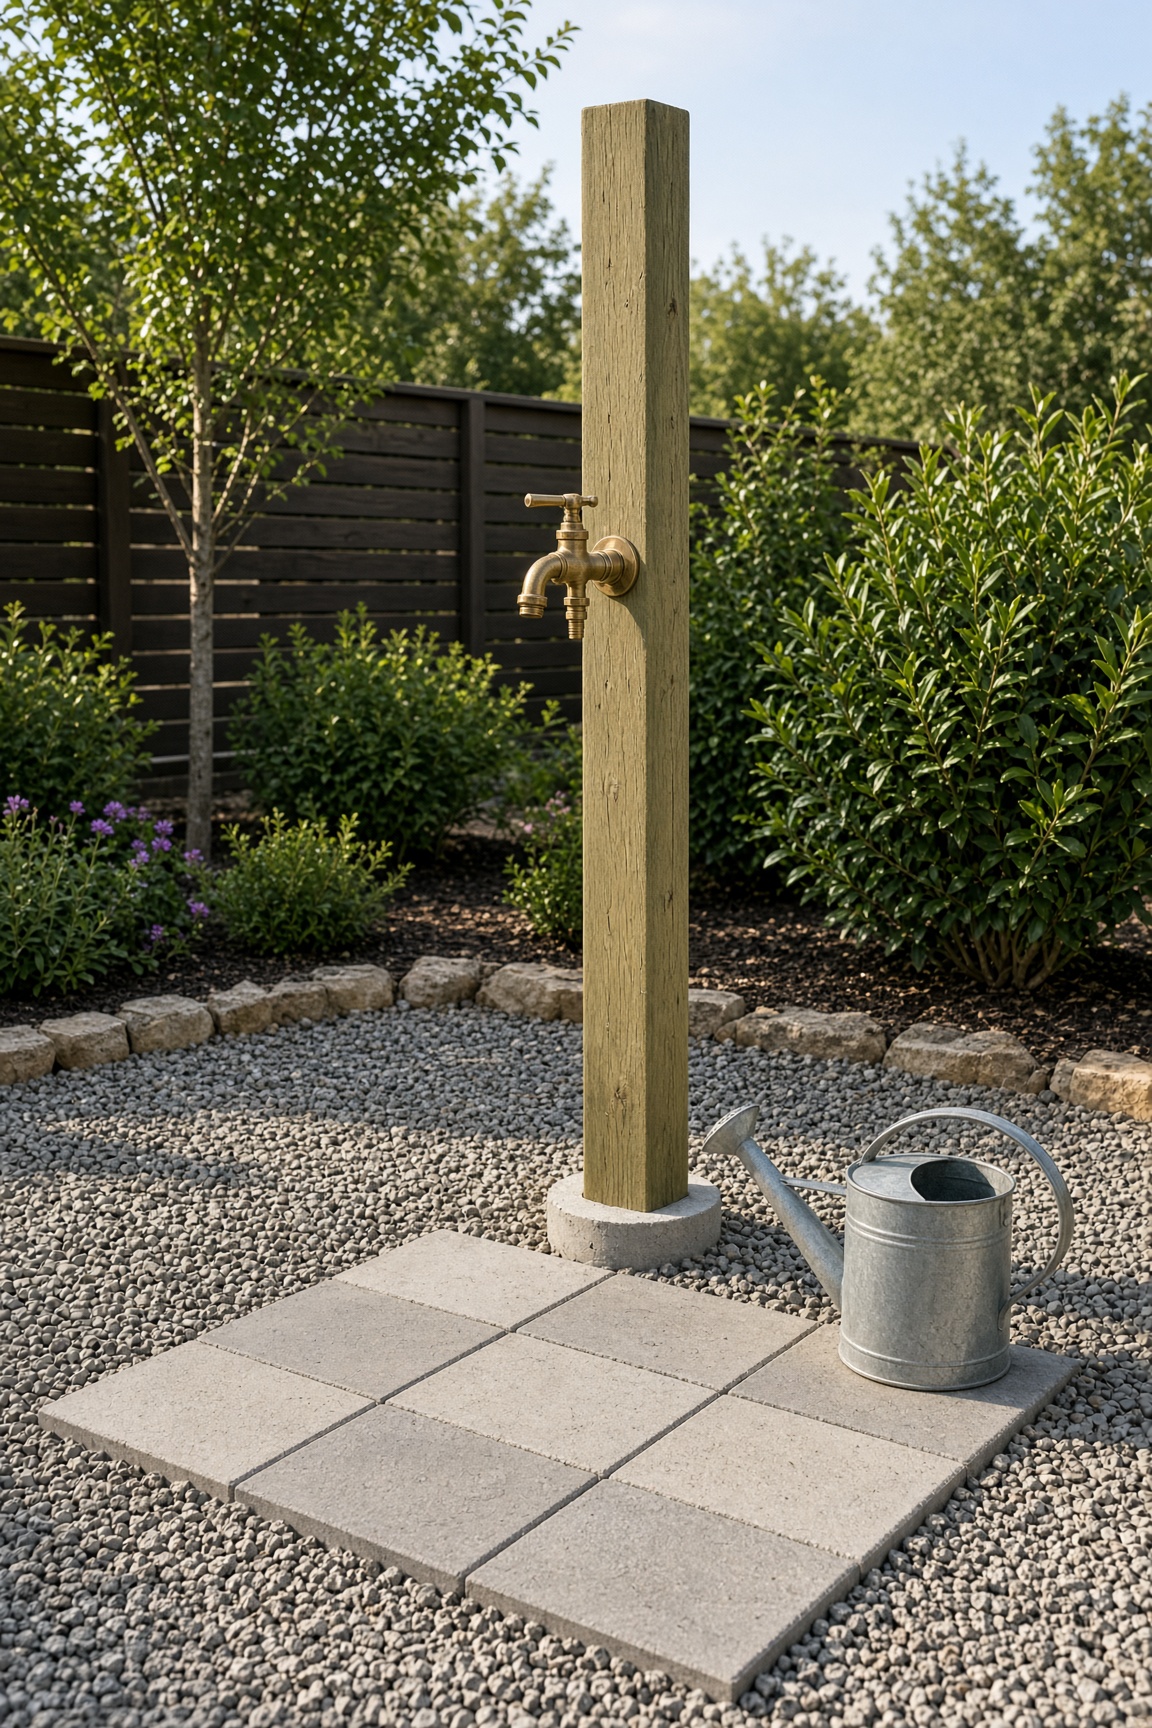
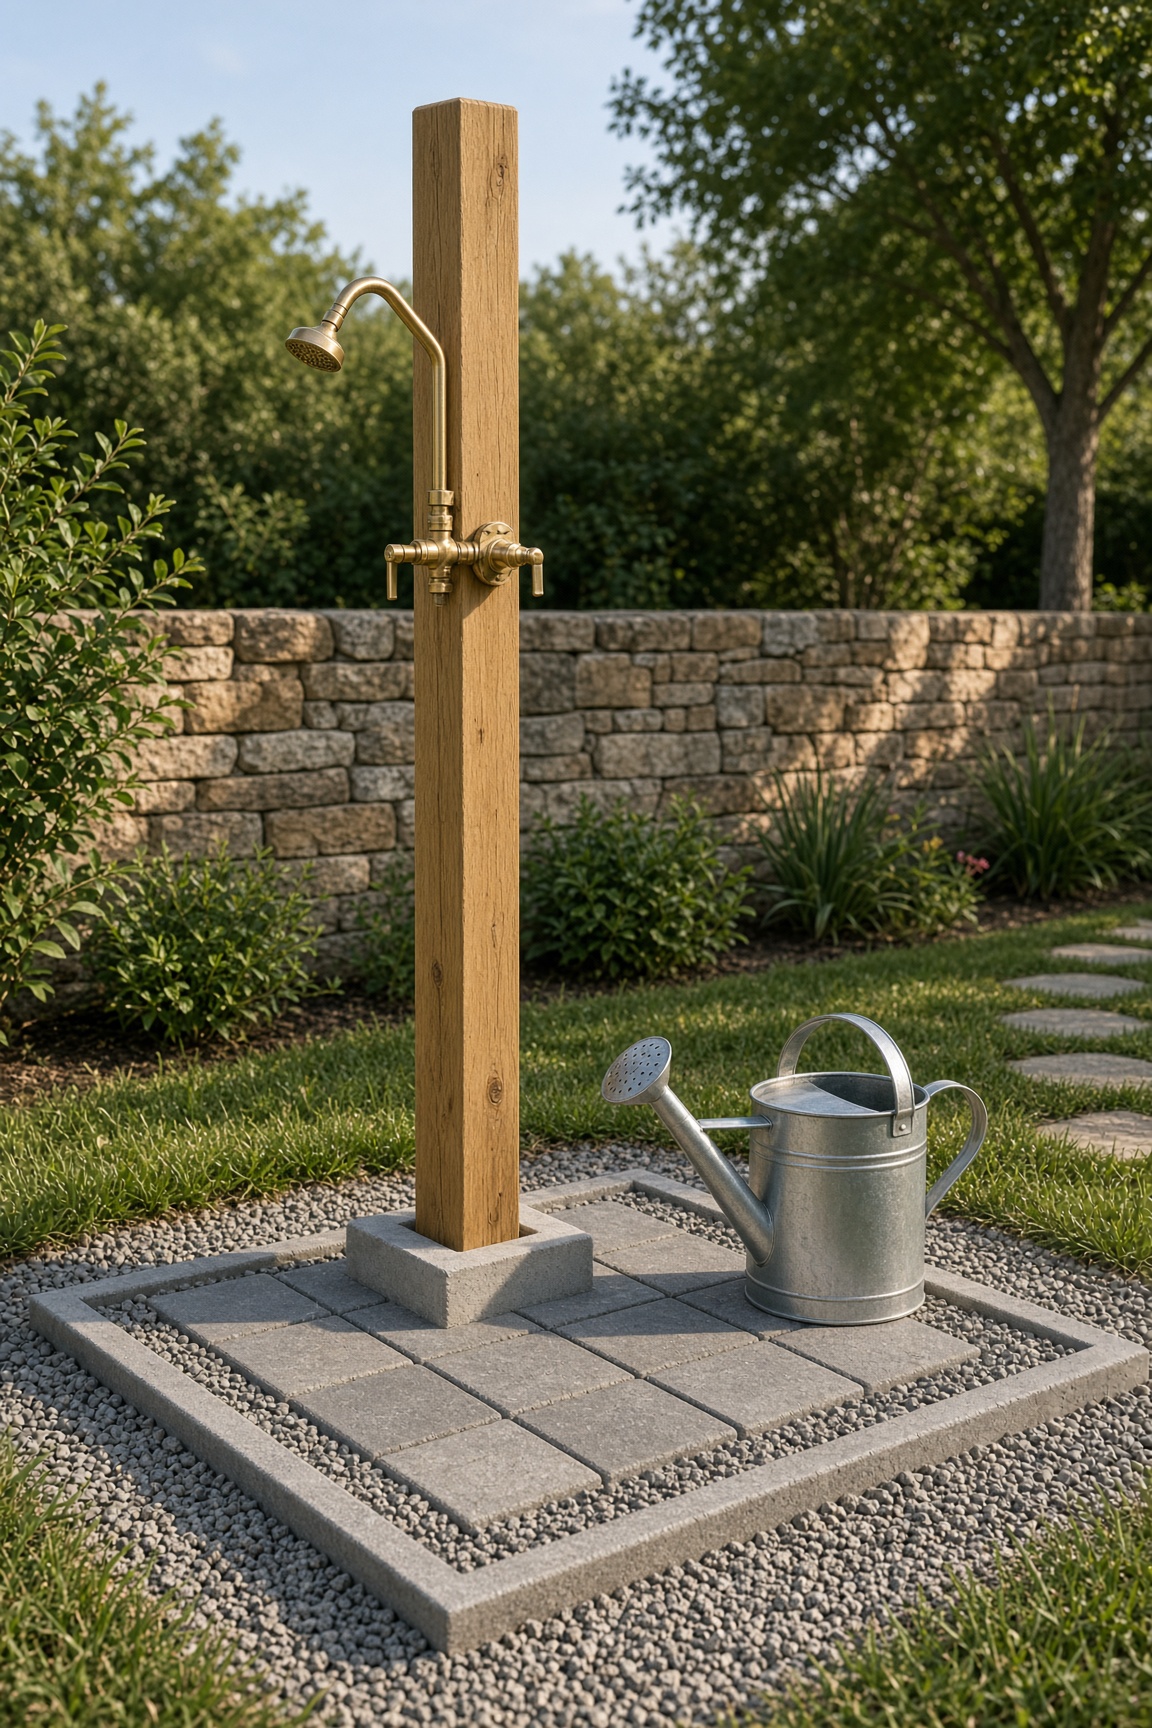
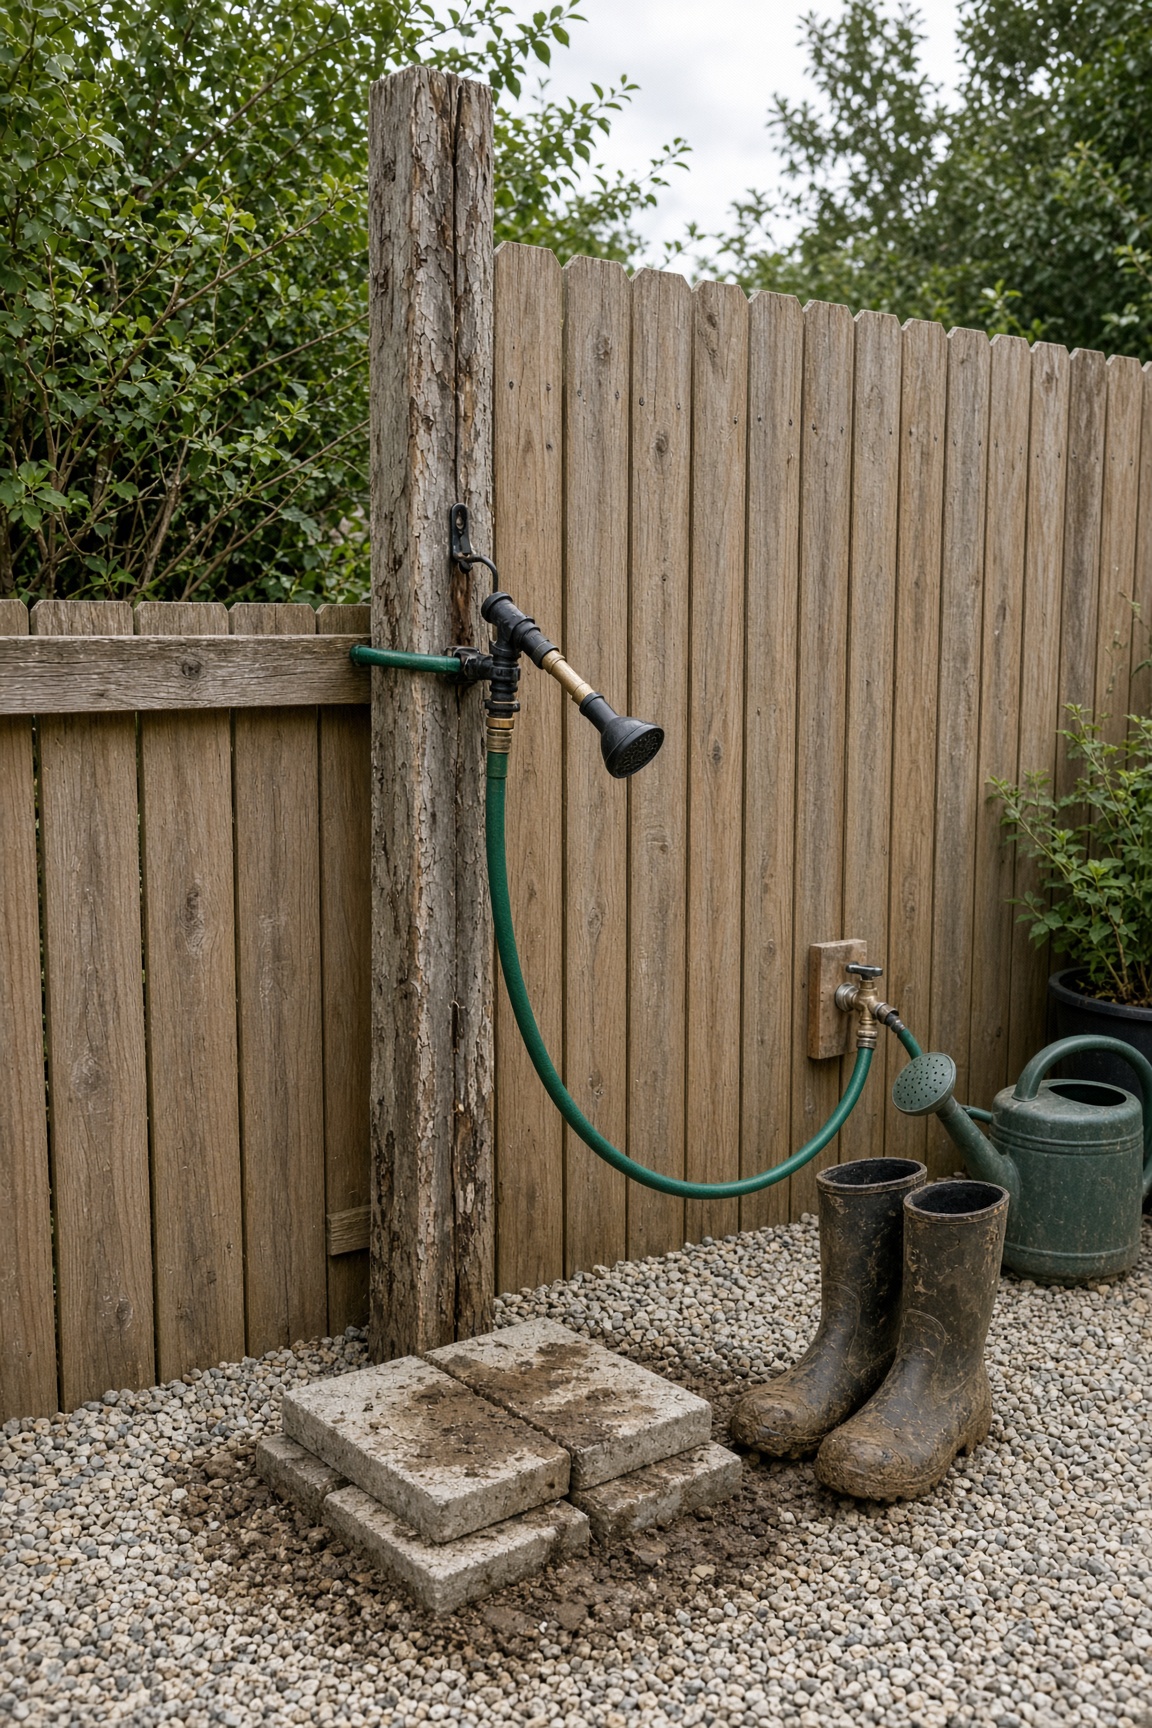
Parts to Buy
| Part | Quantity | What You Use Them For |
|---|---|---|
| 4×4 post, 8 ft | 1 | Upright (Track A) |
| Brass or stainless outdoor shower fixture | 1 | Water outlet (Track A) |
| Concrete mix | 1 bag | Anchor post (Track A) |
| Gravel or pavers | Enough for 3×3 ft pad | Drainage surface (Track A) |
| Hose adapter / fittings | 1 set | Connect fixture to hose bib (Track A) |
- ·Track A — Buy new: 4×4 post, brass/stainless outdoor shower fixture, 1 bag concrete, gravel or pavers for a 3×3 ft pad, hose adapter/fittings.
- ·Track A optional: privacy screen panels.
- ·Track B — Use what you have: existing fence post, deck post, or leftover 4×4; hose + spray nozzle + shutoff you already own; leftover gravel, 2 spare pavers, or rocks for drainage.
Steps
- 1Track A: Dig a 2-foot hole, set the new 4×4 post plumb, and pour concrete. Let it cure overnight.
- 2Track B: Use an existing fence post, deck post, or leftover 4×4. Bury it 2 feet deep and tamp hard — no concrete needed, same-day use.
- 3Track A: Install the brass or stainless outdoor shower fixture at chest or shoulder height.
- 4Track B: Hang your existing hose with a spray nozzle and shutoff at chest height on the post.
- 5Track A: Lay a gravel or paver pad around the base for drainage.
- 6Track B: Spread leftover gravel, a couple spare pavers, or rocks under the post so it doesn't become a mud pit.
- 7Connect to the hose bib and test pressure. Adjust the spray pattern or nozzle so it reaches boots and cans without overspraying.
- 8Optional Track A only: add a privacy screen if the spot is in view of neighbors.
Tools needed
- ·Post-hole digger or shovel
- ·Level
- ·Adjustable wrench
- ·Drill
Common mistakes to avoid
- ·No drainage pad — creates a mud pit
- ·Using indoor fixtures — they rust
- ·No shutoff valve — wastes water
- ·Shower head or nozzle too high or too low
Maintenance tips
Drain the line before first freeze. Clean the shower head or nozzle. Replace washers when dripping.
Community builds
See how other gardeners built their garden shower / rinse station — and share photos of yours.
Sign in to view photos other gardeners have shared.
Sign in to share photos of your build.