Garden Tool Rack & Organizer
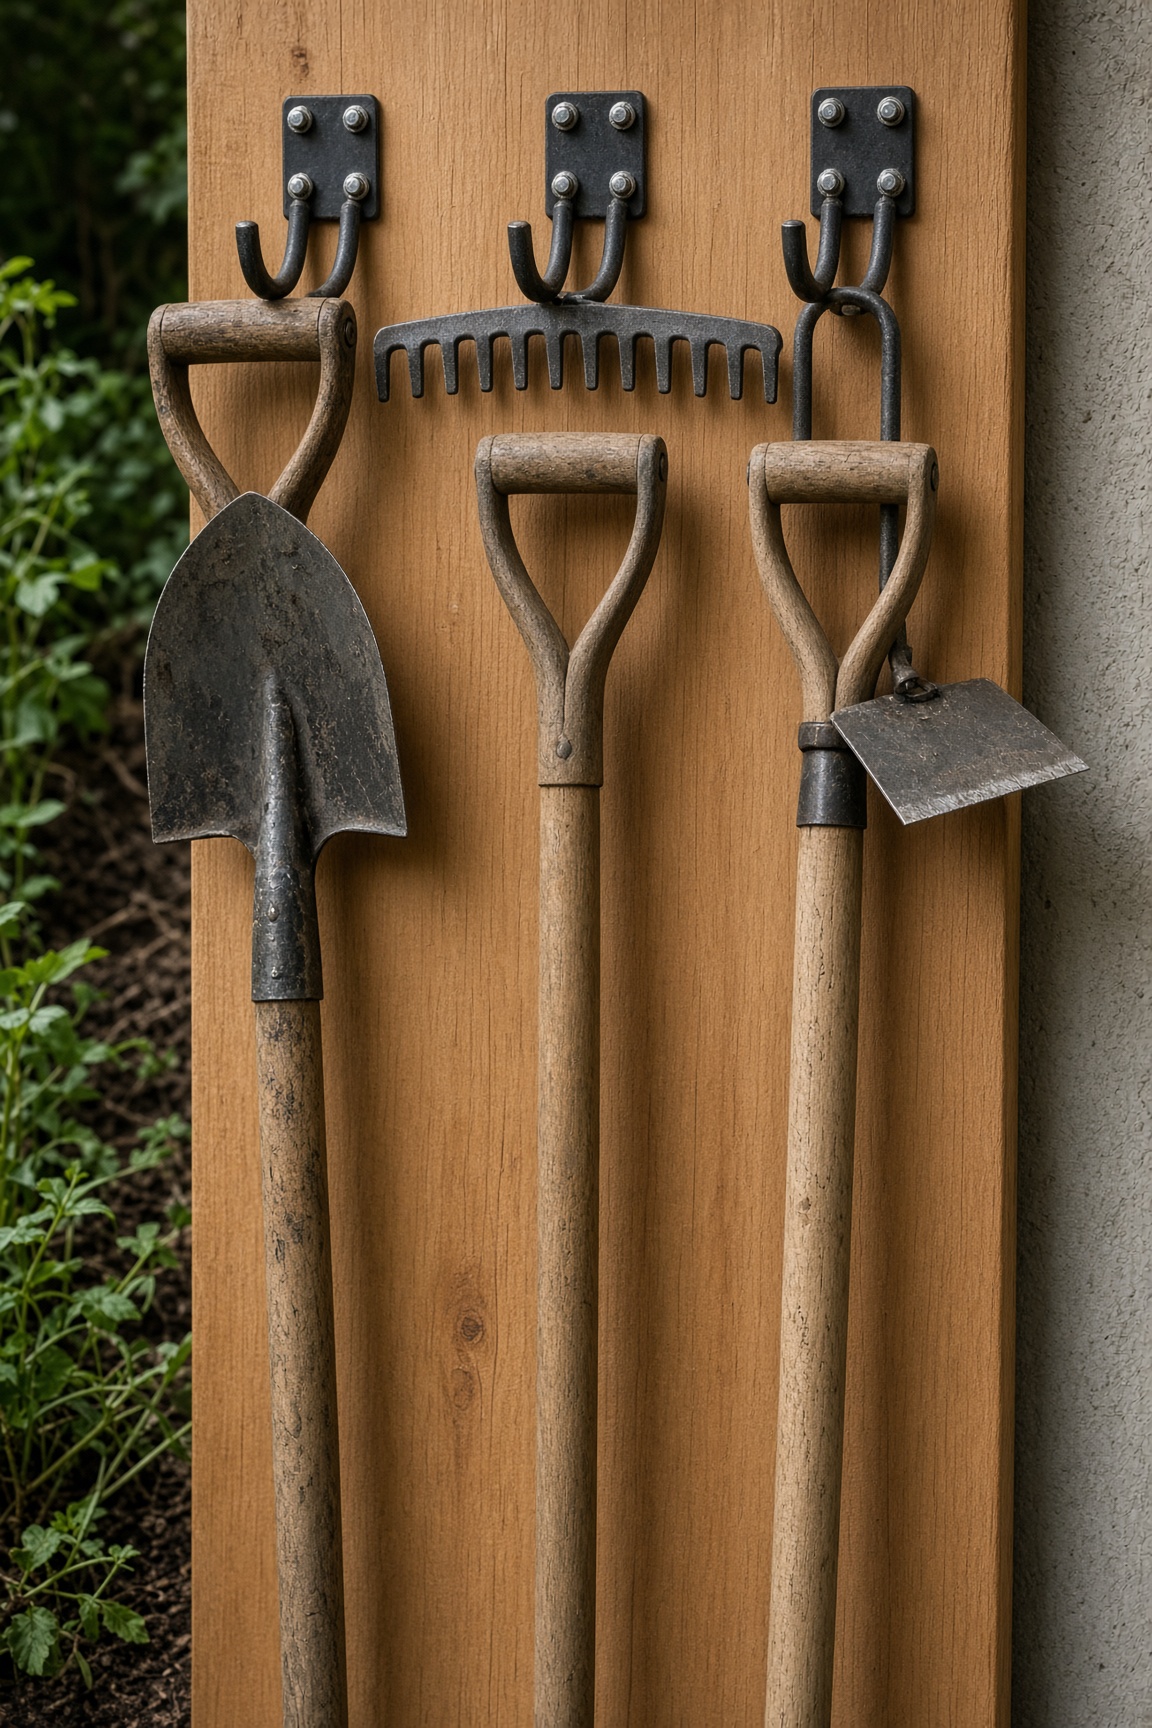
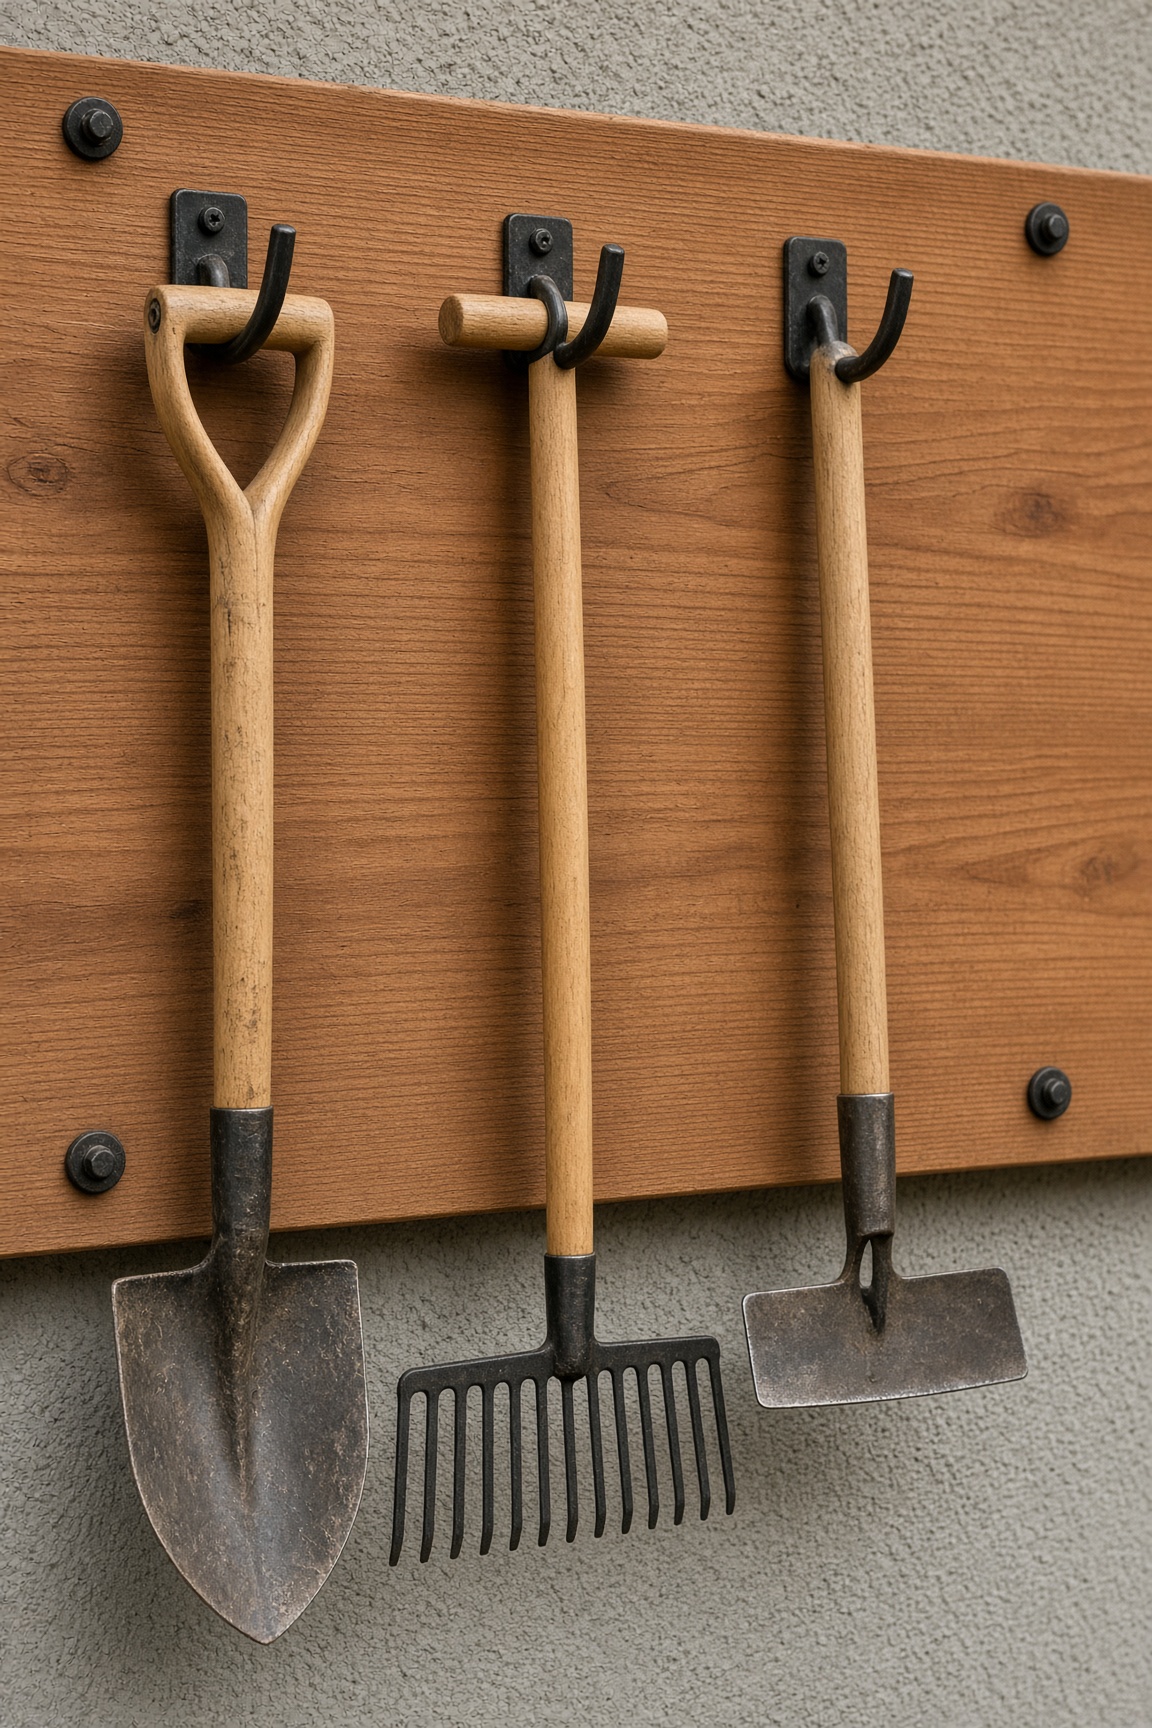
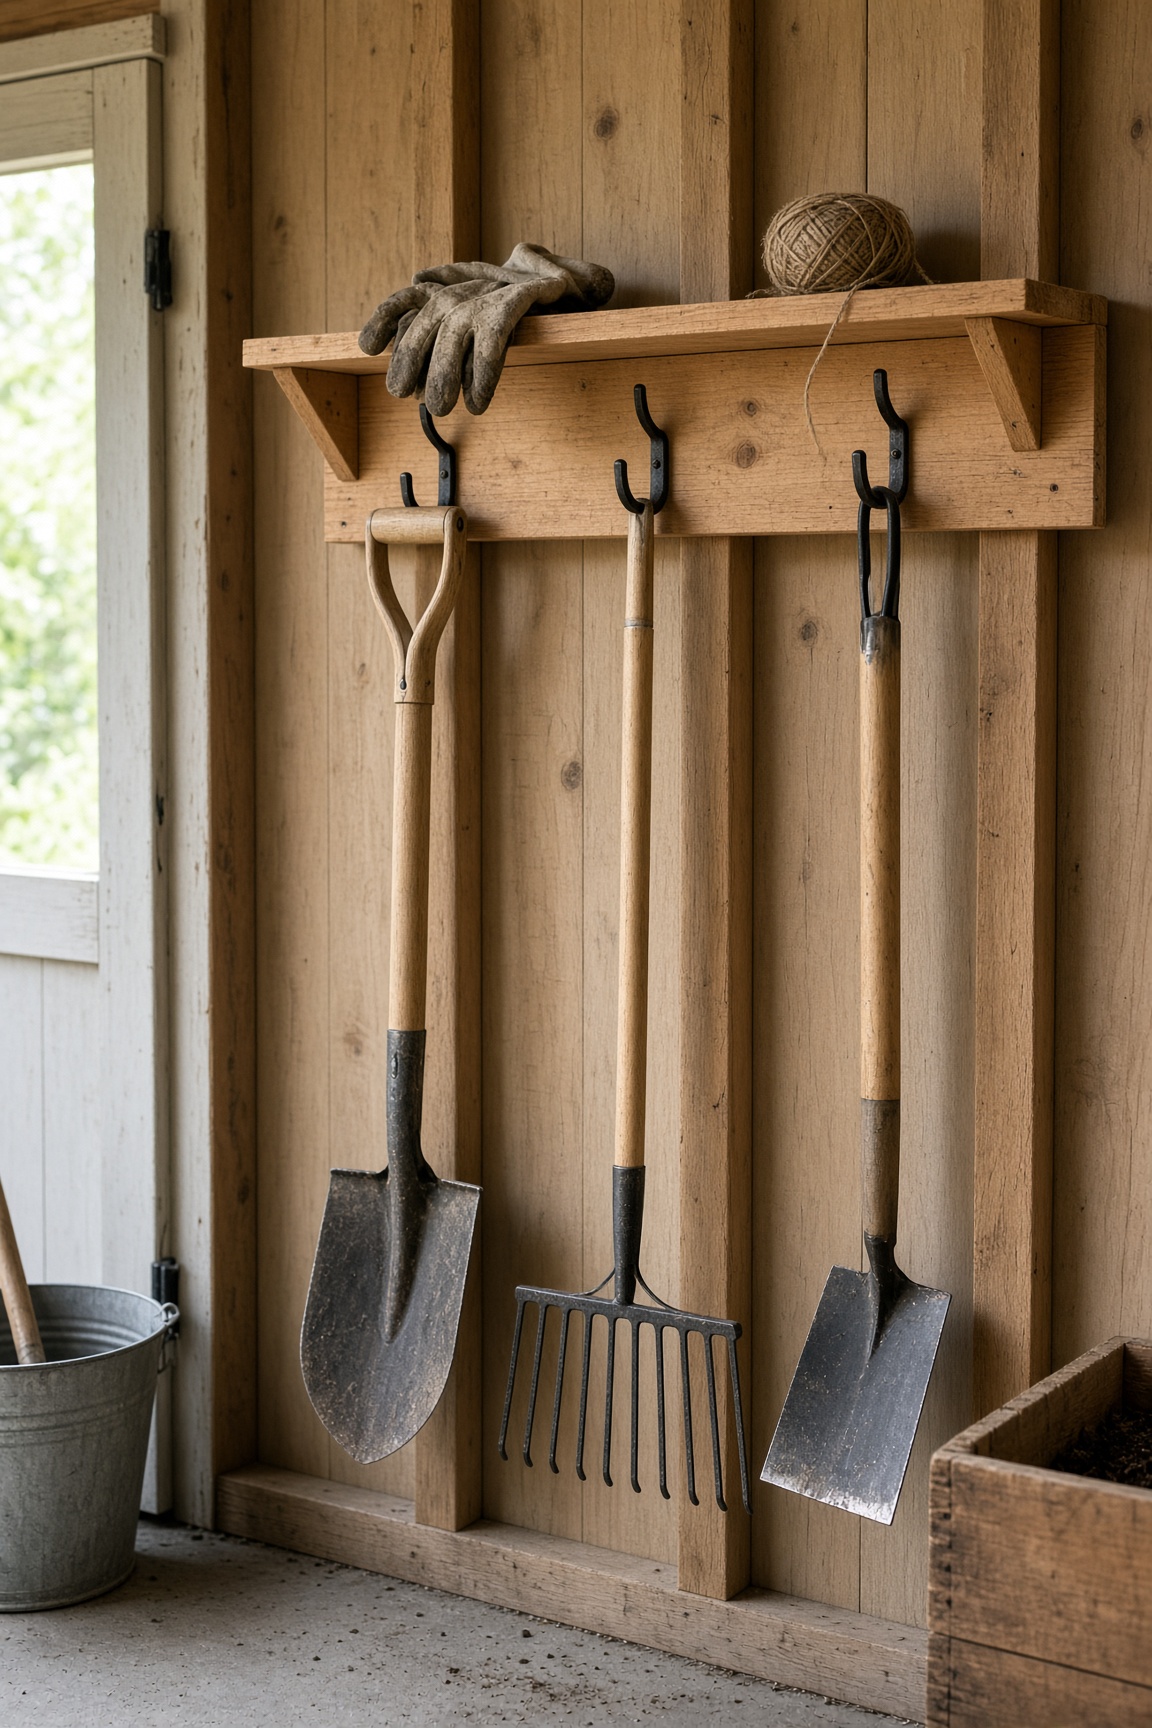
A wall-mounted rack with handle slots, hooks, and a small shelf that keeps garden tools off the ground and easy to find.
Estimated time
1 – 1.5 hours
Lifespan
8–12 years if cedar or redwood
Soil needed
None — wall-mounted storage
Weight empty
15–25 lbs
Weight full
50–75 lbs with tools
Best for
Organizing shovels, rakes, hoes, hand tools, gloves, and watering cans
Placement
Mount on a shed or garage wall at a convenient height. Keep frequently used tools at eye level.
Boards to Buy
| Boards to Buy | Quantity | What You Use Them For |
|---|---|---|
| 1×6 cedar or pine board, 4 ft | 1 | Backboard |
| 1×6 cedar or pine board, 4 ft | 1 | Optional second board to make a taller 11-in backer |
| 2×4 pine or cedar, 2 ft | 1 | Handle slot strip |
| 1×2 strips, 4 ft | 2 | Shelf lip and dividers |
| Heavy-duty outdoor hooks (various sizes) | 6–10 | Hang tools |
| 3-inch lag bolts or heavy-duty screws | 4–6 | Mount to studs |
- ·Optional: small metal tray for watering can drips
- ·Optional: exterior wood sealant for outdoor use
Steps
- 1Cut the backboard to 4 ft long. The 3 ft height is the wall space your tools hang in, not the board. Use one 1×6 for a simple rack, or add a second 1×6 stacked above for an 11-in tall backer.
- 2Cut the 2×4 handle slot strip to about 2 ft. Drill 1.5-inch holes spaced 3–4 inches apart for long-handled tool handles to slip through.
- 3Mark stud locations on the wall — studs are usually 16 inches on center. Pre-drill mounting holes to match.
- 4Attach outdoor-rated hooks spaced for your tools: long tools on the sides with handles up or down (pick one), short tools in the middle.
- 5Mount the slot strip near the bottom of the backer so long tool handles stay off the floor.
- 6Add a small shelf near the top for gloves, markers, and twine.
- 7Sand edges and apply exterior sealant if the rack will live outside. Indoor pine is fine in a dry garage.
- 8Screw the backer into wall studs with 3-inch lag bolts. Drywall anchors will rip out under the weight.
- 9Slide a small metal tray under any hanging watering can to catch drips.
- 10Hang tools by type and enjoy the empty floor space.
Tools needed
- ·Circular saw or miter saw
- ·Cordless drill / driver
- ·1.5-inch hole saw or spade bit
- ·Stud finder
- ·Tape measure
- ·Level
Common mistakes to avoid
- ·Mounting into drywall without studs — it will pull out
- ·Drilling handle slots too narrow for thick tool handles
- ·No drip tray under watering cans
- ·Using indoor cup hooks that rust outdoors
- ·Letting long tool handles rest on the floor
Maintenance tips
Oil metal hooks once a year. Tighten screws each spring. Sand splinters if wood weathers. Re-seal outdoor boards every 2–3 years.
Community builds
See how other gardeners built their garden tool rack & organizer — and share photos of yours.
Sign in to view photos other gardeners have shared.
Sign in to share photos of your build.