Leaf Mold Bin
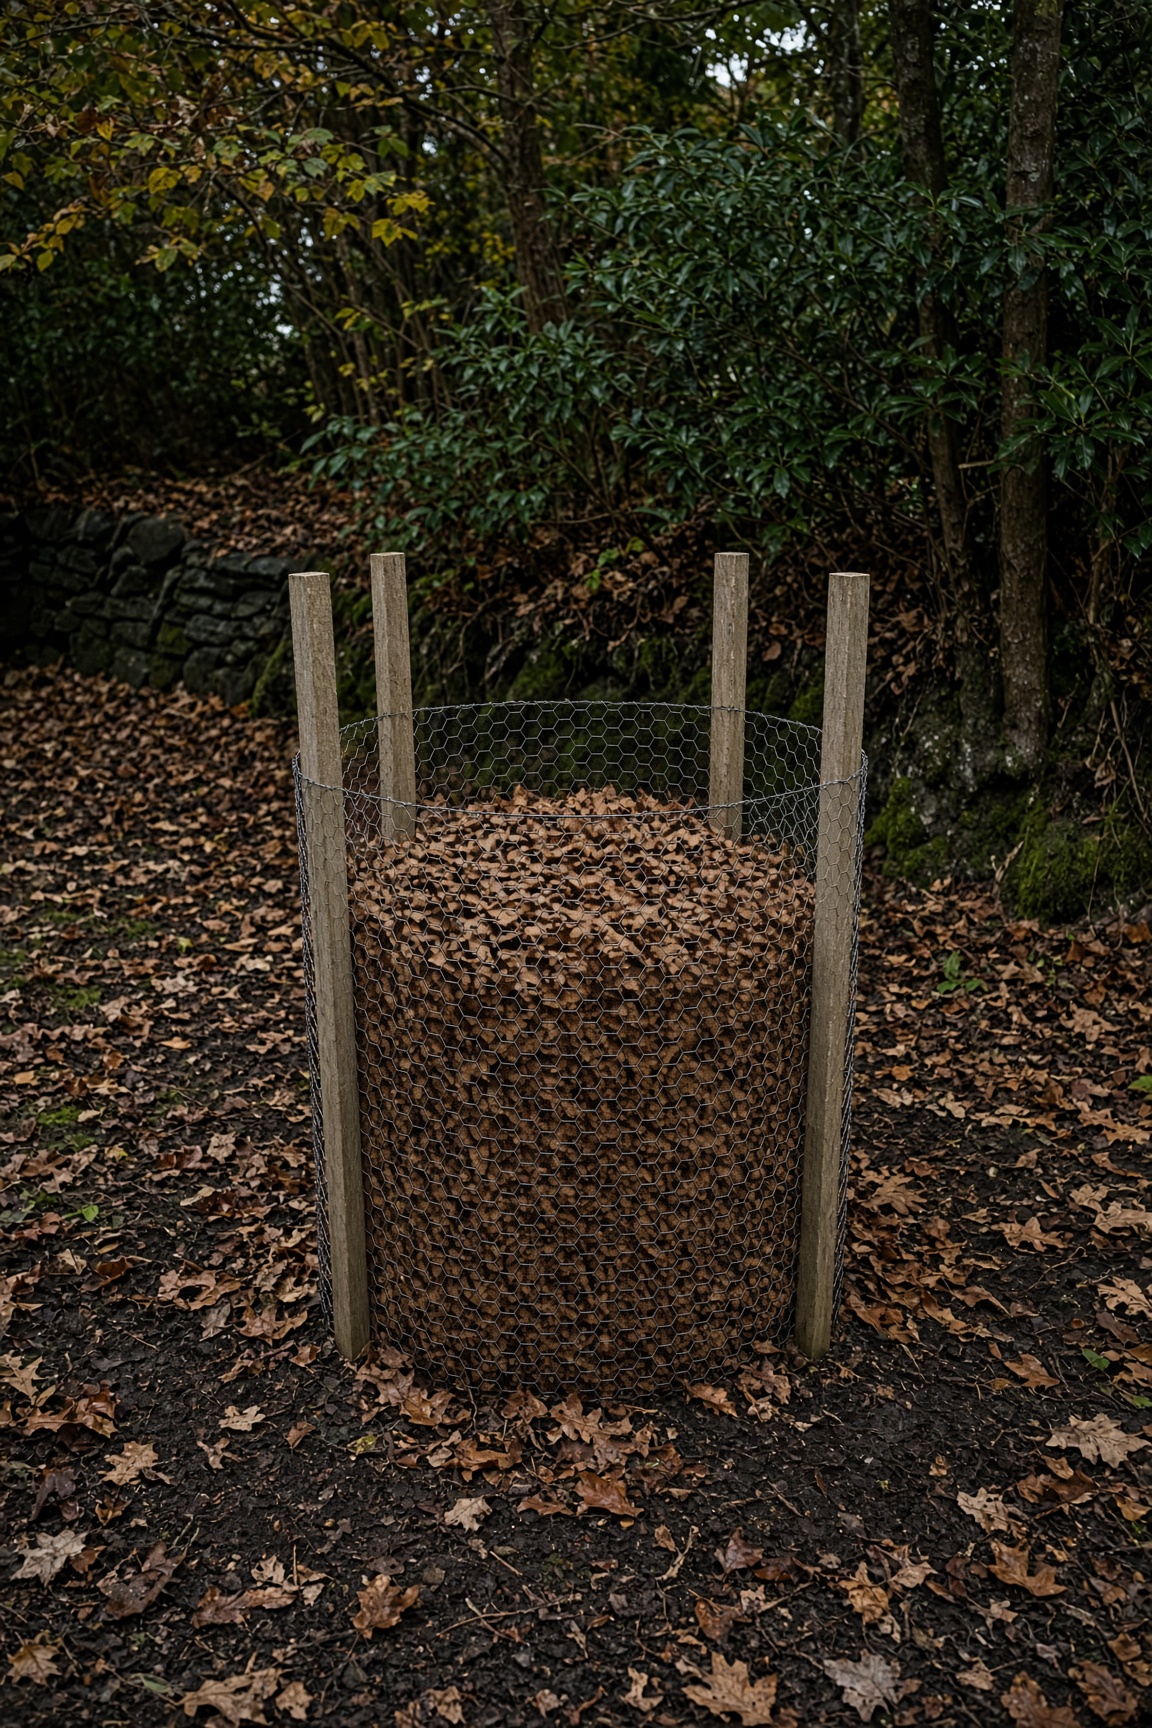
The compost bin's lazy cousin: a leaf-only cage that fungi break down into crumbly mulch in 1–2 years.
Estimated time
30 – 60 minutes
Lifespan
10+ years
Soil needed
None — makes soil amendment from leaves
Weight empty
10–15 lbs
Weight full
200–400 lbs when packed
Best for
Turning fall leaves into a fluffy, moisture-retaining mulch and soil conditioner
Placement
Shady corner is fine — leaf mold breaks down without heat. Keep it accessible from the lawn.
Parts to Buy
| Part | Quantity | What You Use Them For |
|---|---|---|
| 4 ft × 50 ft chicken wire or hardware cloth | 1 roll | Bin walls (~12 ft makes a ~4 ft circle) |
| Wooden stakes or T-posts | 4 | Hold the cage upright from the outside |
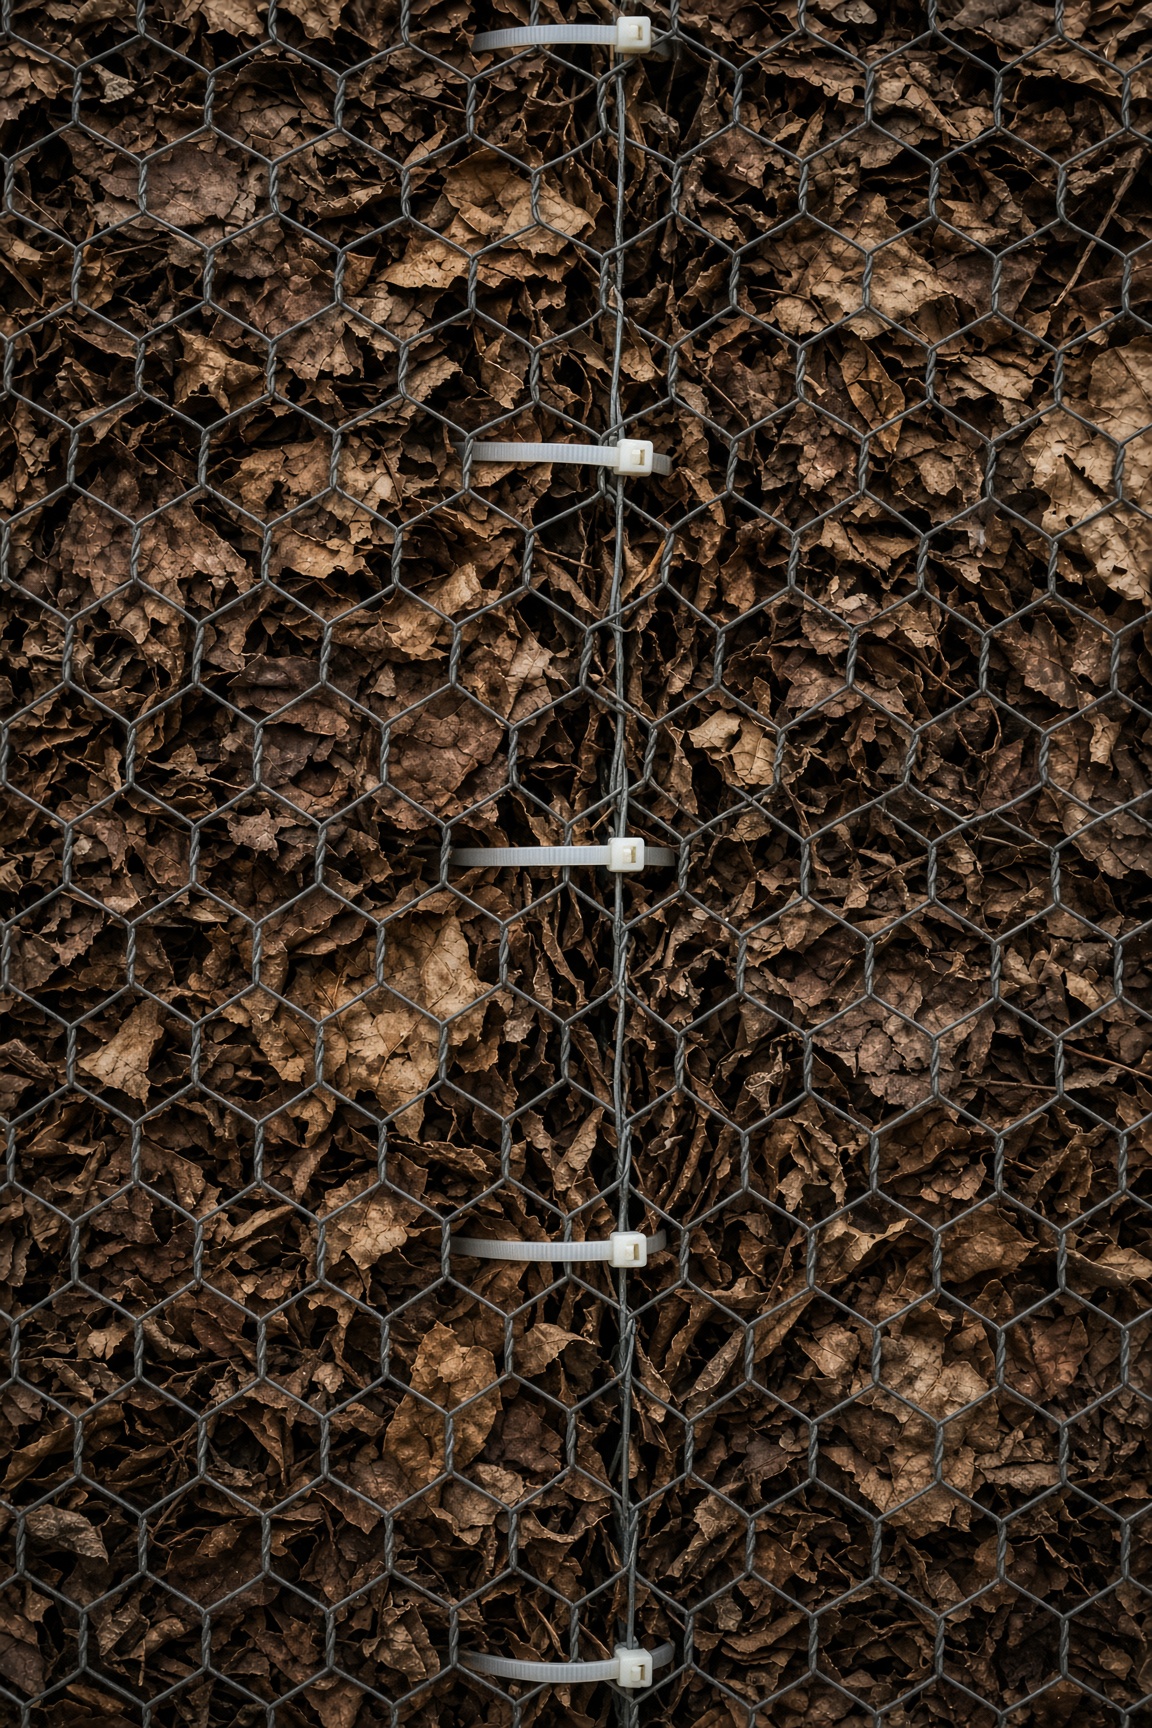
| Zip ties or wire | 1 small roll | Secure the fence overlap |
- ·Fallen leaves — lots of them
- ·Optional: tarp to cover in heavy rain
Steps
- 1Choose a shady, out-of-the-way corner.
- 2Cut a 12-foot length of 4-foot-tall chicken wire or hardware cloth.
- 3Overlap the ends and tie them together with wire or zip ties to form a ~4-foot diameter circle.
- 4Drive stakes around the outside of the circle to keep the cage upright and easy to lift off later.
- 5Rake leaves into the cage as they fall.
- 6Shred leaves first if you can — they break down in about half the time.
- 7Water the pile if it gets bone dry; cover with a tarp if rain stays for a week.
- 8Turn the pile once or twice a year.
- 9After 1–2 years the leaves will be dark and crumbly — lift the cage off and use the leaf mold as mulch or a soil sponge.
Tools needed
- ·Wire cutters
- ·Hammer or post driver
- ·Work gloves
Common mistakes to avoid
- ·Treating it like a compost bin — no grass clippings or kitchen scraps
- ·Packing leaves too tight — they need airflow
- ·Letting the pile dry out completely — it stops breaking down
- ·Using only oak or magnolia leaves — mix leaf types for faster results
- ·Dragging the full cage — lift it off the pile instead
Maintenance tips
Keep it as moist as a wrung-out sponge, not a swamp. Cover with a tarp during week-long rain. Shredding leaves first cuts the wait almost in half. Use finished leaf mold as mulch or mix into beds.
Community builds
See how other gardeners built their leaf mold bin — and share photos of yours.
Sign in to view photos other gardeners have shared.
Sign in to share photos of your build.