Olla Clay Pot Irrigation
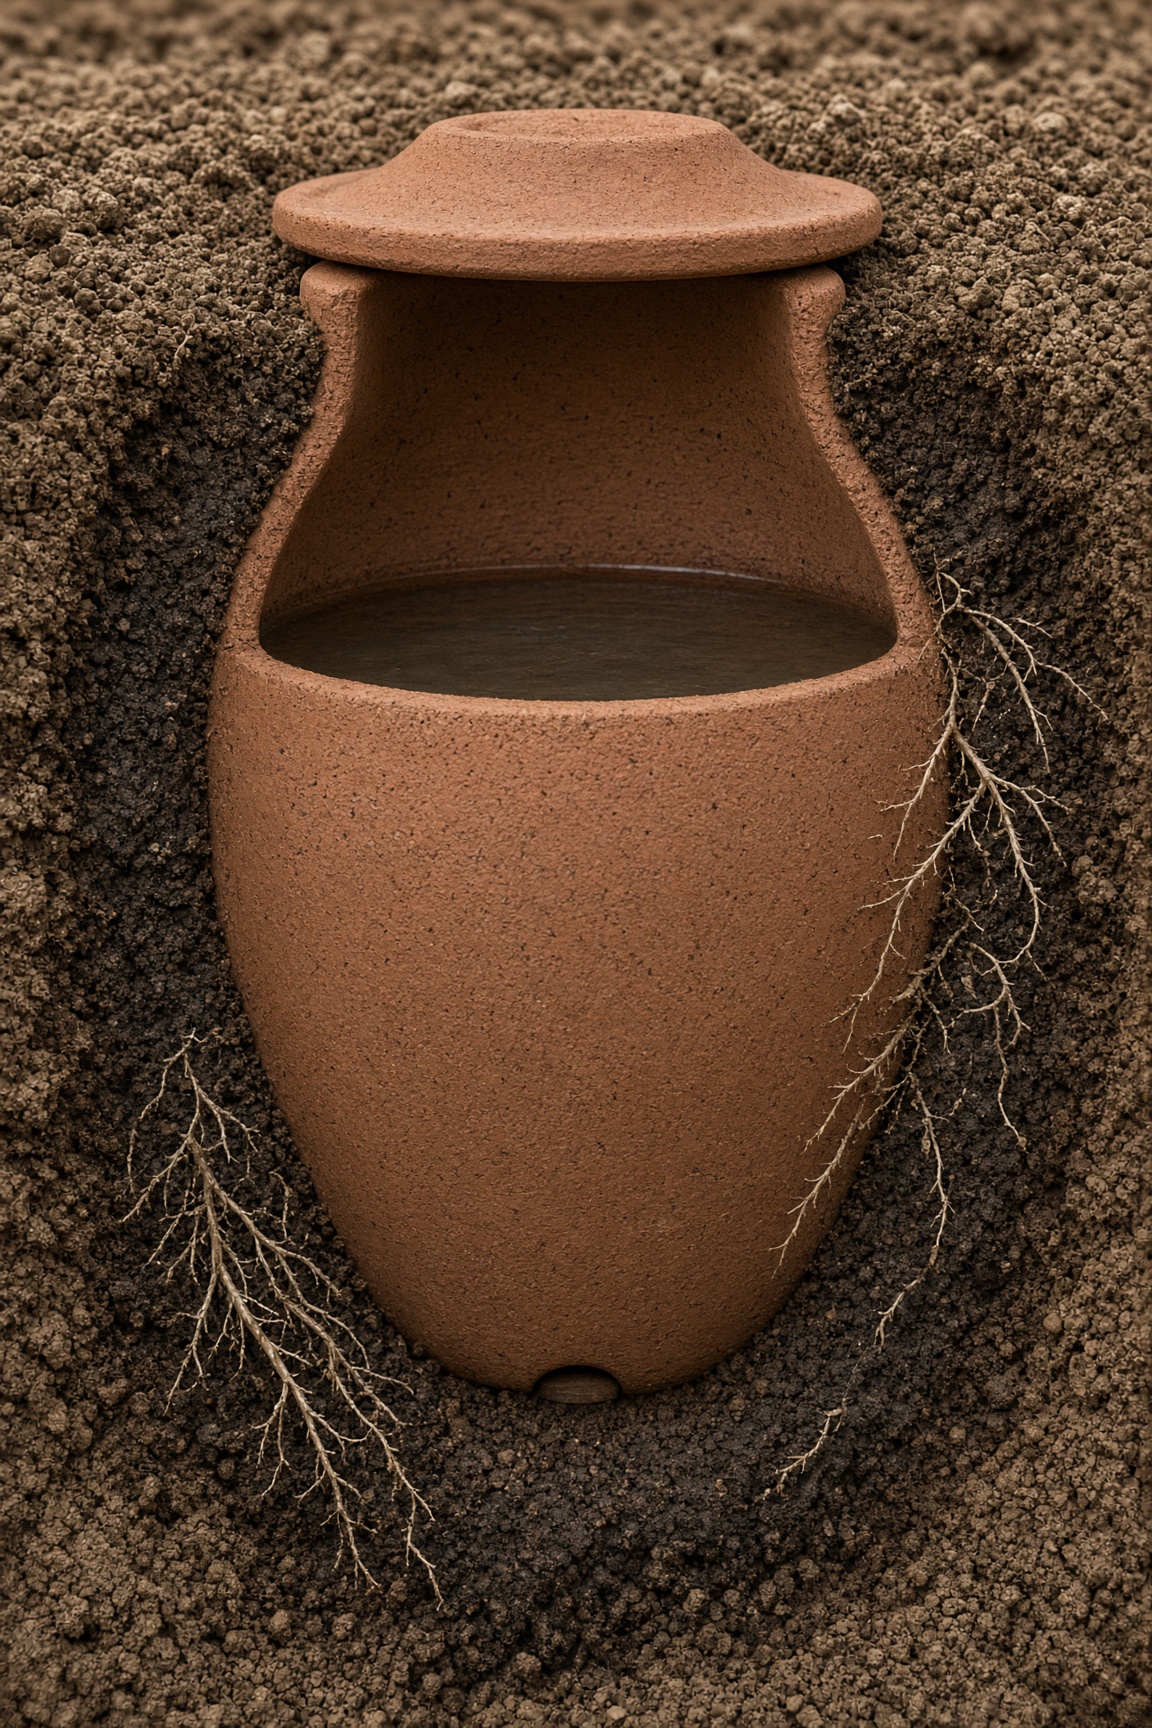
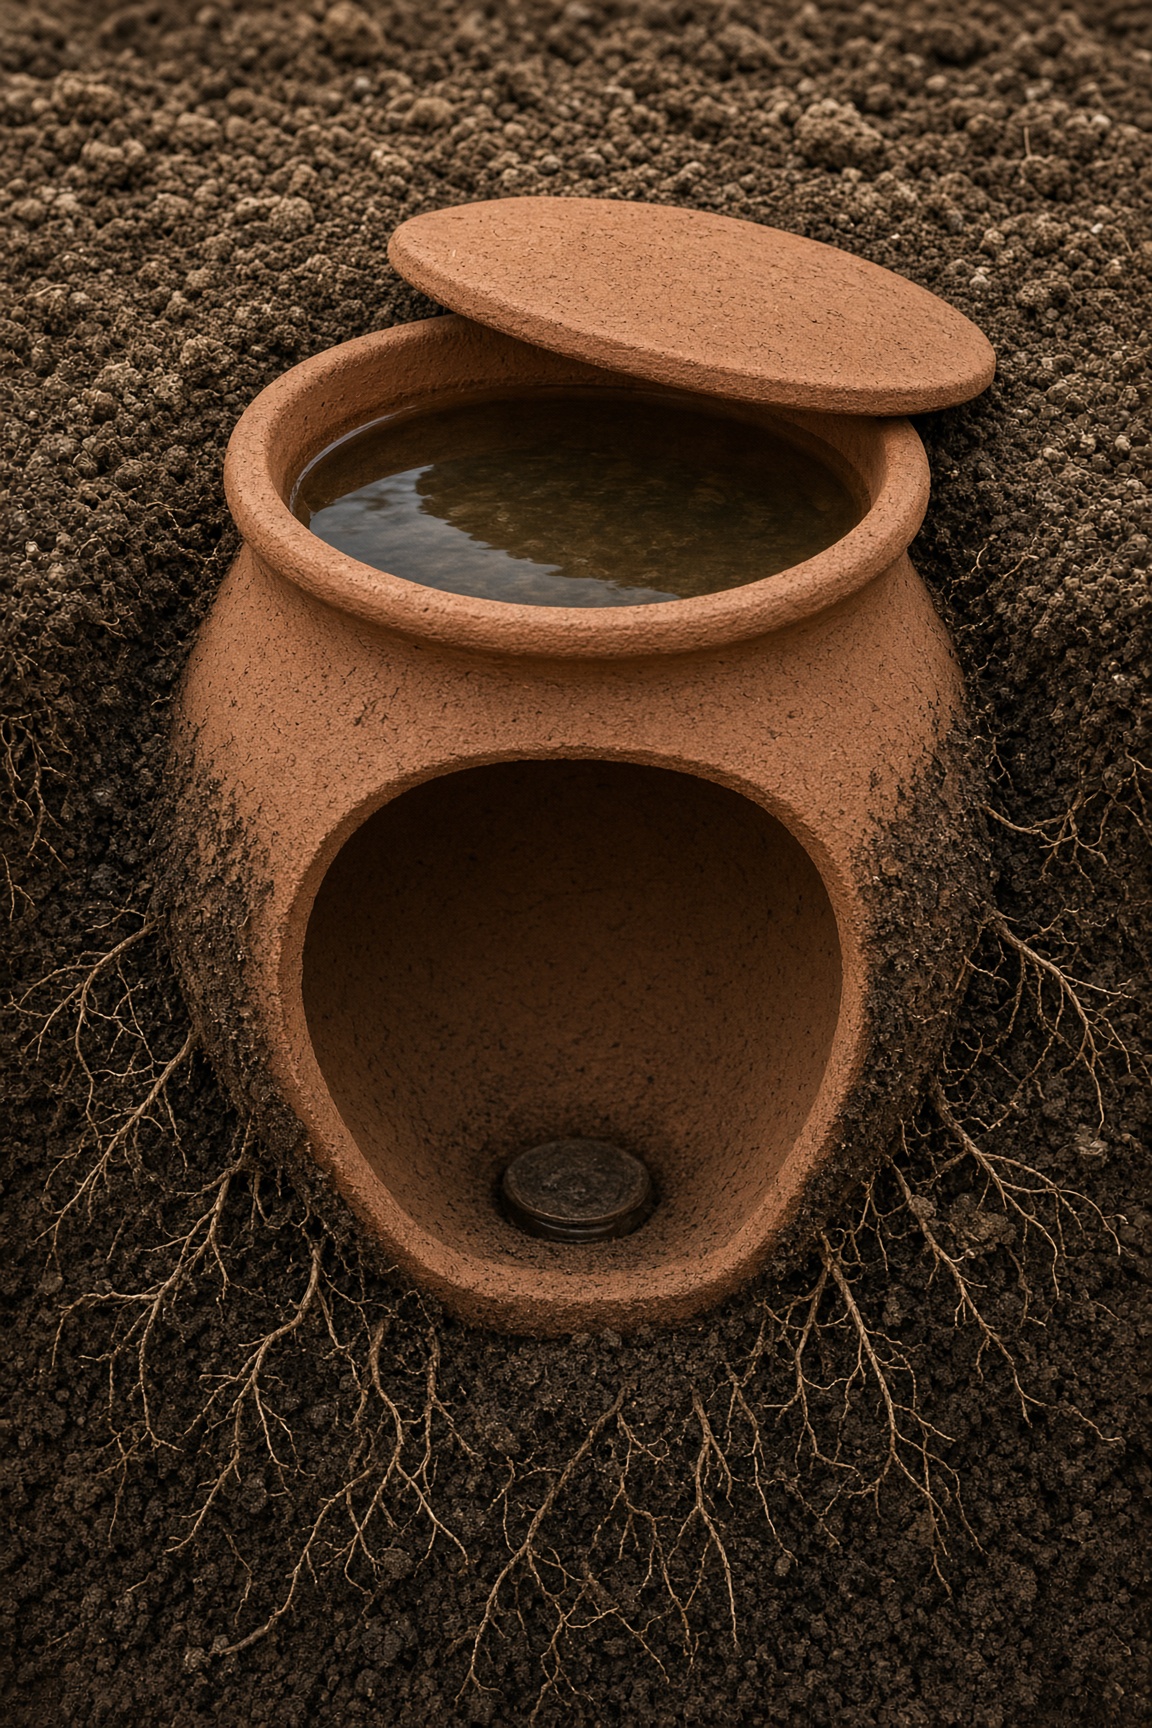
Unglazed clay pots buried in the soil slowly release water to plant roots through their porous walls, cutting watering frequency in half.
Estimated time
15 – 30 minutes
Lifespan
Indefinite for the pot; silicone seal may need refresh every few years
Soil needed
None — buried in existing bed
Weight empty
2–5 lbs per pot
Weight full
10–20 lbs per pot when full
Best for
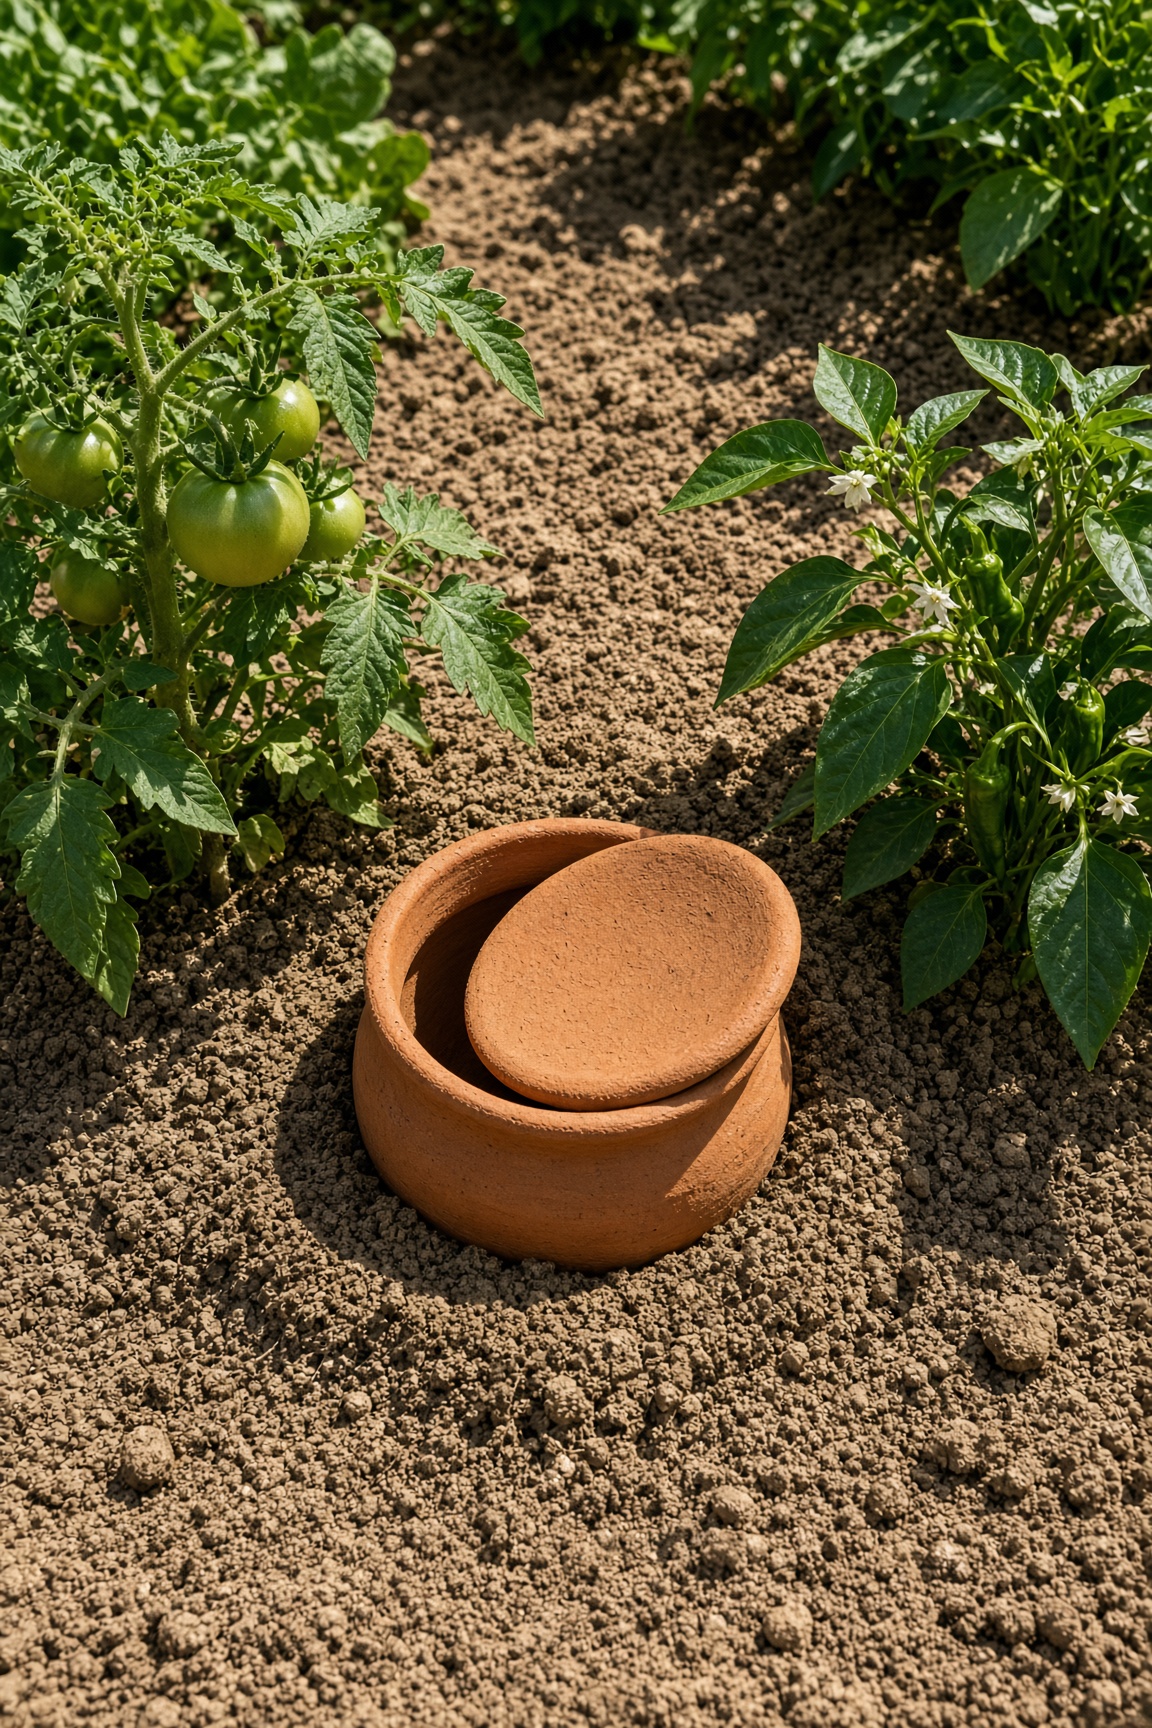
Tomatoes, peppers, squash, and any bed that dries out fast
Placement
Bury 1–2 gallon pots 2–3 ft apart in the root zone. Keep the lid exposed so you can refill easily.
Parts to Buy
| Part | Quantity | What You Use Them For |
|---|---|---|
| Unglazed terracotta pots with matching saucers, 1–2 gallon | 1 per 2–3 ft of bed | Water reservoir |
| Silicone sealant (food-safe) | Small tube | Seals the drainage hole |
| Plastic lid or saucer | 1 per pot | Covers opening to reduce evaporation |
- ·Optional: small rock to weight the lid
Steps
- 1Seal the drainage hole in the bottom of each pot with silicone sealant. Let it cure fully.
- 2Dig a hole deep enough to bury the pot up to its rim.
- 3Set the pot in the hole and backfill firmly around it.
- 4Leave the pot opening above soil level.
- 5Fill the pot with water and cover the opening with a lid or inverted saucer.
- 6Plant crops around the pot within 12–18 inches.
- 7Water new transplants from above for the first week while roots find the wet clay, and keep the olla full.
- 8Refill whenever it is empty — usually every 2–4 days, and every 1–3 days in peak heat.
- 9In fall, empty the pots, scrub them, and store dry before freezing weather.
Tools needed
- ·Caulking gun
- ·Shovel or trowel
- ·Damp cloth for cleanup
Common mistakes to avoid
- ·Using glazed or sealed pots — water cannot seep through the walls
- ·Burying the pot completely — you need access to the opening
- ·Waiting to fill the olla until roots reach it; fill it at planting and water new transplants from above for the first week
- ·Forgetting to refill for days in peak heat
- ·Leaving the lid off — evaporation and mosquitoes move in fast
Maintenance tips
Refill every 1–3 days in peak heat. Scrub algae from the inside each season. Empty and store pots dry before hard freezes.
Community builds
See how other gardeners built their olla clay pot irrigation — and share photos of yours.
Sign in to view photos other gardeners have shared.
Sign in to share photos of your build.