Simple Potting Bench
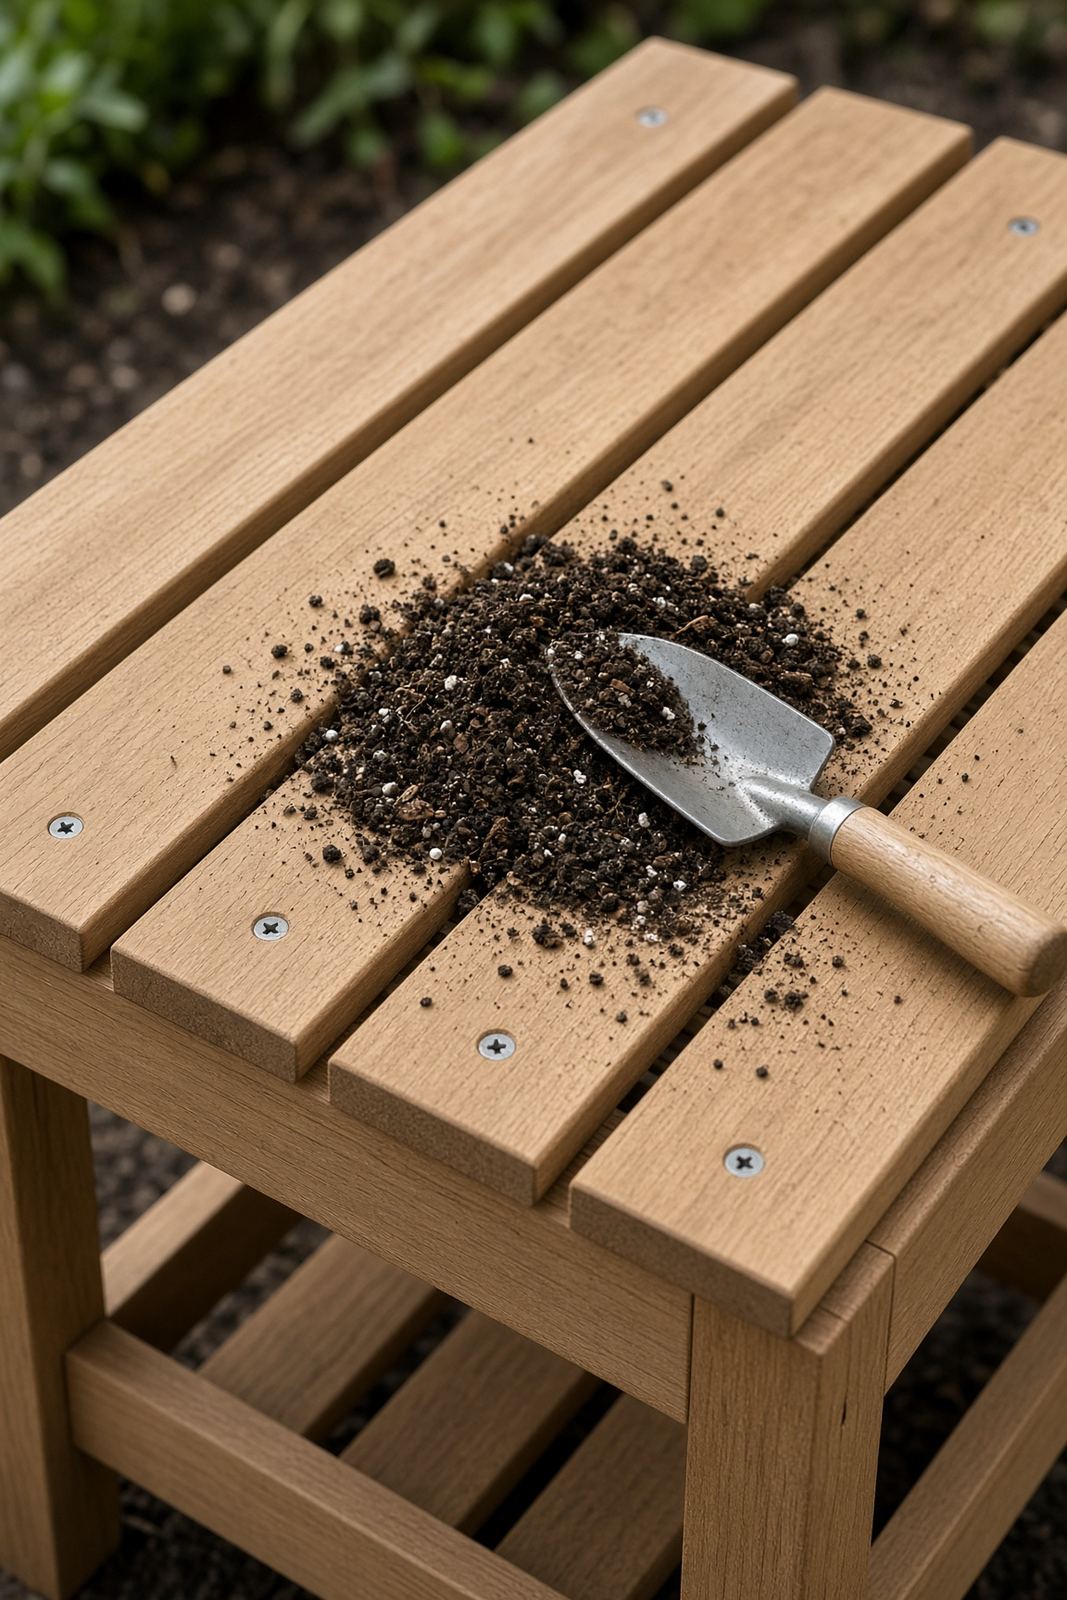
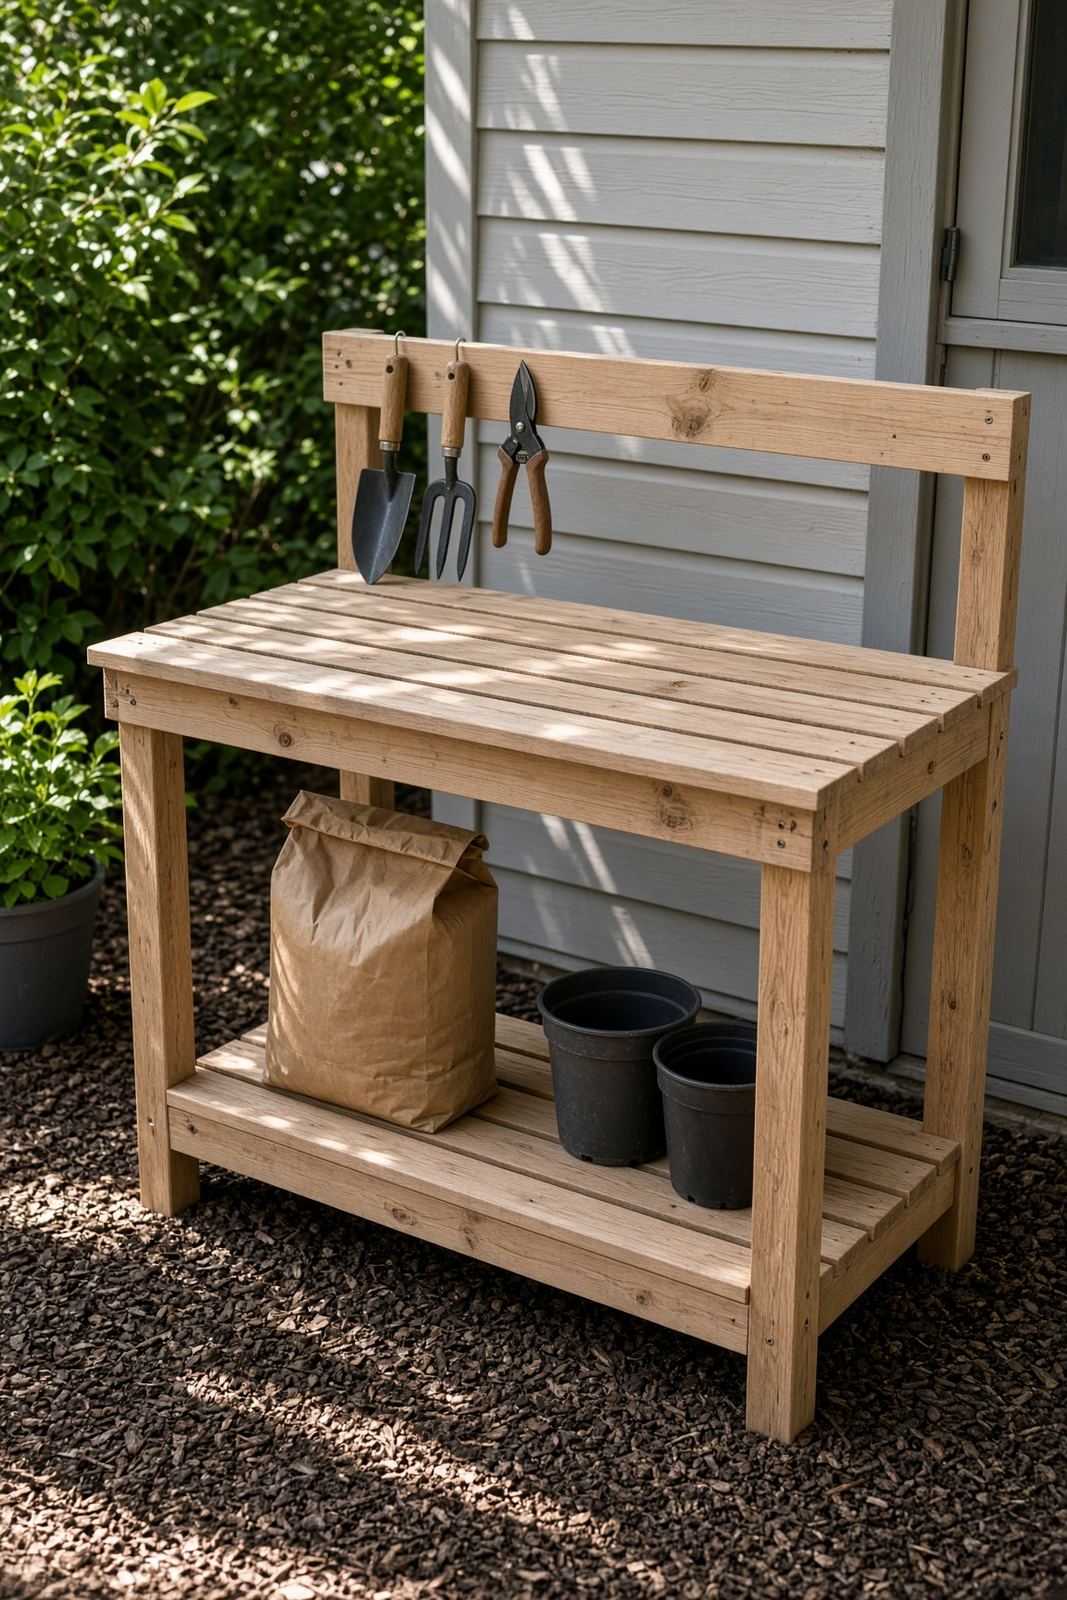
A sturdy outdoor workbench with a slatted top, lower shelf, and optional back hooks for tools. Makes seed starting and repotting far easier.
Estimated time
2 – 3 hours
Lifespan
8–12 years with cedar, redwood, or pressure-treated lumber; untreated pine can fail in 1–2 seasons
Soil needed
None — work surface
Weight empty
40–60 lbs
Weight full
100–150 lbs when loaded with soil and pots
Best for
Seed starting, transplanting, tool storage, mixing soil
Placement
Near a water source and your tool shed. Partial shade keeps you comfortable and prevents plastic trays from baking. Set it on level ground or the bench rocks when you press on a pot.
Boards to Buy
| Boards to Buy | Quantity | What You Use Them For |
|---|---|---|
| 2×4 lumber, 8 ft | 4 | Legs and frame — cedar, redwood, or pressure-treated |
| 1×6 boards, 8 ft | 6 | Top slats and lower shelf |
| 1×4 boards, 8 ft | 2 | Back tool rail / shelf lip |
| 2.5-inch exterior screws | 2 lb box | Frame and slats |
| Exterior wood stain or sealant | 1 quart | Seal all cuts and end grain |
| Optional: cheap plastic tub | 1 | Soil well to keep mix from falling through slats |
- ·Wood glue (optional)
- ·Exterior wood stain or sealant
- ·Optional: hooks for hand tools
- ·Optional: small plastic tub to use as a soil well
Steps
- 1Cut four 2×4 legs so the finished top surface is 36 inches high — usually 34–35 inches, depending on your top frame and slat thickness.
- 2Cut two 2×4 front aprons at 45 inches and two side aprons at 15 inches.
- 3Predrill the ends of all 2×4 pieces so the screws do not split the wood.
- 4Build a rectangular frame for the top and a matching frame for the lower shelf.
- 5Attach the legs to the top frame so the top surface ends up 36 inches high.
- 6Attach the lower shelf frame 6 inches above the ground. Use ground-contact-rated wood for the lower shelf so it does not rot first.
- 7Cut 1×6 slats to 48 inches and lay them across both frames with a 1/4-inch gap for drainage.
- 8Screw the slats down, predrilling so the slats do not split.
- 9Add a 1×4 back rail across the top for hanging tools or small shelves.
- 10Sand all edges and apply exterior sealant, especially the end grain of every cut.
- 11Optional: set a cheap plastic tub in the top to use as a soil-mixing well, or line the back rail with hooks.
Tools needed
- ·Circular saw or miter saw
- ·Cordless drill / driver
- ·Tape measure
- ·Speed square
- ·Sandpaper or orbital sander
- ·Safety glasses
Common mistakes to avoid
- ·Using untreated pine — it rots in 1–2 seasons; choose cedar, redwood, or exterior/pressure-treated lumber
- ·No slats or drainage in the top — water pools and warps boards
- ·Work surface too low — 36 inches is comfortable for most adults
- ·No shelf below for bags of soil and empty pots
- ·Skipping end-grain sealer — cut ends soak up water and rot first
Maintenance tips
Brush off soil after each use. Re-seal or stain wood every 2–3 years, paying attention to end grain. Tighten screws each spring.
Community builds
See how other gardeners built their simple potting bench — and share photos of yours.
Sign in to view photos other gardeners have shared.
Sign in to share photos of your build.