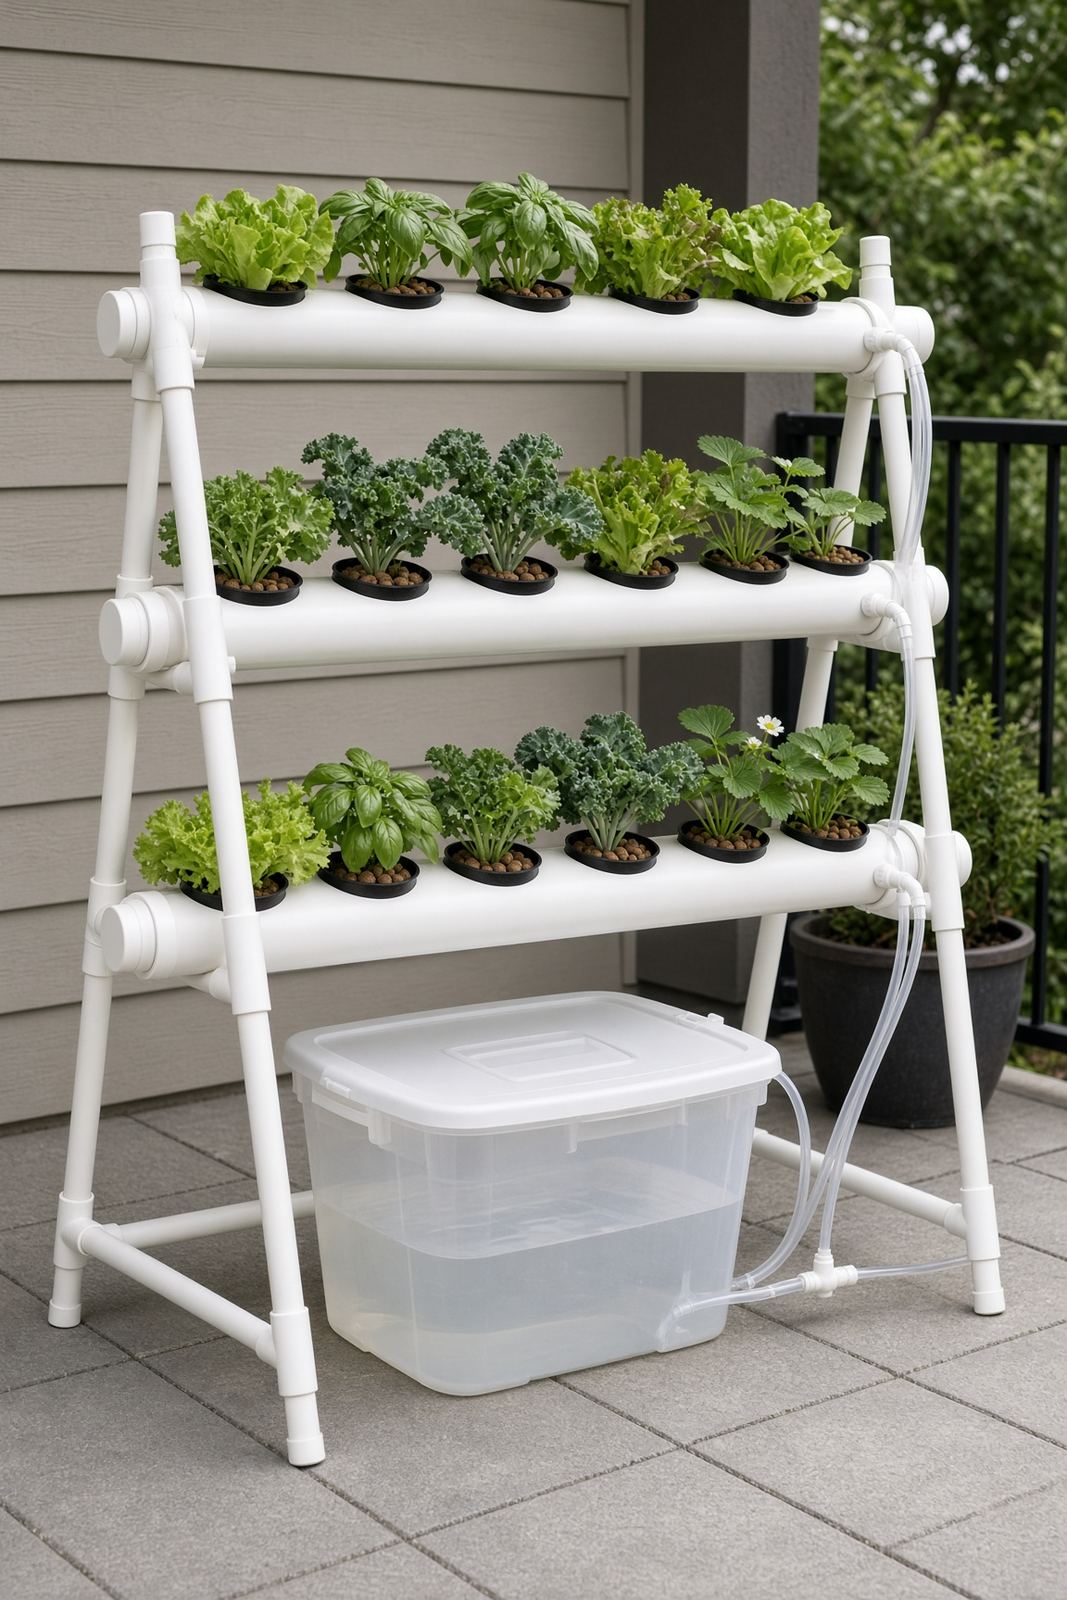
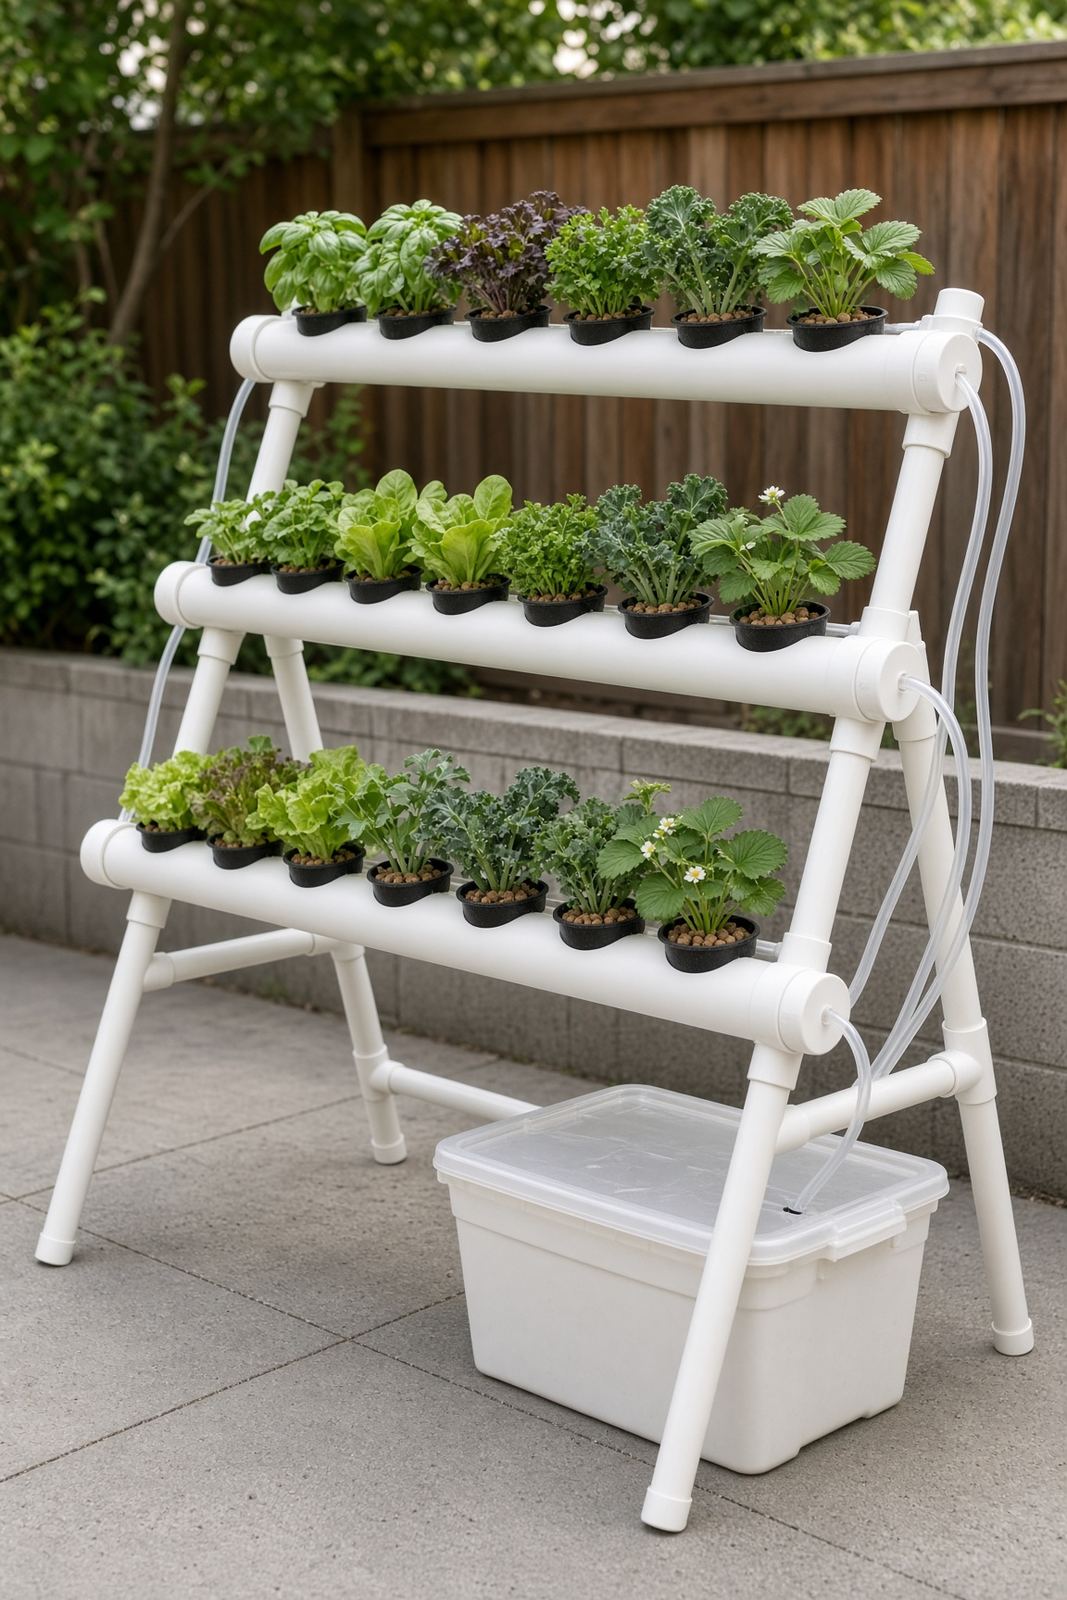
PVC NFT Channel System (Recirculating Greens Wall)
Nutrient Film Technique: a thin stream of nutrient water runs down sloped PVC channels, past bare roots, and back to a reservoir. High yield in a small footprint, and it uses very little water.
Estimated time
4 – 6 hours
Lifespan
8+ years for the frame and channels
Soil needed
None — net pots with clay pebbles
Weight empty
35–45 lbs
Weight full
250+ lbs with a full reservoir
Best for
Lettuce, herbs, strawberries, kale — about 27 plants in a 6 ft × 3 ft area. Skip full-size tomatoes and other big fruiting crops; NFT channels are a greens system.
Placement
Level ground is critical. Set the frame with a slight 1:30 slope (about 2 inches of drop across a 6 ft run) so the film of water keeps moving.
Reservoir rule
Keep light out of the water. If the tank sits in sun or under bright lights, use dark/black toward the water and white on the outside. Put a lid on it.
- Black/opaque inside = no algae
- White outside = cooler water
Parts to Buy
| Part | Quantity | What You Use Them For |
|---|---|---|
| 4-inch PVC pipe, 10 ft lengths | 2 | Cut into three 6 ft grow channels |
| 4-inch PVC end caps | 6 | Cap both ends of each channel |
| 1/2-inch PVC pipe, 10 ft | 4 | A-frame legs and cross braces |
| 1/2-inch PVC elbows and tees | 16 | Frame joints |
| 27-gallon tote or 20-gal reservoir | 1 | Nutrient reservoir under the frame |
| Submersible pump, 400+ GPH | 1 | Feeds the top of each channel |
| 1/2-inch vinyl tubing + barbed tee fittings | 20 ft | Pump manifold to channel inlets |
| 3-inch net pots | 27 | 8-inch spacing — about 9 per channel |
- ·PVC cement and primer — use potable/NSF-rated pressure pipe, not drain pipe (DWV)
- ·Silicone sealant (food-safe) for the end caps
- ·Clay pebbles and 1.5-inch rockwool cubes
- ·Hydroponic nutrient set, pH pen, pH Up/Down, TDS meter
- ·Outdoor-rated timer or a GFCI outlet
- ·Panda film, white exterior paint over a dark tote, or a black tote wrapped white — the reservoir must be light-proof: dark toward the water, white outside if it sits in sun
Steps
- 1Cut the 4-inch PVC into three 6 ft channels. Deburr the cut ends.
- 2Mark net-pot holes down the top center of each channel, one every 8 inches. Drill with the 3-inch hole saw and sand the edges smooth.
- 3Glue an end cap on each end of each channel. Drill a 1/2-inch inlet hole in the top of the high-end cap and a 1-inch drain hole in the bottom of the low-end cap.
- 4Build the A-frame from 1/2-inch PVC: two triangular ends joined by cross braces, with the channel rails set at three heights so channels stack in tiers.
- 5Set the frame level side-to-side, then shim so each channel drops about 2 inches over its 6 ft length. Check with a level — too flat and water pools, too steep and roots dry out.
- 6Place the reservoir under the low end so all three drains empty into it. A full 20–27 gal tote weighs 170–225 lbs, so put it where it will stay: level ground, out of the way of feet, lid sealed around the drain pipes.
- 7Use food-safe, potable-rated PVC and cement throughout — ordinary drain pipe (DWV) isn't rated for water you'll circulate over food roots.
- 8Light-proof the tote and lid — dark/opaque toward the water, white on the outside if it gets sun. Cover clear lids and any sun-exposed tubing. The A-frame can stay plain PVC; only the water container needs this.
- 9Mount the pump in the reservoir. Run the main line up the frame and split it with tees to each channel inlet.
- 10Test with plain water first. Run it 20 minutes and check for leaks, pooling, and even flow in all three channels before you add a single plant.
- 11Mix nutrients in the reservoir, adjust pH to 5.5 – 6.2, and check EC (about 1.2–1.6 for leafy greens).
- 12Transplant rooted rockwool cubes into net pots with a few clay pebbles for support, then drop them in the holes. Rinse the pebbles first until the dust runs clear.
- 13Run the pump continuously during the day. Many growers run 24/7 on NFT; a 15-min-on / 15-min-off timer also works once roots are established.
- 14Block all light from the reservoir: dark/opaque toward the water, white on the outside if it gets sun, lid on and sealed around the plumbing. Cover any sun-exposed tubing too. The A-frame itself stays plain PVC — only the water container needs this.
- 15Top off daily with plain pH-adjusted water; change the full reservoir every 2 weeks.
Tools needed
- ·3-inch hole saw + drill
- ·Miter saw or PVC cutter
- ·Tape measure and level
- ·Deburring tool or sandpaper
- ·Safety glasses and dust mask
Common mistakes to avoid
- ·Channels not sloped, so water pools and roots suffocate
- ·Undersized pump — flow should be roughly 1 quart per minute per channel
- ·No backup plan for a power outage; NFT roots dry out within a few hours — keep a battery air pump or small inverter ready, or don't leave town on NFT without someone who can babysit it
- ·Net-pot holes cut too large, letting the pot fall through
- ·Skipping the plain-water leak test before planting
- ·Clear tote in the sun, or no lid — light in the water turns it green with algae
Maintenance tips
Flush the channels between crops with a mild hydrogen peroxide or vinegar solution. Clean the pump inlet screen monthly. Watch for root mats blocking flow at the drain end and thin them out. If the water looks green, the tank is leaking light — light-proof the reservoir and lid.
Community builds
See how other gardeners built their pvc nft channel system (recirculating greens wall) — and share photos of yours.
Sign in to view photos other gardeners have shared.
Sign in to share photos of your build.