Rain Barrel Watering System
Turn a food-grade 55-gallon drum into a rain barrel that captures roof runoff and saves on garden watering. This water is for plants, not drinking — roof runoff carries grit, bird droppings, and shingle residue.
Estimated time
1 – 2 hours
Lifespan
10+ years for the drum; spigots last 3–5 years
Soil needed
None — collects water
Weight empty
25–35 lbs
Weight full
450–500 lbs when full — needs a very stable base
Best for
Collecting roof runoff for garden irrigation
Placement
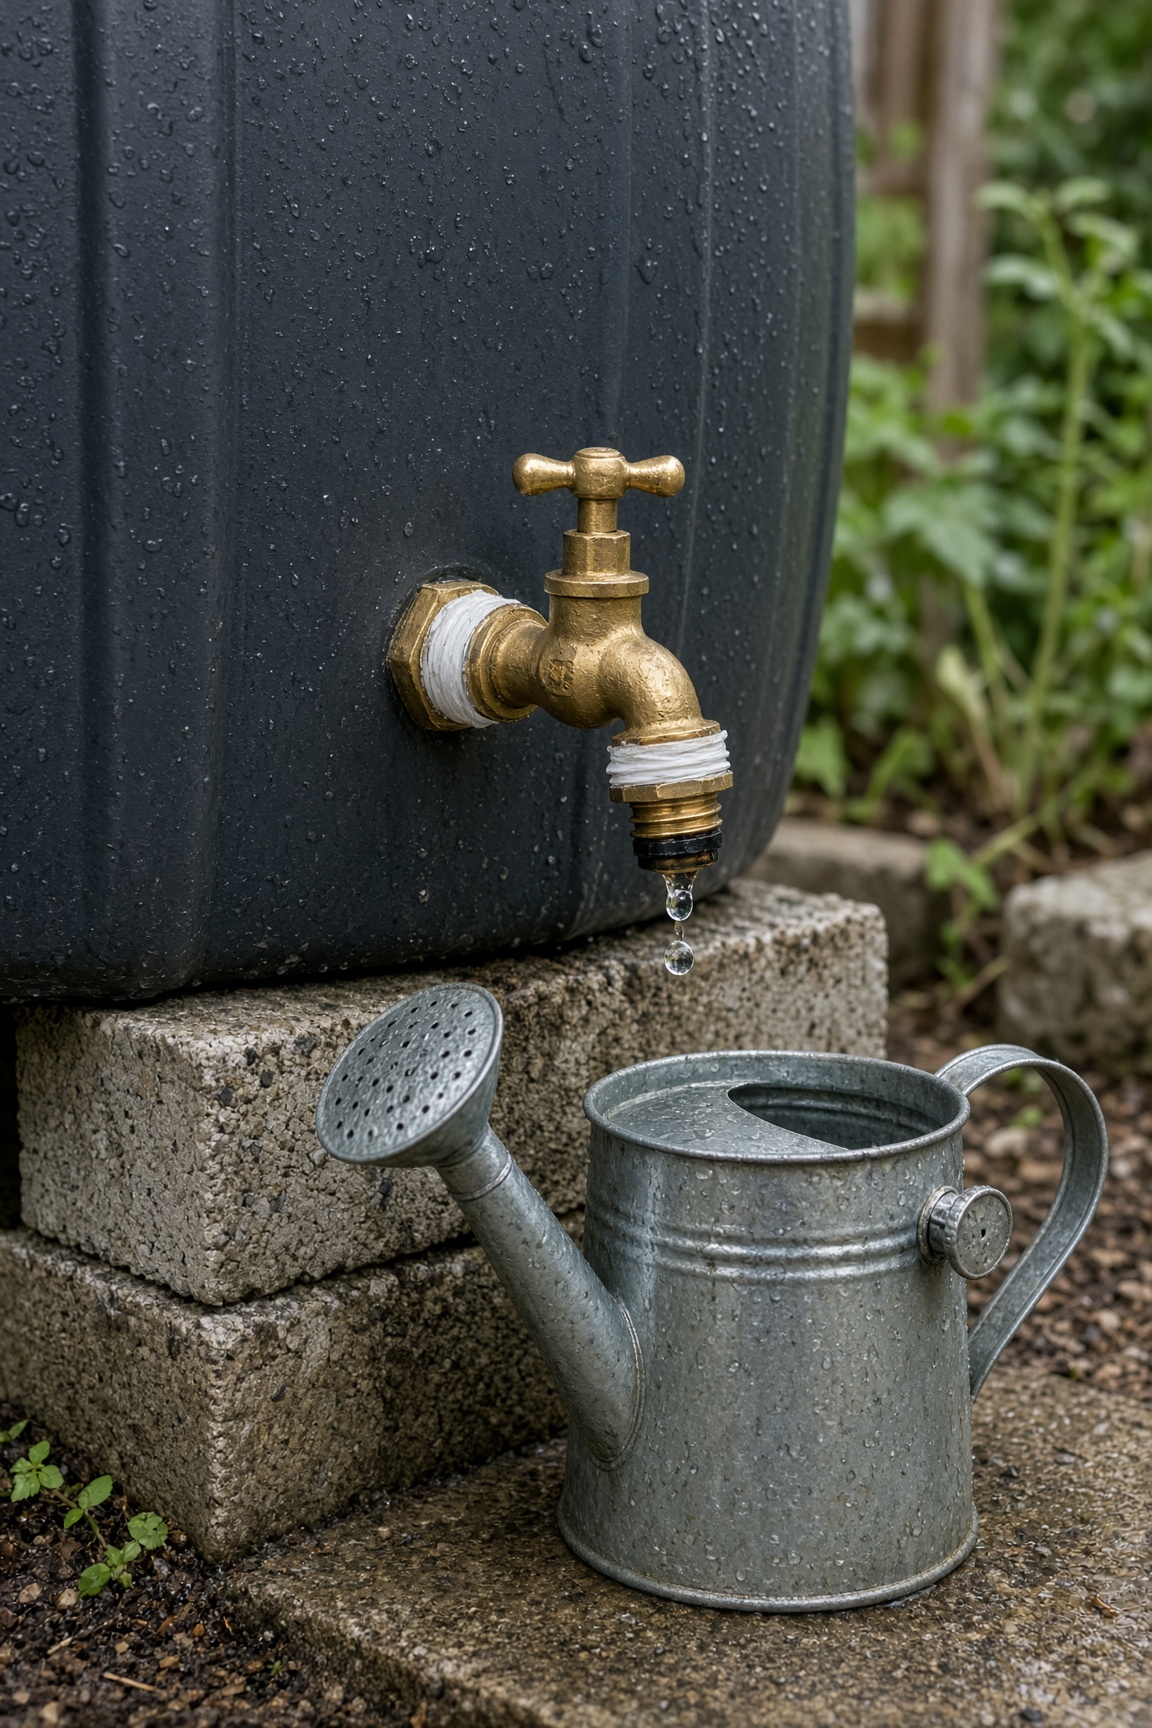
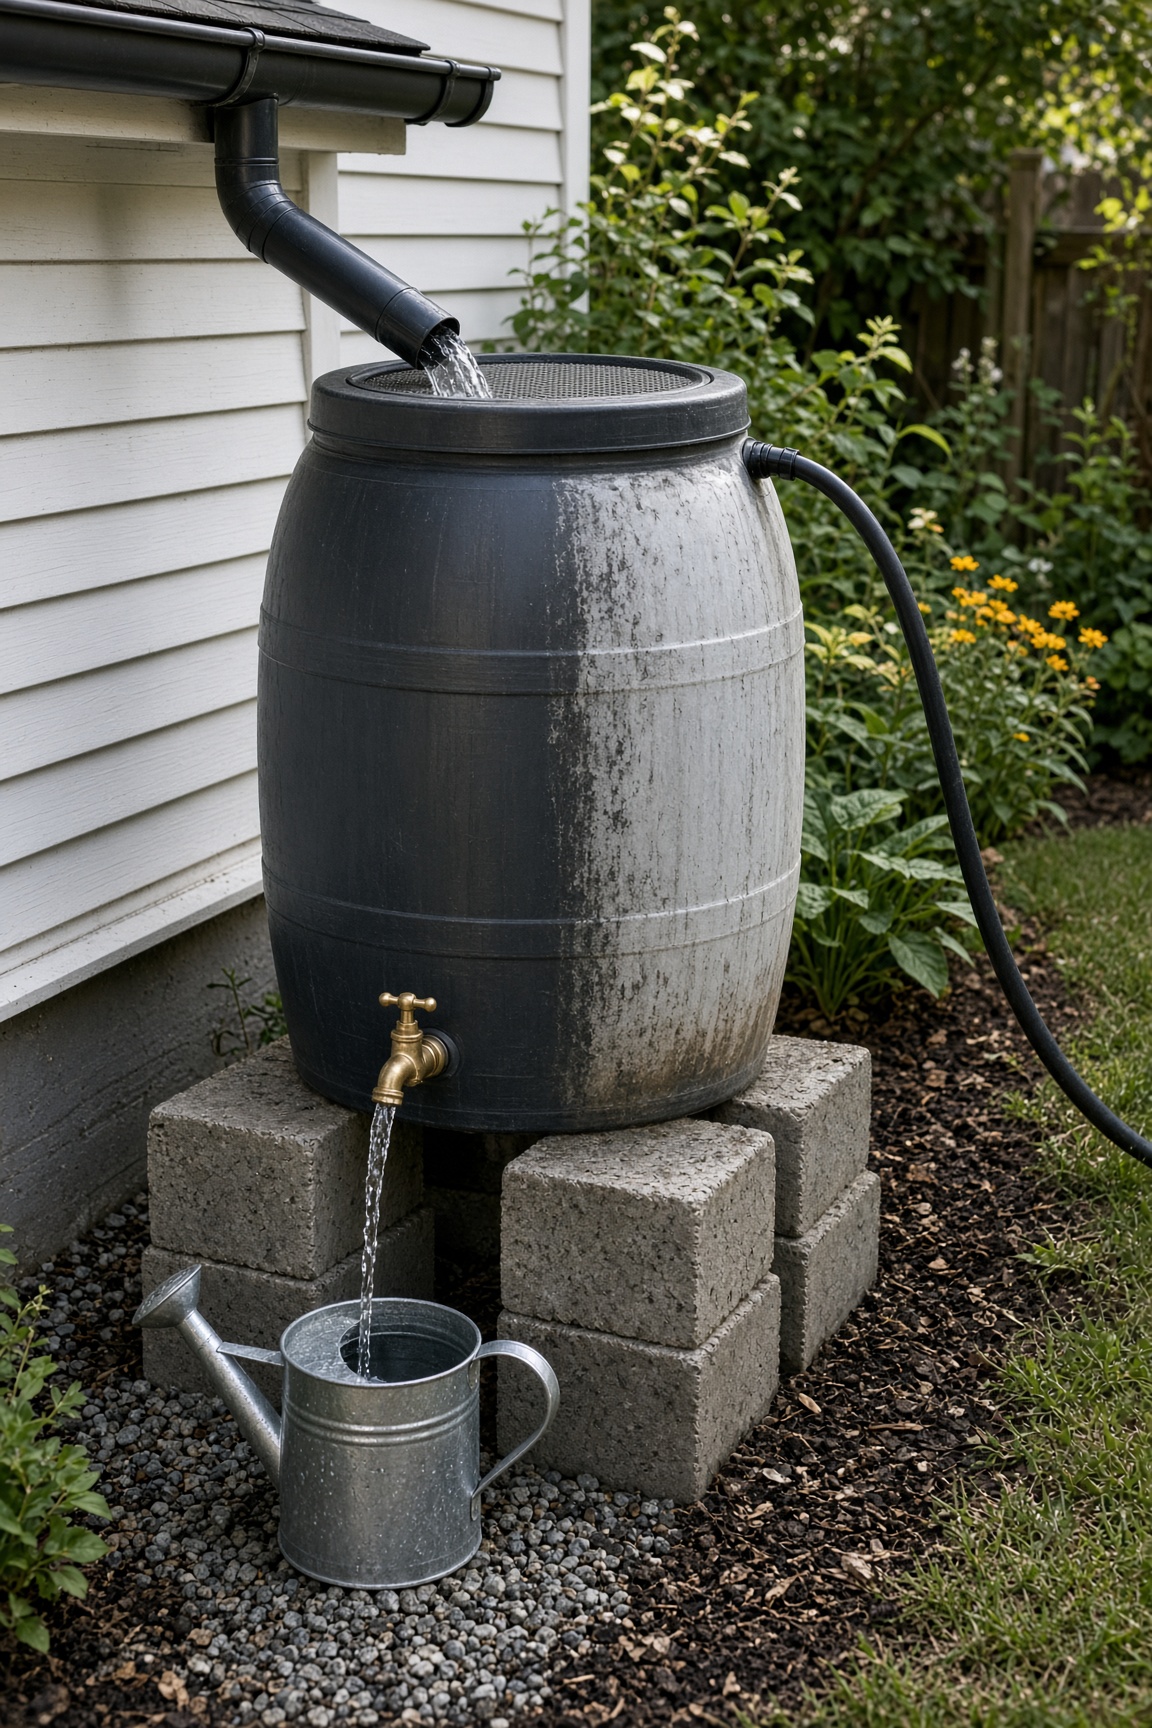
Place directly under a downspout on a level, solid base that can hold 500+ lbs. Elevate 12–18 inches so a watering can fits under the spigot. Keep the platform level — dirt turns to mud and the barrel can tip once it's 500 lb full. Run overflow away from the foundation and not onto a neighbor's property or a septic lid.
Boards to Buy
| Boards to Buy | Quantity | What You Use Them For |
|---|---|---|
| 55-gallon food-grade drum with removable lid | 1 | Water storage |
| Opaque drum, or paint dark barrels white on the outside | 1 | Blocks light and stays cooler in sun |
| Bulkhead fitting, 3/4 inch | 1 | Secure spigot mount through the barrel wall |
| Brass or PVC spigot, 3/4 inch | 1 | Water outlet |
| Overflow hose adapter | 1 | Directs excess water away |
| Window screen or mesh | 1 sq ft | Keeps mosquitoes and debris out |
| Concrete blocks or sturdy platform | 4 | Elevates barrel |
- ·Silicone sealant or Teflon tape
- ·Hose or downspout diverter kit
- ·Optional: soaker hose adapter
- ·Optional: short garden hose to link two barrels at the top
- ·Optional: first-flush diverter or leaf filter on the downspout
Steps
- 1Clean the drum thoroughly. Make sure it previously held food-grade contents only.
- 2Cut a large hole in the lid for the downspout to empty in. Cover it tightly with window screen so mosquitoes can't enter.
- 3Drill a hole near the bottom of the barrel for the bulkhead fitting, about 4 inches up from the base.
- 4Install the bulkhead fitting from the inside out, then attach the spigot. Use Teflon tape and a thin bead of silicone on the outside.
- 5Drill an overflow hole near the top, opposite the spigot. Install the overflow adapter and run a hose away from the foundation — and not onto a neighbor's yard or septic lid.
- 6Build a level platform of concrete blocks that can support 500+ lbs. Set it on firm, level ground, not soft dirt that can wash out.
- 7Set the barrel on the platform and connect the downspout so it empties into the screened lid hole.
- 8Use the water after each rain so it stays fresh. Drain the barrel before hard freezes.
- 9Optional: link a second barrel with a short hose at the top overflow height when one 55-gallon drum isn't enough.
Tools needed
- ·Drill with hole saw and spade bits
- ·Adjustable wrench
- ·Utility knife
- ·Level
Common mistakes to avoid
- ·A weak base that collapses under 500 lbs of water
- ·No overflow outlet — water backs up into gutters
- ·No screen on top — mosquitoes and debris get in
- ·Using a barrel that held chemicals or non-food contents
- ·Screwing a spigot directly into flexible plastic — the drum flexes and the threads leak; use a bulkhead fitting, then attach the spigot
- ·A clear or translucent barrel in full sun — algae blooms and the water gets hot enough to cook seedlings
- ·An open lid or loose screen — mosquitoes and small animals get in
Maintenance tips
Empty and scrub the barrel before the first rain each season. Keep the screen clear of leaves. Use the water after each rain so it doesn't stagnate. Drain completely before hard freezes.
Community builds
See how other gardeners built their rain barrel watering system — and share photos of yours.
Sign in to view photos other gardeners have shared.
Sign in to share photos of your build.