Root Crop Storage Clamp
An old-fashioned underground mound that stores root crops through winter using soil and straw insulation.
Estimated time
30 – 60 minutes to build the clamp, plus harvest and curing time
Lifespan
One season
Soil needed
None — stores harvested roots in the ground
Weight empty
N/A
Weight full
100–200 lbs when loaded
Best for
Carrots, beets, turnips, parsnips, and potatoes in mild-winter climates — not for hard-freeze country
Placement
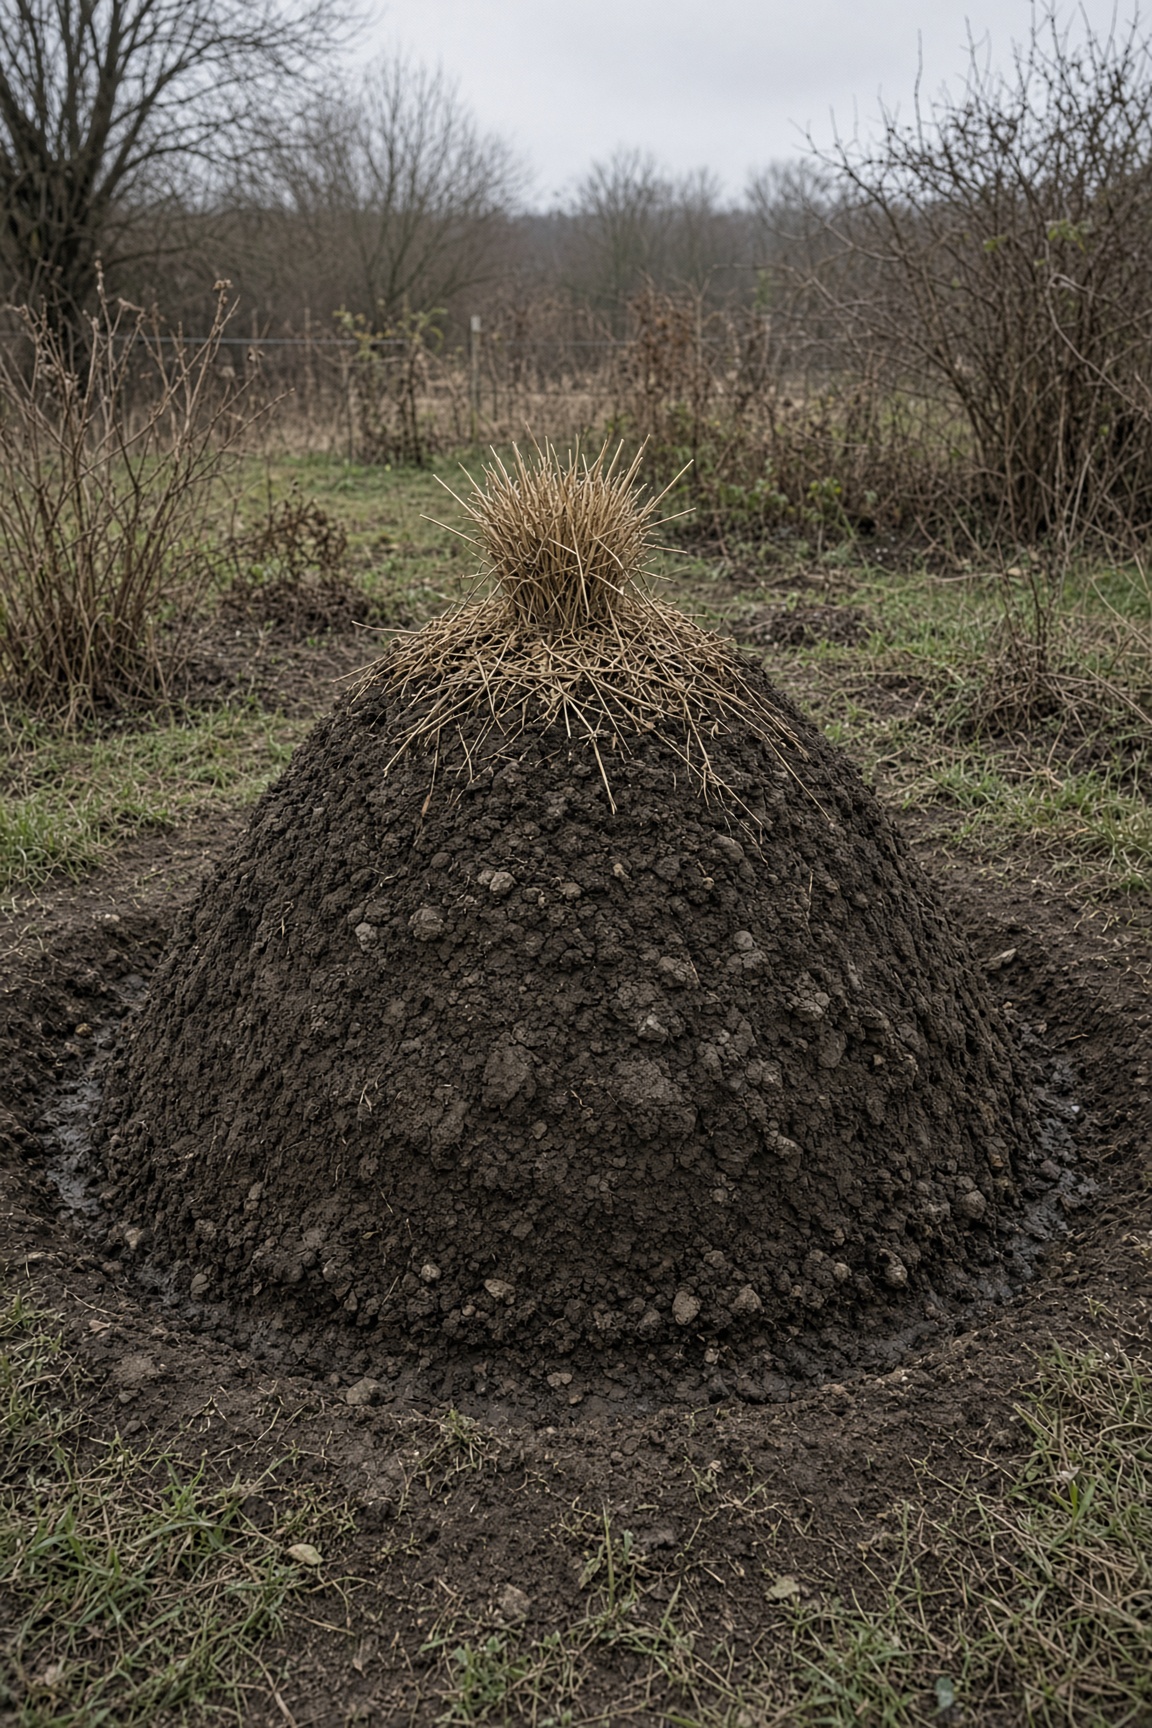
Choose a well-drained spot on high ground. Dig a shallow trench around the base so water drains away. Avoid low areas where water pools.
Parts to Buy
| Part | Quantity | What You Use Them For |
|---|---|---|
| Dry straw or leaves | 1–2 bales | Insulation layers — must be dry |
| Garden soil or sand | 1 wheelbarrow | Outer cover |
| Burlap or old sheet | 1 | Separates crops from soil |
| Hardware cloth | 1 small piece | Optional rodent barrier under first straw layer |
- ·Optional: wooden pallet base for drainage
- ·Optional: tarp for very wet climates
Steps
- 1Harvest root crops on a dry day and let them cure briefly. Store only sound, dry roots — cut, wet, or frozen ones rot the pile.
- 2Choose high, drained ground. Dig a shallow drainage trench around where the clamp will sit.
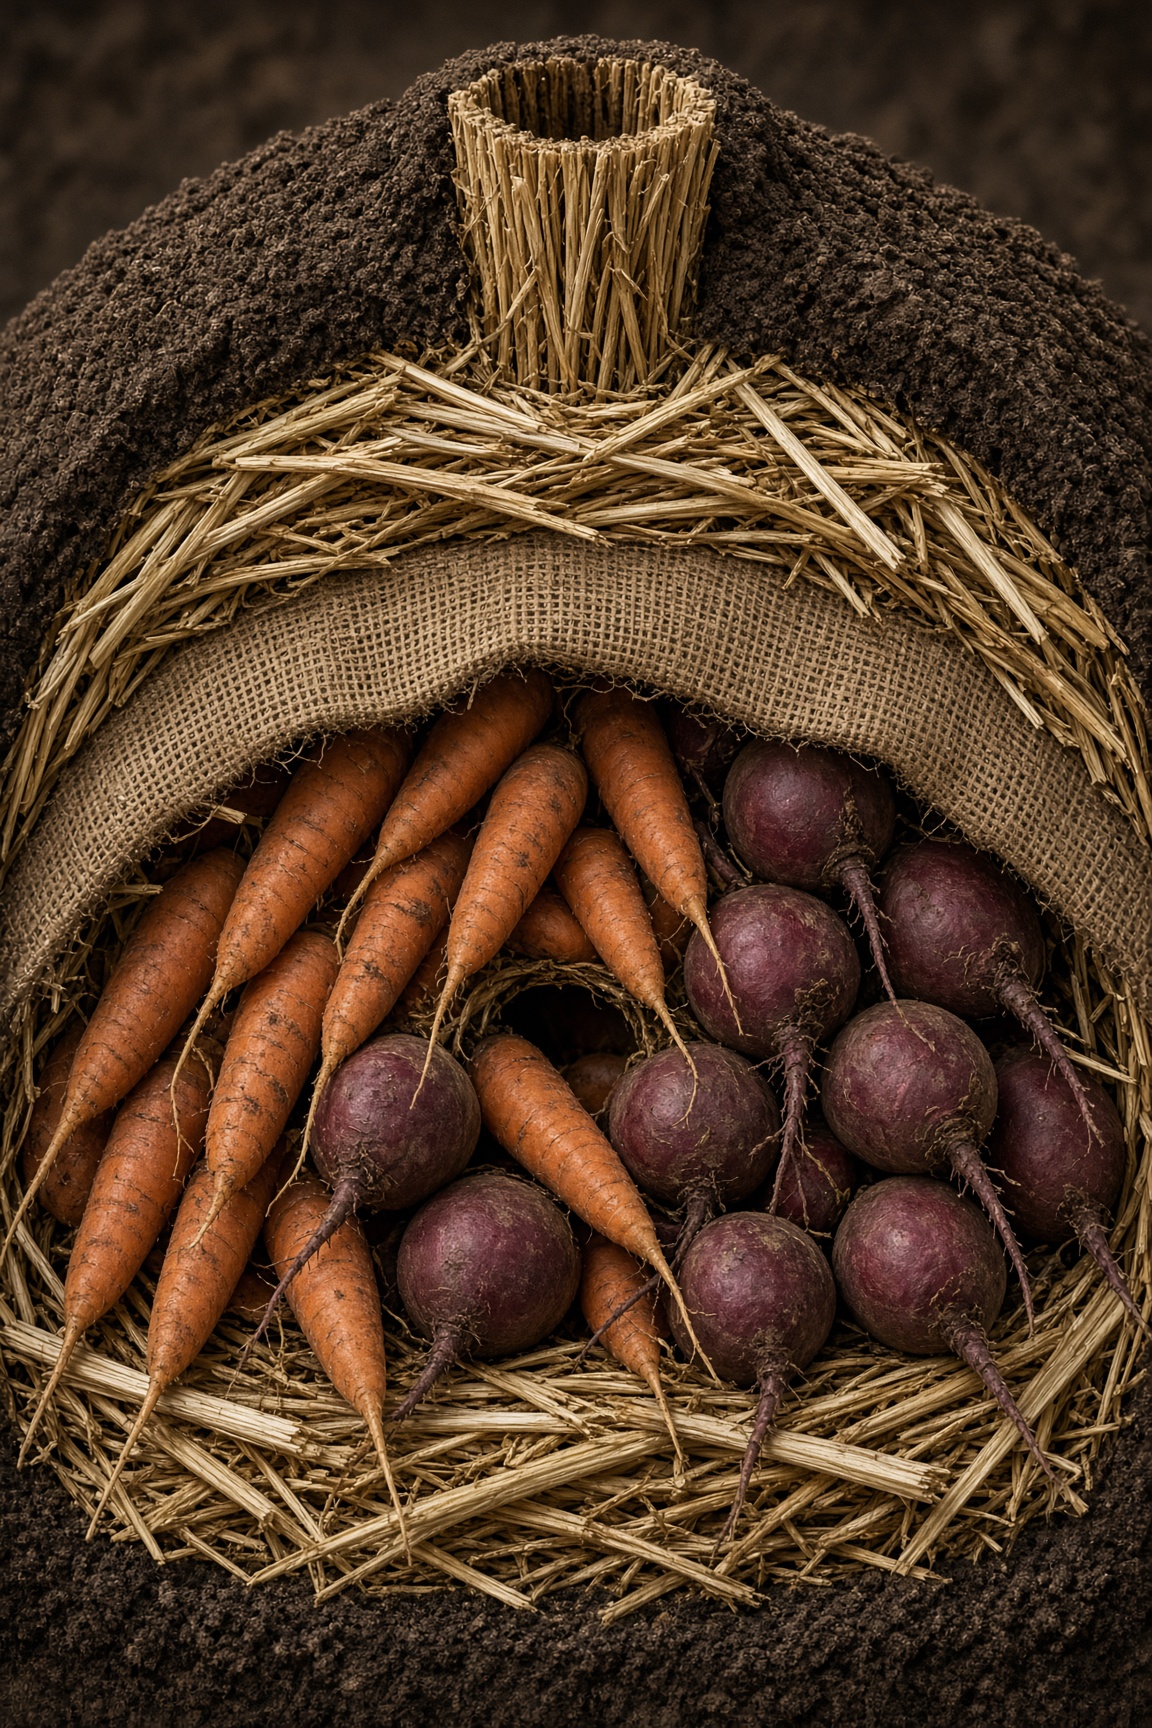
- 3Lay a 6-inch layer of dry straw on the ground in a circle. Wet straw is a mold factory.
- 4Optional: lay a piece of hardware cloth under the first straw layer to slow mice and voles.
- 5Pile crops in a cone, leaving a small central gap for air.
- 6Cover with burlap, then 6–8 inches of dry straw.
- 7Mound soil over the straw to shed water, leaving a straw chimney at the top for ventilation.
- 8Open the clamp from the top, take what you need, and close it again.
- 9Use everything before warm spring weather, or the pile sprouts and slimes.
Tools needed
- ·Shovel
- ·Pitchfork
- ·Wheelbarrow
Common mistakes to avoid
- ·Trying this in hard-freeze country — it's a mild-winter method, not a Minnesota root cellar
- ·Storing cut, wet, or frozen roots — one rotten crop spoils the pile
- ·Piling crops too deep — heat and rot build up
- ·Using wet straw — it molds
- ·No ventilation gap in the center or straw chimney at the top — don't seal it like a grave
- ·Forgetting mice and voles — they will find it
- ·Leaving it open — take what you need and close it again
- ·Not using crops before warm spring weather — they sprout and slime
Maintenance tips
Check the clamp after heavy rain or frost. Replace straw if it gets wet. Open from the top, take what you need, and close it again. Use crops before warm spring weather arrives.
Community builds
See how other gardeners built their root crop storage clamp — and share photos of yours.
Sign in to view photos other gardeners have shared.
Sign in to share photos of your build.