Seed Starting Rack with Grow Lights
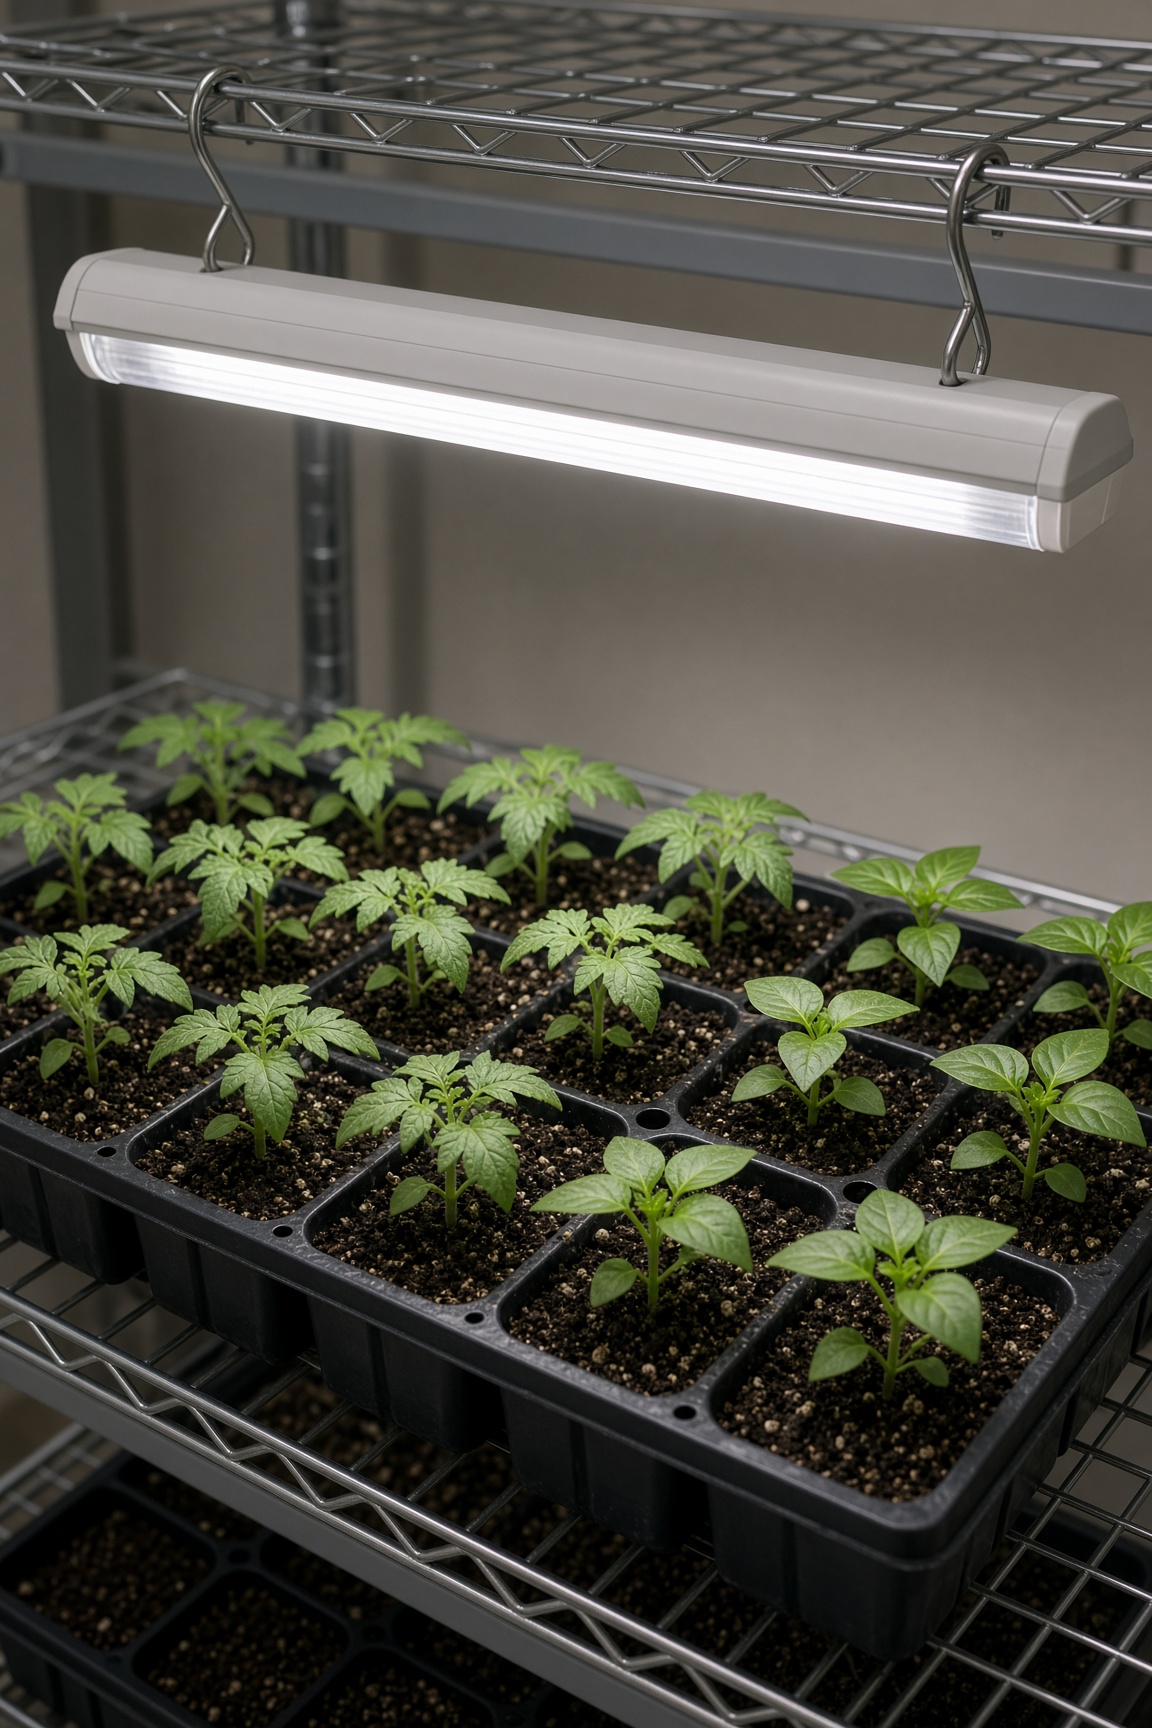
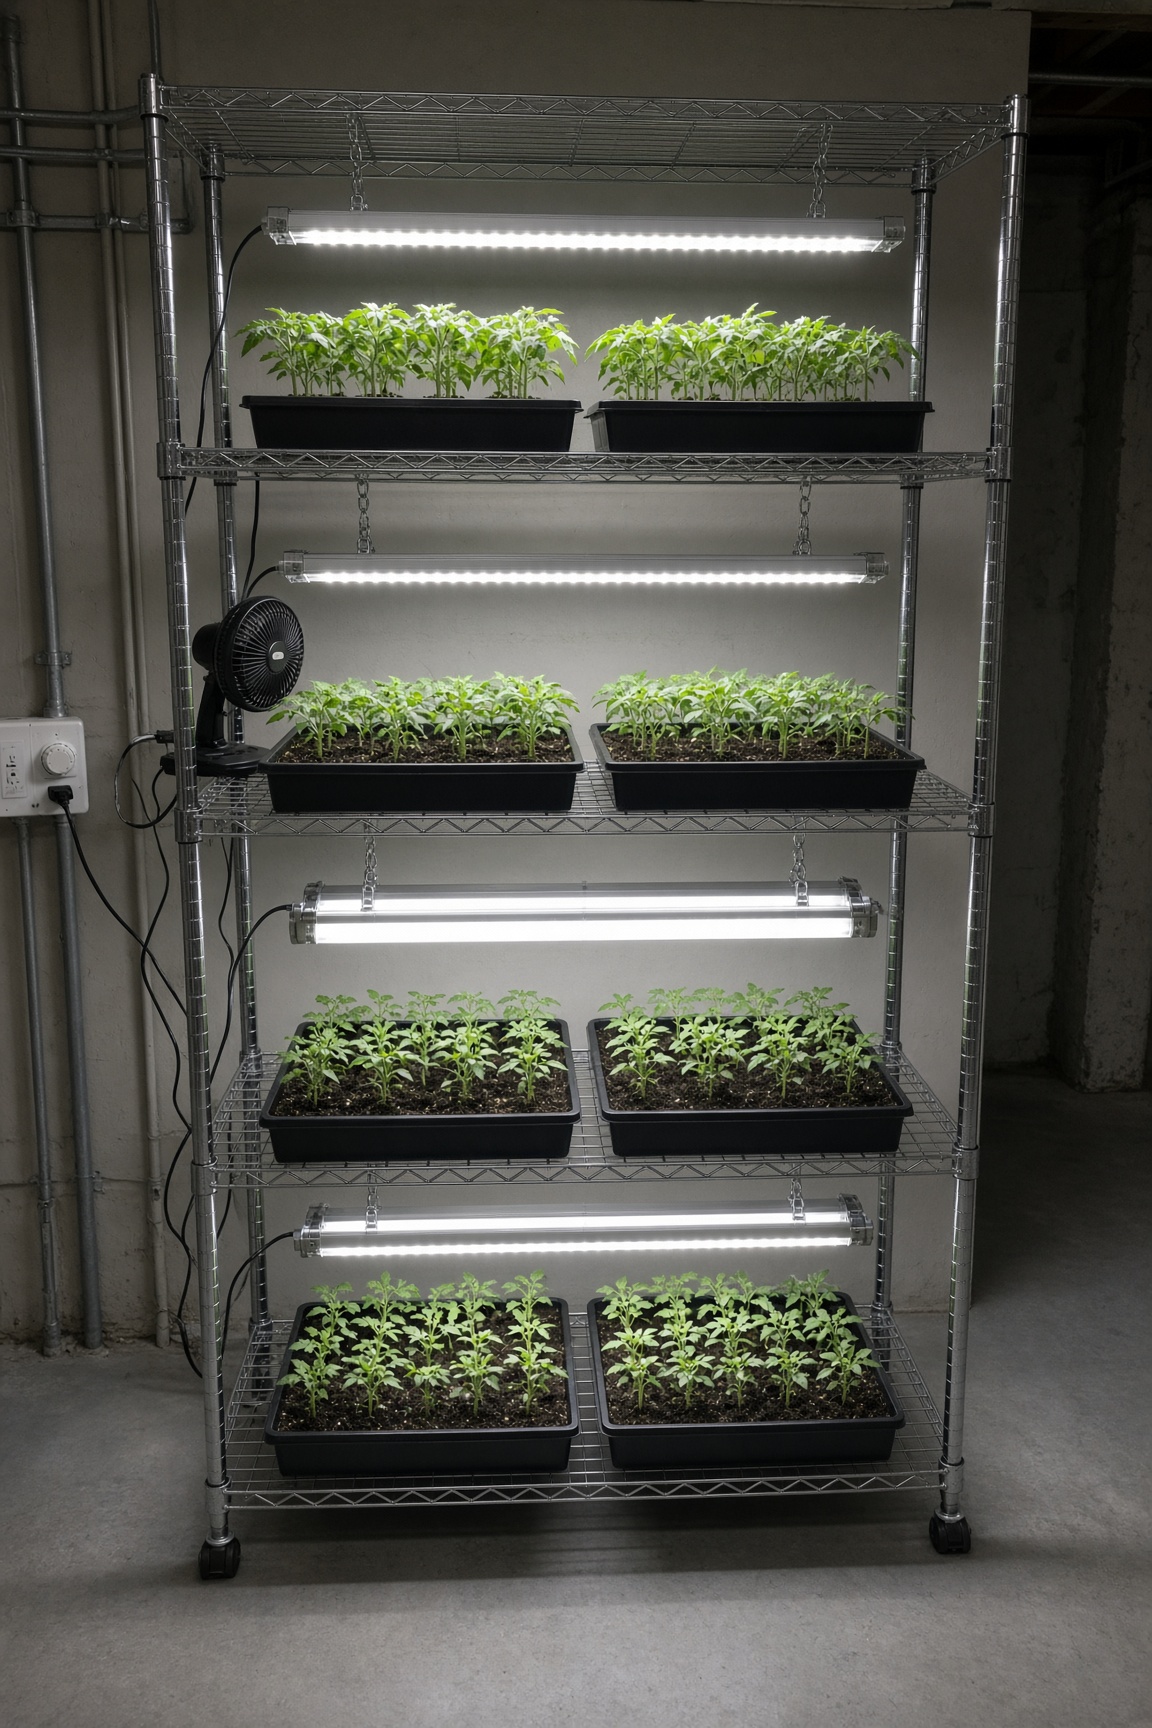
A wire shelving unit fitted with LED shop lights and a timer gives seedlings the bright, consistent light they need to grow sturdy indoors.
Estimated time
1.5 – 2 hours
Lifespan
10+ years for the rack; 3–5 years for LED tubes
Soil needed
None — holds seedling trays
Weight empty
30–50 lbs
Weight full
80–120 lbs with trays and lights
Best for
Starting tomatoes, peppers, brassicas, and flowers indoors 6–8 weeks before transplant
Placement
Place near an outlet in a cool basement or spare room. Use the top shelf for hanging lights over the shelf below, not for trays.
Parts to Buy
| Part | Quantity | What You Use Them For |
|---|---|---|
| 4-tier wire shelving unit, 4 ft wide | 1 | Rack frame |
| LED shop lights, 4 ft, 5000–6500K | 1 per shelf (2 if the shelf is deep) | Grow lights |
| Light-duty chains or S-hooks | 8–12 | Adjustable light hangers |
| Programmable timer | 1 | Controls light schedule |
- ·Optional: small oscillating fan for air circulation
- ·Optional: heat mat for germination only
Steps
- 1Assemble the shelving unit in its final location on a level floor. A full rack weighs 80–120 lb, so wall-strap it if kids or pets might bump it.
- 2Plan for three growing shelves, using the top shelf to hang lights over the shelf below.
- 3Hang one 4 ft LED shop light above each growing shelf (use two only if the shelf is deep). 5000–6500K white shop LEDs work perfectly; purple ‘blurple’ lights are not required.
- 4Plug the lights into a programmable timer set to 14–16 hours on.
- 5Place seedling trays on the shelves and adjust lights to 2–3 inches above the tops of the plants.
- 6Raise the lights every few days as seedlings grow.
- 7Add a small fan on the lowest setting to strengthen stems and prevent damping-off fungus.
- 8Water from below by setting trays in shallow water for 10 minutes, then dump any standing water.
- 9Use a heat mat only until seeds germinate, then turn it off. A cool room after germination produces stockier seedlings.
Tools needed
- ·Cordless drill / driver (if installing hooks)
- ·Pliers for chain links
- ·Tape measure
Common mistakes to avoid
- ·Lights too far from seedlings — they get leggy
- ·No timer — young plants need 14–16 hours of light daily
- ·Forgetting a fan — still air causes damping off
- ·Overwatering trays with no drainage
- ·Buying two lights for every shelf when one 4 ft shop light is enough for a single row of trays
Maintenance tips
Dust the LED tubes monthly. Check timers each season. Sterilize trays with a dilute bleach rinse before reuse.
Community builds
See how other gardeners built their seed starting rack with grow lights — and share photos of yours.
Sign in to view photos other gardeners have shared.
Sign in to share photos of your build.