Solar Light Garden Path
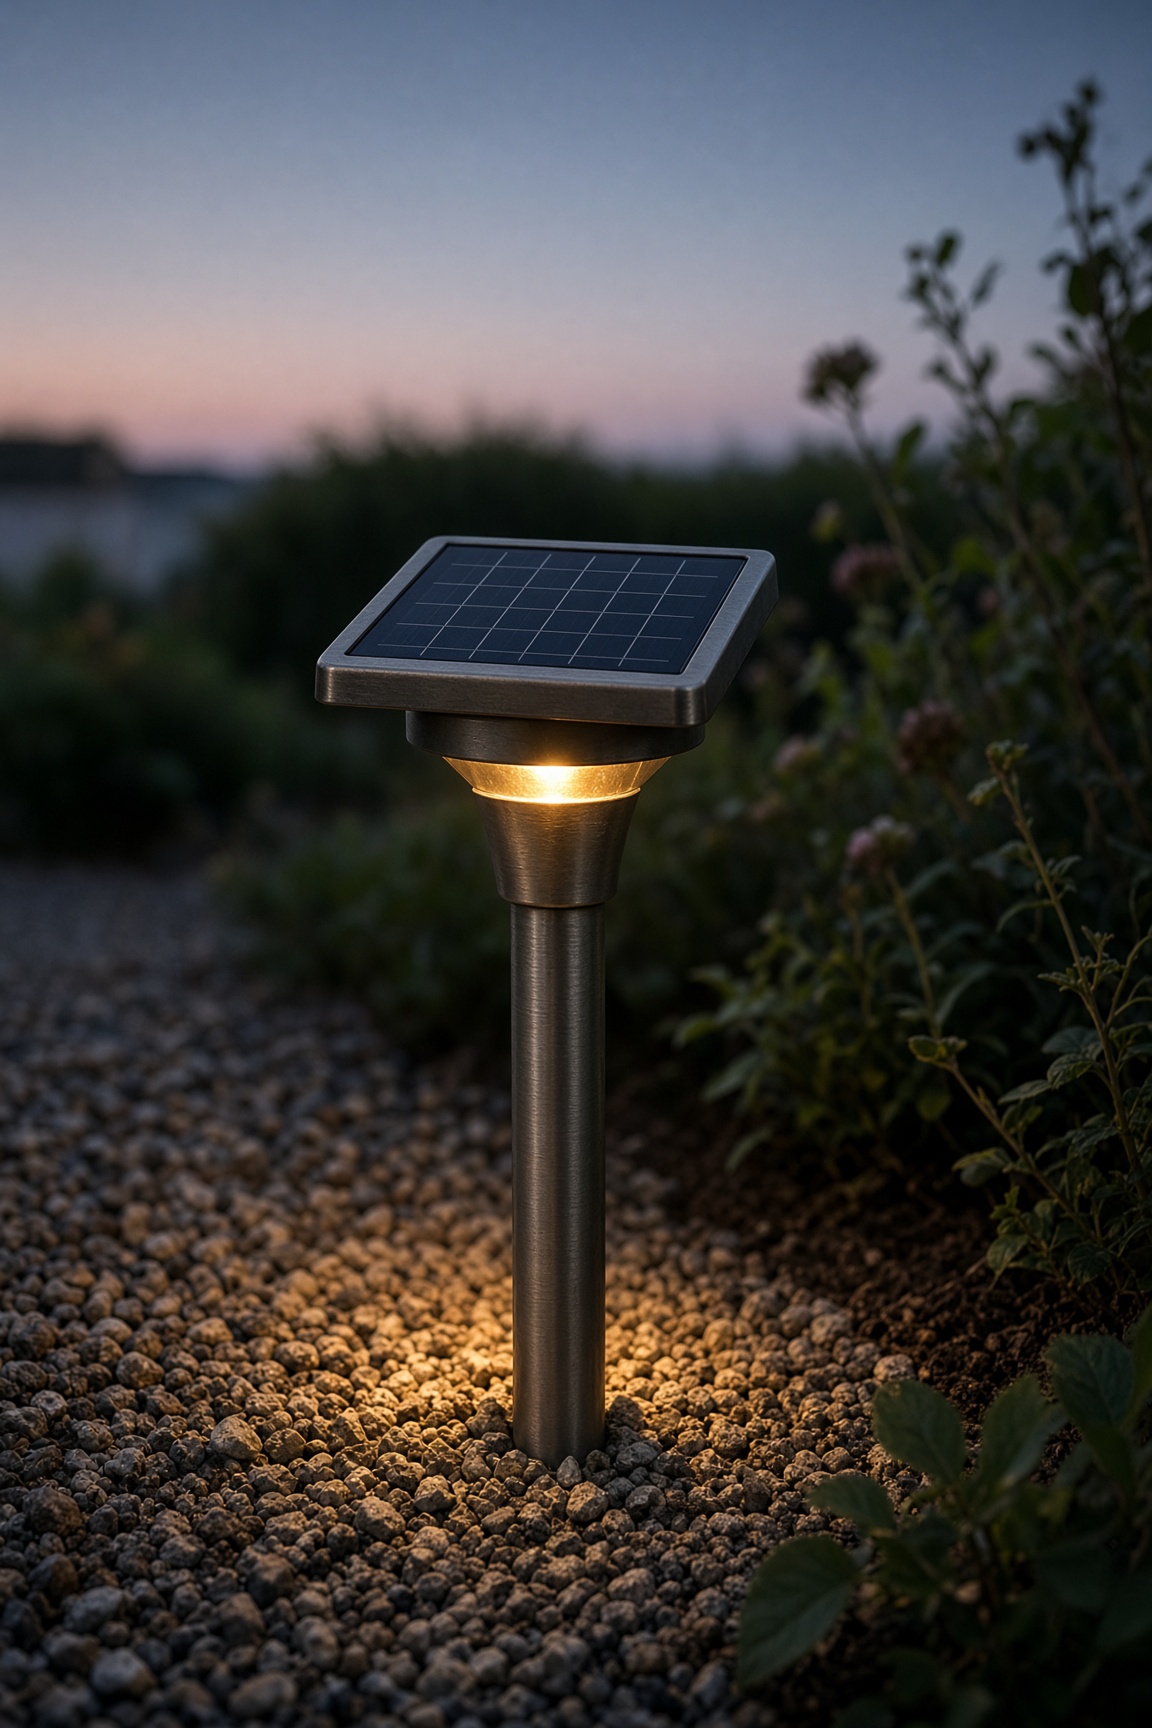
Most people just stake quality solar lights along an existing path. The full path-build — edging, fabric, and gravel — is a separate weekend project.
Estimated time
1 hour for lights on an existing path; a weekend if building the path too
Lifespan
3–5 years for lights; path lasts much longer
Soil needed
None — hardscape feature
Weight empty
N/A
Weight full
N/A
Best for
Marking paths, highlighting beds, and safe evening garden walks
Placement
Lights need direct sun all day. Place them 4–6 ft apart along the walking edge, not back in the flower bed.

Parts to Buy
| Part | Quantity | What You Use Them For |
|---|---|---|
| Solar path lights, quality metal or glass with replaceable batteries | 8–12 | Lighting |
| Pavers, gravel, or mulch | Enough for path | Path surface — skip if path already exists |
| Edging material | 20–40 ft | Defines path edge — skip if path already exists |
| Landscape fabric | 20–40 ft | Weed barrier under gravel — skip if path already exists |
- ·Optional: rechargeable battery replacements
Steps
- 1If your path already exists, skip to step 5.
- 2Lay out the path with a hose or rope.
- 3Install edging along both sides.
- 4Lay landscape fabric and spread gravel, mulch, or pavers evenly.
- 5Place solar lights every 4–6 feet along the walking edge, not buried in the flower bed.
- 6Press each light firmly into the ground so it stands straight.
- 7Make sure every panel gets direct sun for most of the day.
- 8Let them charge for a full day before testing at night.
- 9Wipe the panels clean; dust and bird droppings kill output.
- 10Expect shorter runtimes in winter — that is normal.
Tools needed
- ·Shovel
- ·Rake
- ·Rubber mallet for edging
Common mistakes to avoid
- ·Buying the cheapest plastic lights — they dim and die in one season; choose metal/glass with replaceable batteries
- ·Spacing them too far apart — dark gaps between lights
- ·Installing in shade — they never charge and die at 8 p.m.
- ·Not letting them charge a full day before judging brightness
- ·Forgetting to clean the solar panel — dust and bird droppings cut charging by half
- ·Expecting summer runtime in winter — shorter nights are normal
Maintenance tips
Wipe solar panels monthly. Replace rechargeable batteries every 1–2 years. Straighten lights after frost heave. Expect shorter runtimes in winter.
Community builds
See how other gardeners built their solar light garden path — and share photos of yours.
Sign in to view photos other gardeners have shared.
Sign in to share photos of your build.