Straw Bale Garden
A whole garden planted directly into a conditioned straw bale. No digging, no weeding, and the bale becomes compost at the end of the season.
Estimated time
About 2 weeks conditioning
Lifespan
One season — compost the spent bales
Soil needed
2–3 gallons of potting mix per bale for top dressing
Weight empty
40–60 lbs dry
Weight full
200+ lbs when wet
Best for
Tomatoes, peppers, squash, cucumbers, greens, and herbs
Placement
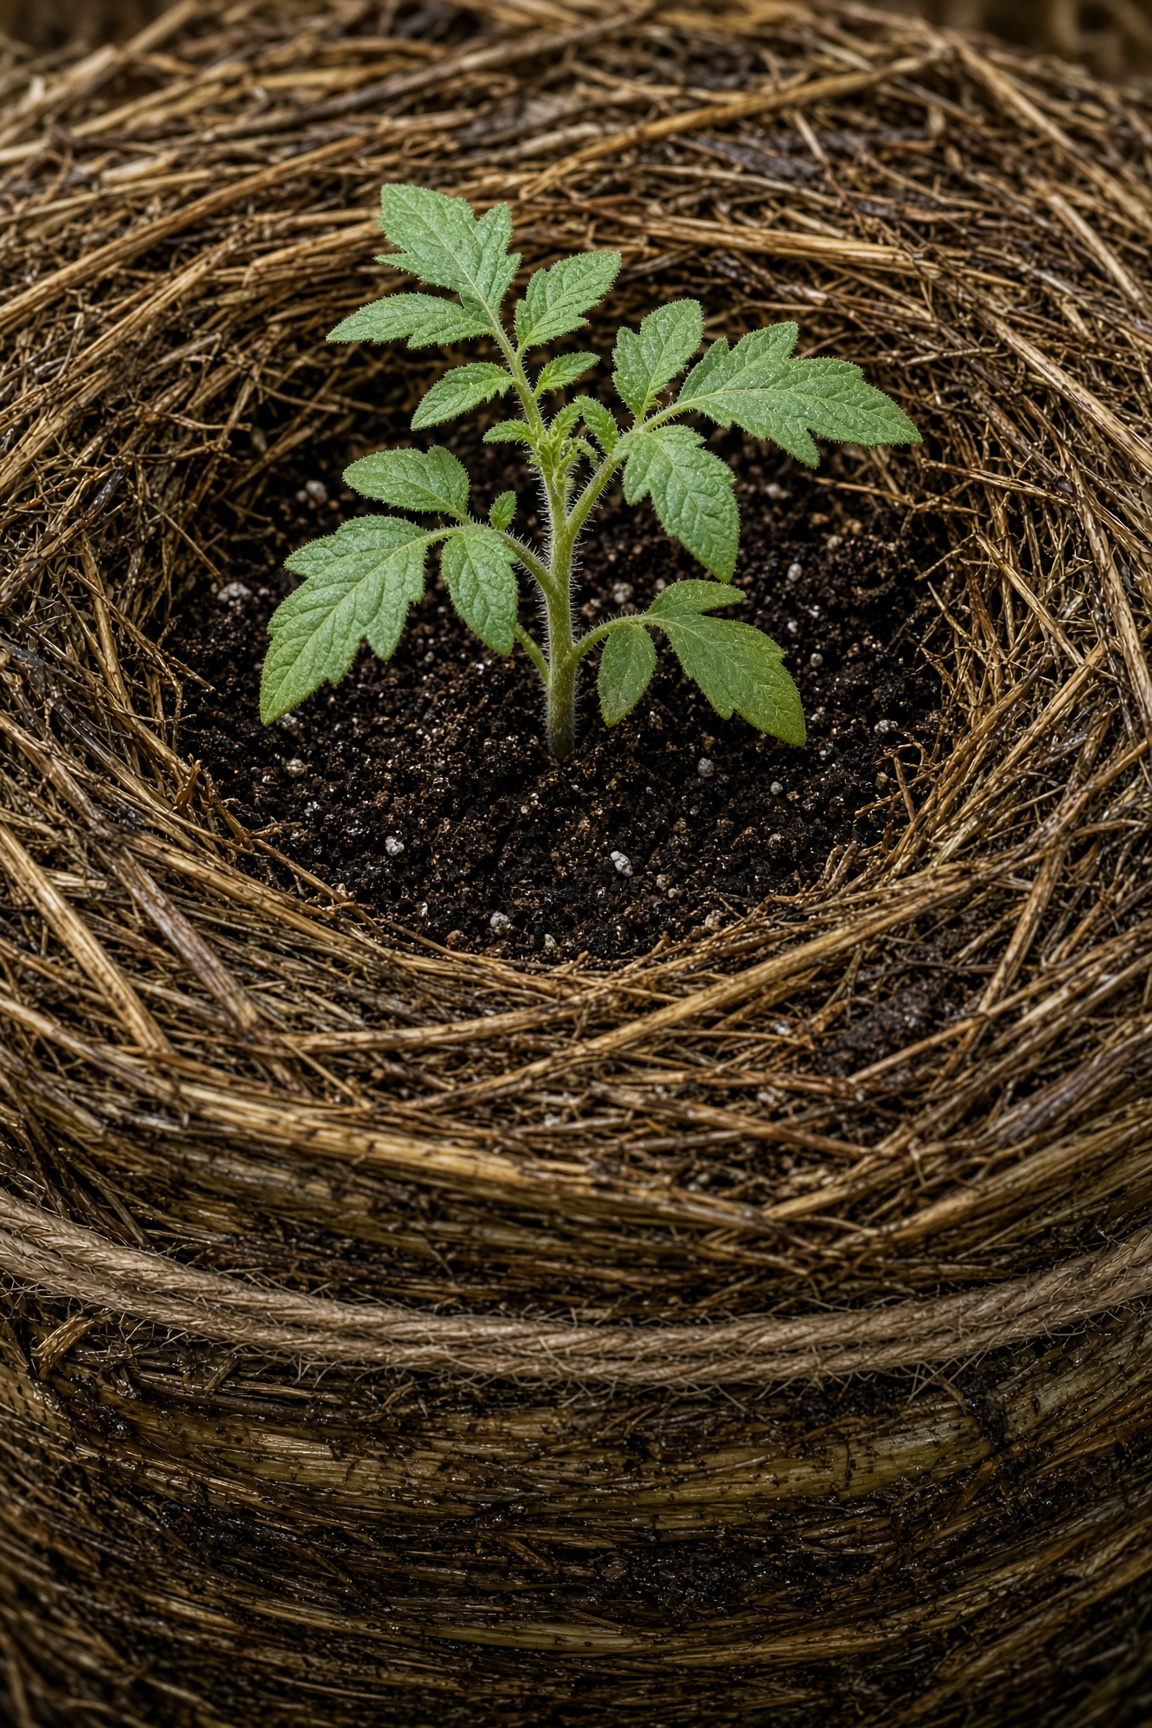
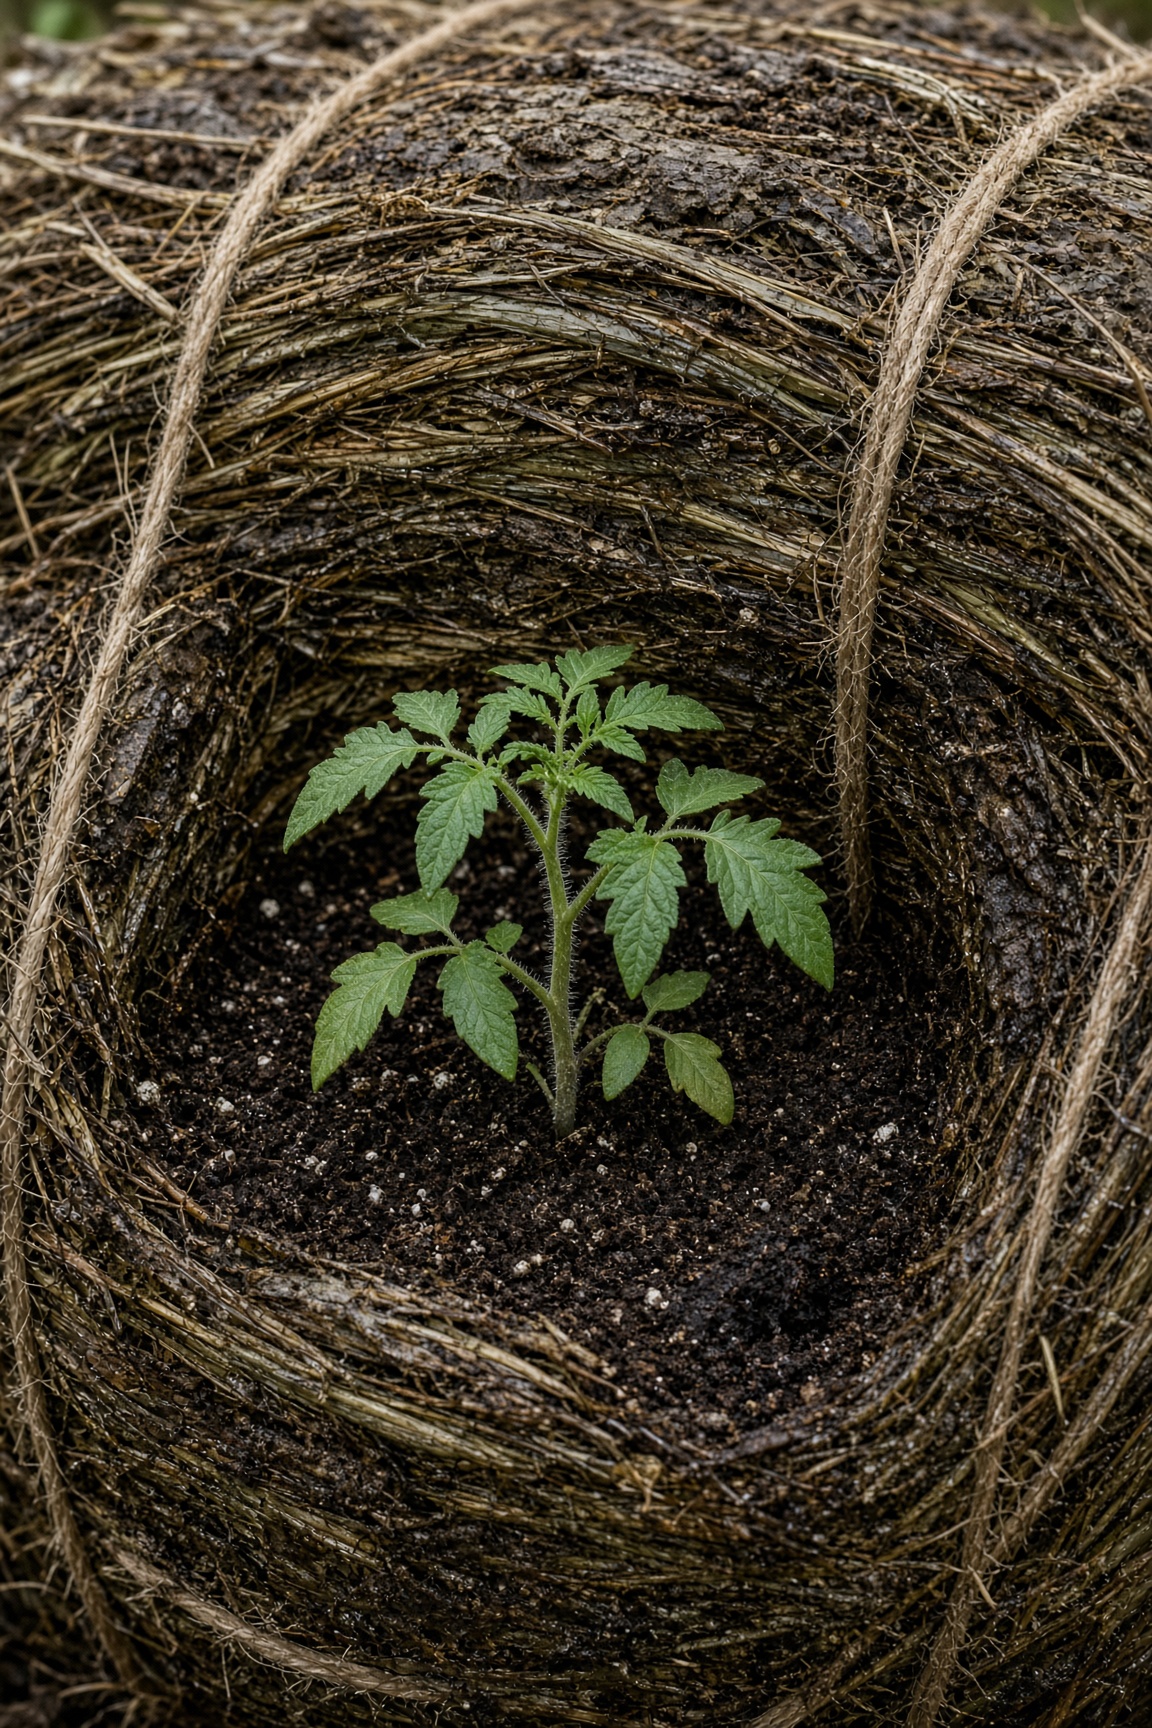
Place bales on cardboard or bare soil, cut side up, strings on the sides. Keep them level and stable — a wet bale weighs 200+ lb, so ground only (never a deck or balcony).
Parts to Buy
| Part | Quantity | What You Use Them For |
|---|---|---|
| Wheat or oat straw bale | 1 per planting block | Growing medium |
| All-purpose fertilizer, high nitrogen | 1 small bag | Conditions the bale |
| Potting mix | 2–3 gallons | Top dressing for seeds |
- ·Drip line or soaker hose
- ·Optional: tomato cage or stake — wet bales get soft and heavy plants flop
- ·Optional: trellis stakes for climbing crops
Steps
- 1Use straw, not hay. Hay is full of seeds and will sprout a lawn on top of your garden.
- 2Set the bale cut-side up with the strings on the sides, not under the bottom. If the strings are on the bottom, the bale slumps and falls apart as it breaks down.
- 3Water the bale thoroughly every day for 3 days.
- 4On days 4–6, sprinkle 1/2 cup of high-nitrogen fertilizer on top and water in.
- 5On days 7–9, cut fertilizer to 1/4 cup and keep watering.
- 6Days 10–12, water only. The bale will heat up as it composts inside, then cool back down.
- 7Check the center temperature with a thermometer or your hand — plant only when it is below 100°F, or you will cook the roots.
- 8Make pockets in the straw, fill with potting mix, and set in transplants.
- 9For seeds, spread a 2-inch layer of potting mix across the top and sow.
- 10Water daily; straw drains fast but holds moisture well once saturated. If it dries out, it becomes a brick and is hard to rewet.
- 11Add a liquid feed every 2 weeks during heavy fruiting.
- 12At the end of the season, the bale is compost. Spread it on a bed or add it to a pile.
Tools needed
- ·Trowel
- ·Watering can or hose
- ·Thermometer (optional)
Common mistakes to avoid
- ·Using hay instead of straw — hay is full of seeds that sprout a lawn
- ·Laying the bale with strings underneath or the wrong side up — it slumps and falls apart
- ·Skipping the conditioning week — the bale will heat up and cook seedlings
- ·Planting before the bale cools below 100°F
- ·Letting the bale dry out completely — once it’s a brick, it’s hard to rewet
Maintenance tips
Water daily in hot weather. Add a balanced liquid feed every 2 weeks once fruiting starts. At season end, the bale is finished compost — spread it on a bed.
Community builds
See how other gardeners built their straw bale garden — and share photos of yours.
Sign in to view photos other gardeners have shared.
Sign in to share photos of your build.