DIY Wire Mesh Compost Bin
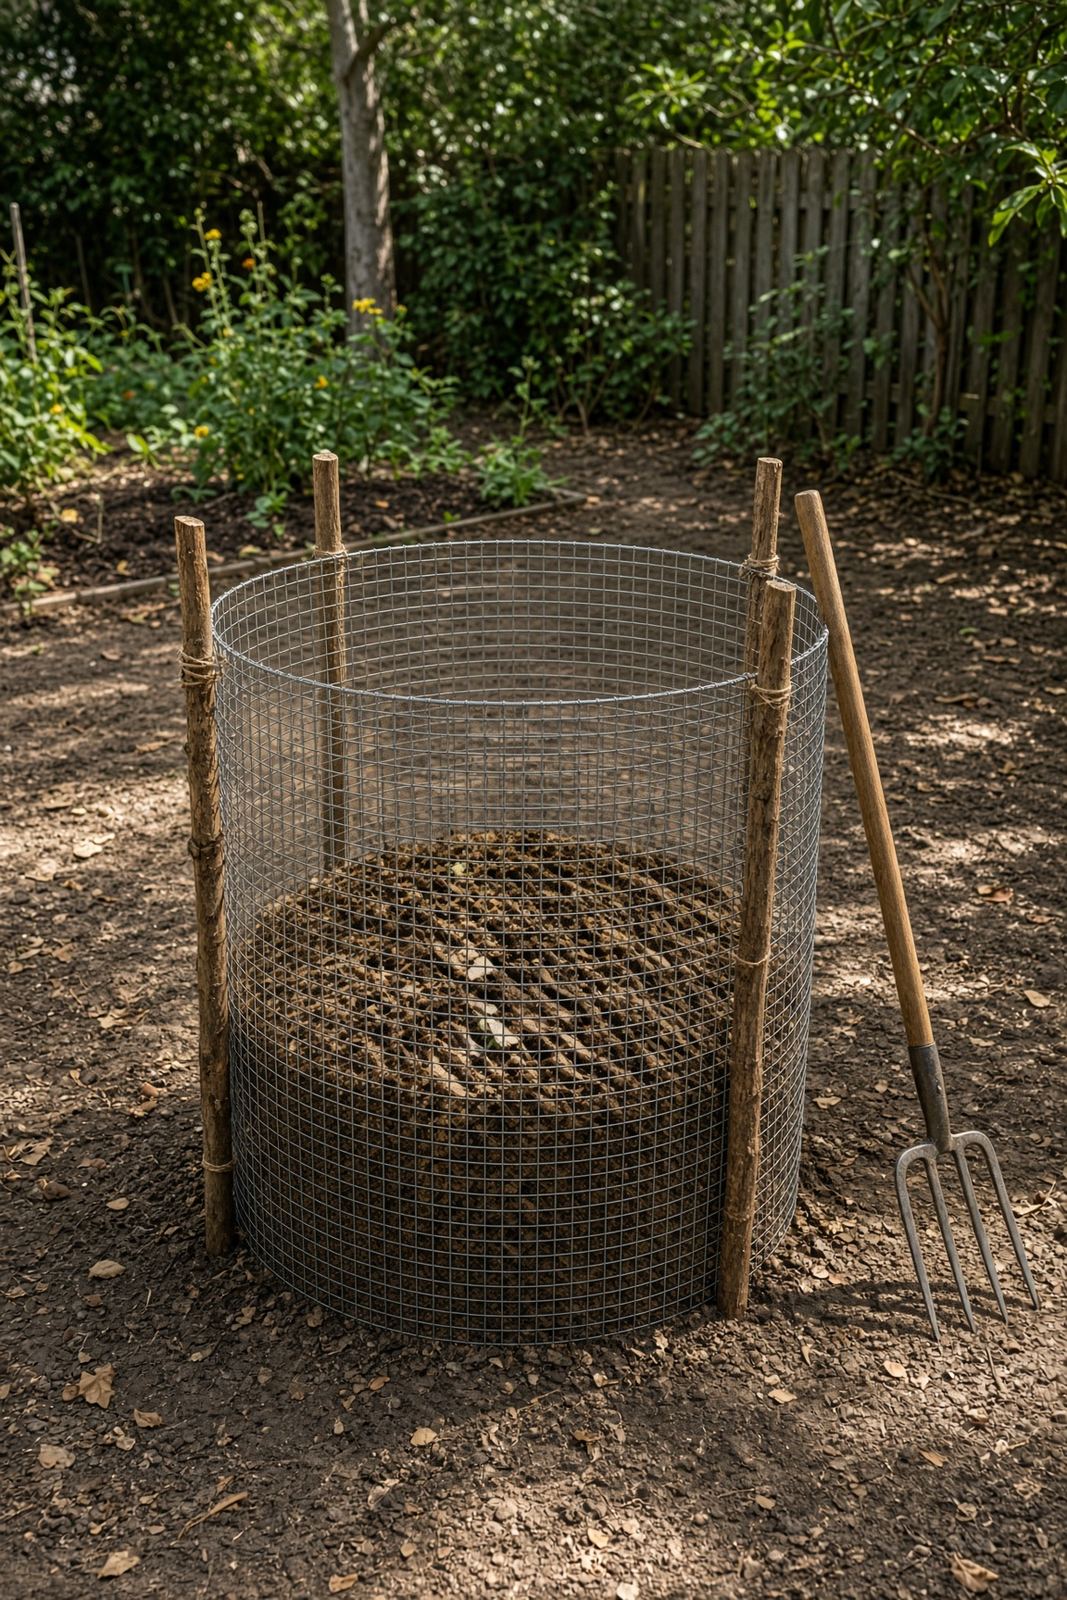
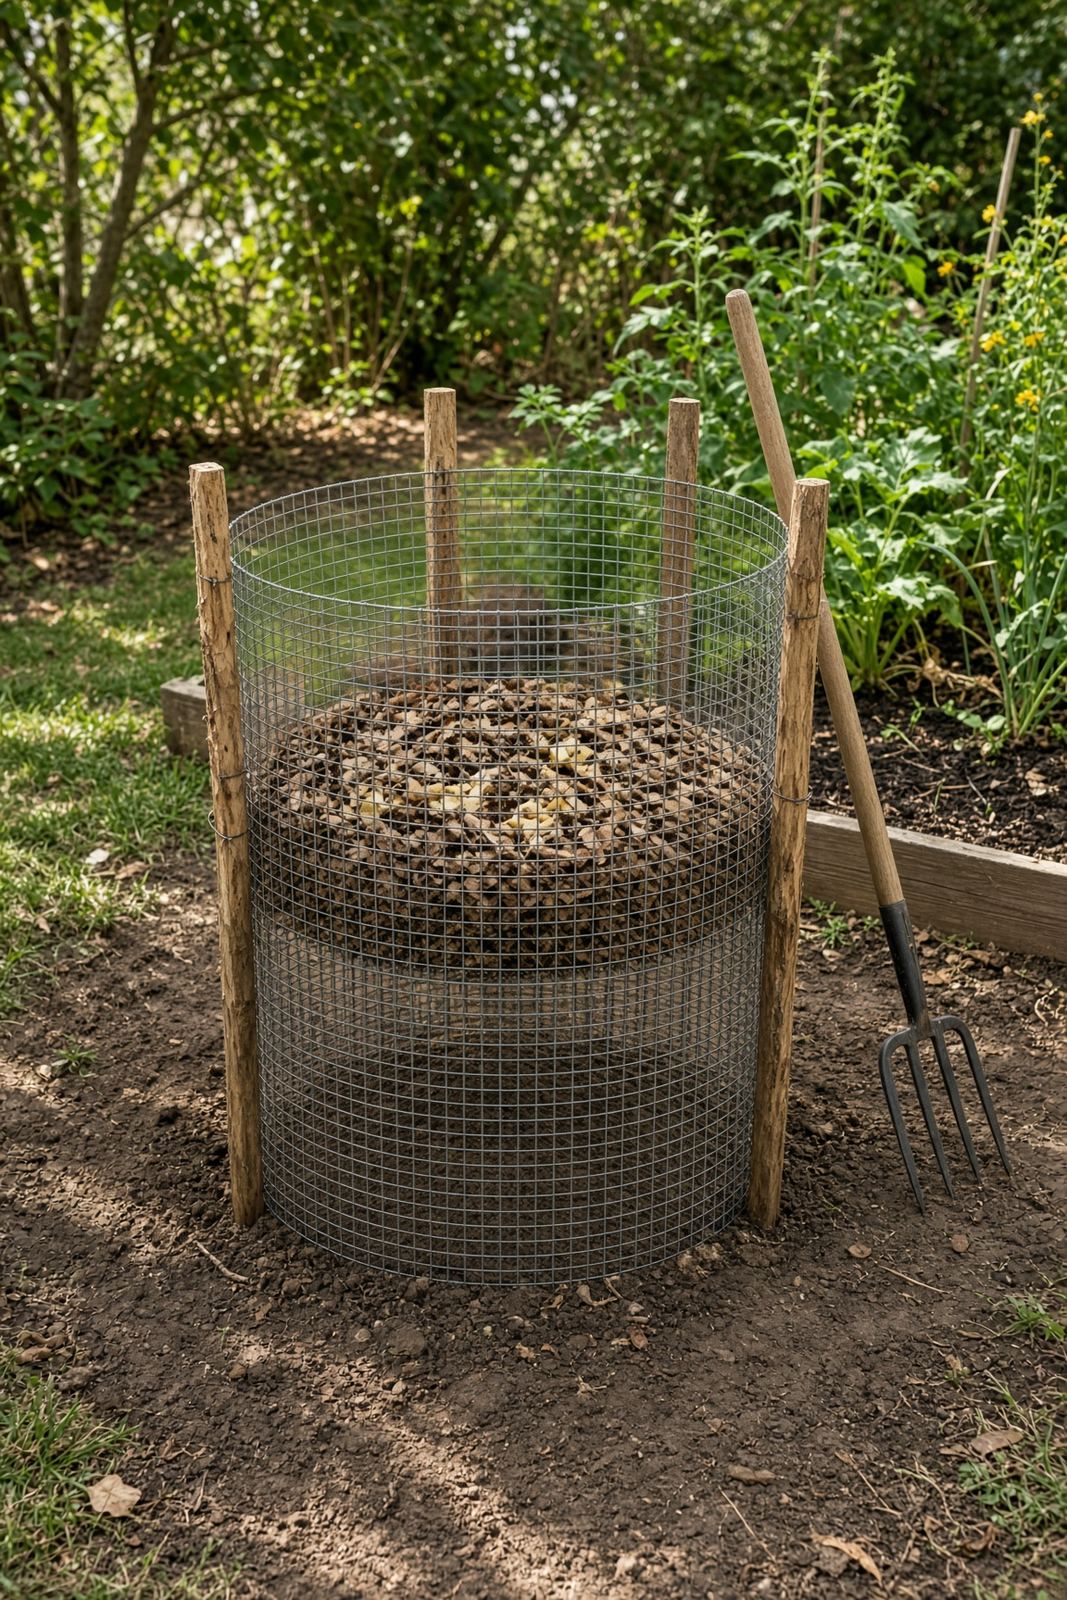
The simplest compost bin: a cylinder of wire mesh that lets air in, keeps piles tidy, and turns easily by lifting the cage off the pile.
Estimated time
30 – 45 minutes
Lifespan
10+ years
Soil needed
None — produces compost
Weight empty
8–12 lbs
Weight full
400–600 lbs when full and moist — you can't drag it; lift the empty cage off instead
Best for
Backyard composting of kitchen scraps, leaves, grass clippings, garden waste
Placement
Partial sun speeds decomposition. Keep within easy reach of the kitchen and a hose. Good drainage is essential. Leave a gap around all sides if it's near a wood fence so air can flow.
Parts to Buy
| Part | Quantity | What You Use Them For |
|---|---|---|
| 1/2-inch or 1-inch hardware cloth, 4 ft × 12 ft minimum | 1 | Best for kitchen scraps — small holes keep scraps in and rodents out |
| 2×4-inch welded wire fencing, 4 ft × 12 ft minimum | 1 | Cheaper, but only for yard waste — scraps and rodents can pass through |
| Heavy-duty zip ties or fence wire | 6–8 | Join the cut ends into a circle |
| 3–4 ft wooden stakes or T-posts | 3–4 | Hold the cylinder upright |
| Work gloves | 1 pair | Sharp mesh ends cut hands |
- ·Optional: bungee cords or tarp to cover the top
- ·Optional: 4×4 ft scrap plywood base if the bin sits on hardscape
Steps
- 1Choose your mesh. For kitchen scraps, use 1/2-inch or 1-inch hardware cloth. For leaves and yard trimmings only, 2×4-inch welded fencing is cheaper.
- 2Wear work gloves. Cut mesh ends are sharp and will slice bare hands.
- 3Cut a 12 ft length of 4 ft wide mesh. Stand it on edge to form a cylinder about 3.5 ft across and 4 ft tall.
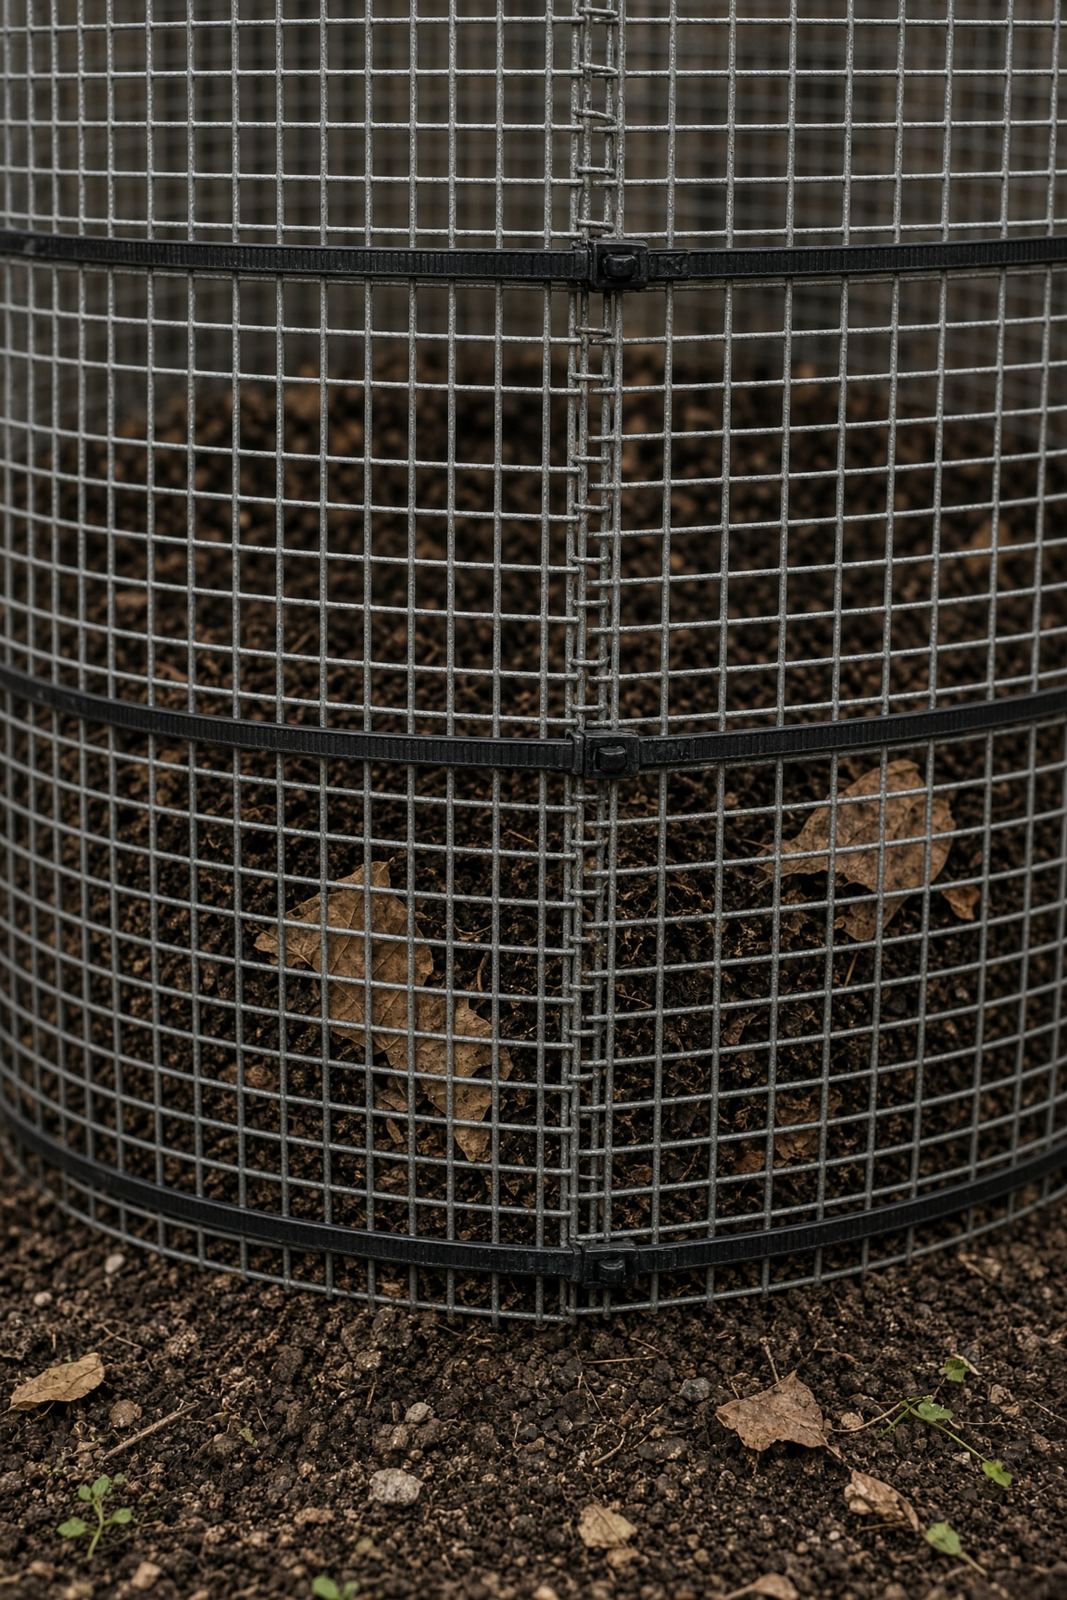
- 4Overlap the ends by 6 inches.
- 5Secure the overlap with zip ties or fence wire every 8 inches.
- 6Drive stakes around the outside, one every 3 ft, and tie the cylinder to them.
- 7Set the bin on bare soil or over a few inches of coarse twigs for drainage.
- 8Start layering browns and greens: browns are leaves, shredded paper, and cardboard; greens are kitchen scraps and grass clippings. Aim for roughly 2–3 parts browns to 1 part greens.
- 9Water each layer as you build it.
- 10Do not add meat, dairy, grease, pet waste, glossy mail, or diseased plants.
- 11To turn, unclip or cut the overlap, lift the empty cage off, set it beside the pile, and fork the pile back inside. This is faster than digging inside the cylinder.
- 12Finished compost is dark, crumbly, and smells earthy — usually ready in 2–4 months.
Tools needed
- ·Aviator snips or fence cutters
- ·Pliers
- ·Rubber mallet or hammer for stakes
- ·Tape measure
Common mistakes to avoid
- ·Using 2×4-inch welded fence for kitchen scraps — scraps and small rodents walk through
- ·No airflow — solid sides cause anaerobic slime
- ·Adding only greens or only browns
- ·Putting it directly against a fence or wall with no air gap
- ·Skipping gloves when cutting mesh — the cut ends are sharp
- ·Adding meat, dairy, grease, pet waste, glossy mail, or diseased plants
Maintenance tips
Turn the pile every 1–2 weeks by lifting the cage off, setting it beside the pile, and forking the pile back in. Keep it as moist as a wrung-out sponge. Cover with a tarp in heavy rain.
Community builds
See how other gardeners built their diy wire mesh compost bin — and share photos of yours.
Sign in to view photos other gardeners have shared.
Sign in to share photos of your build.