Simple Cold Frame
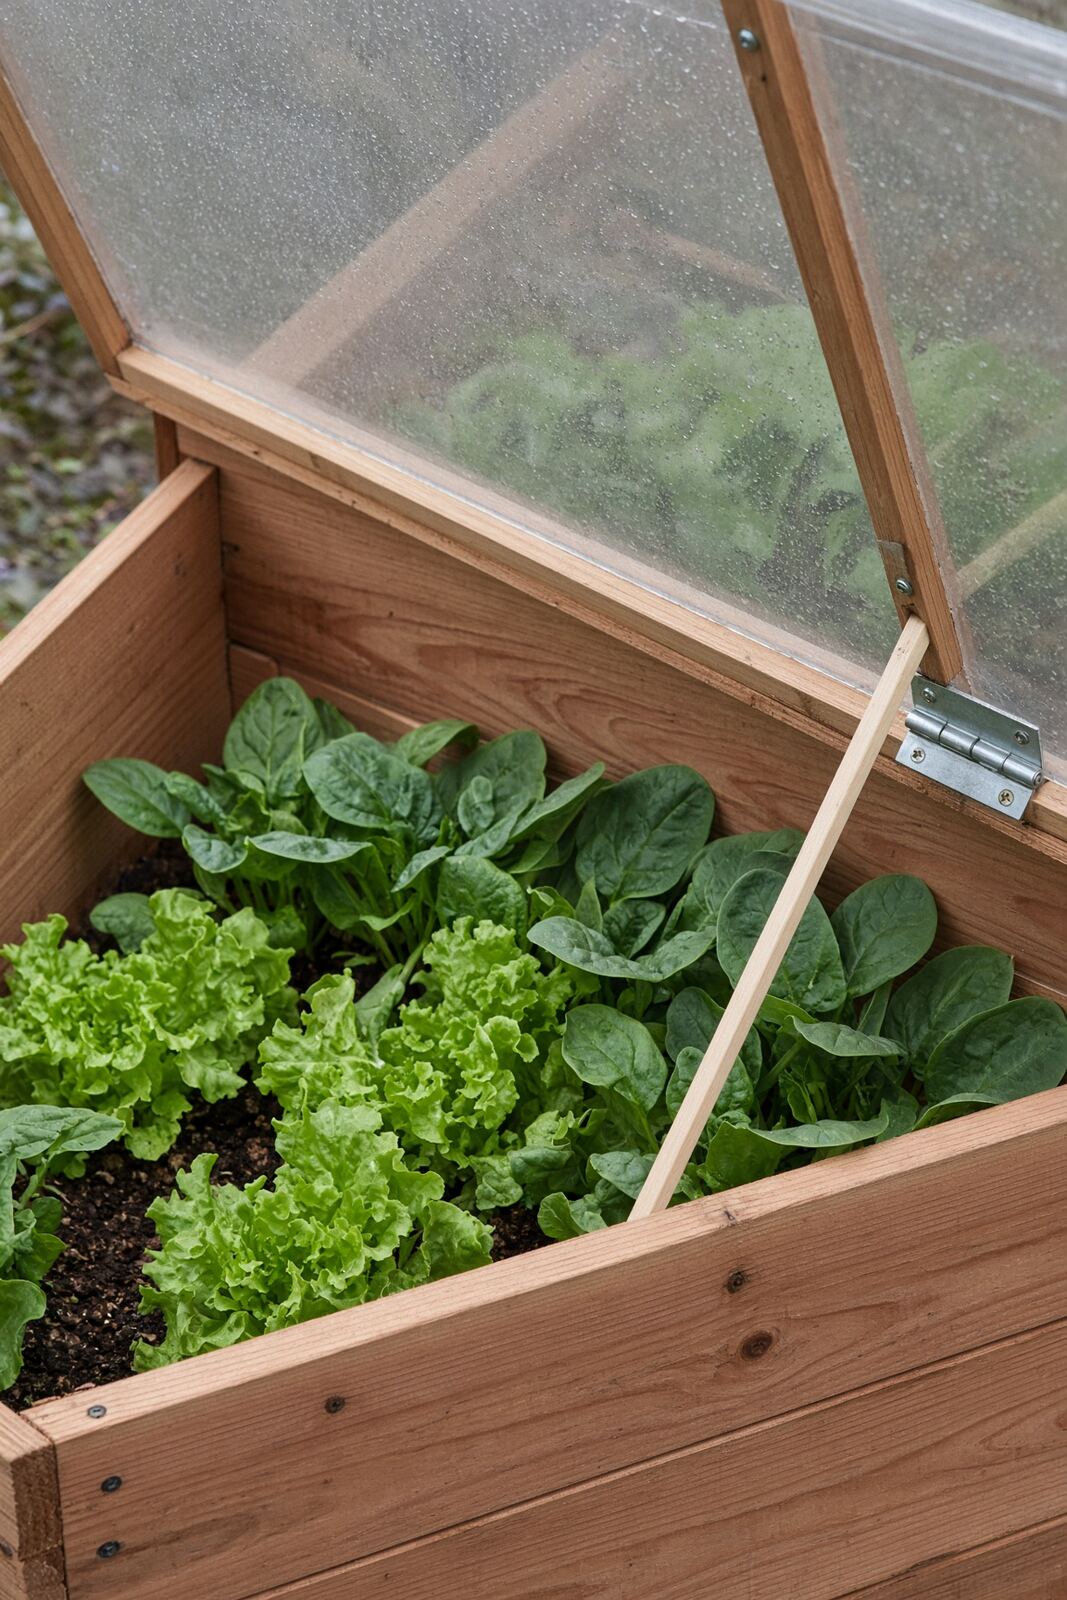
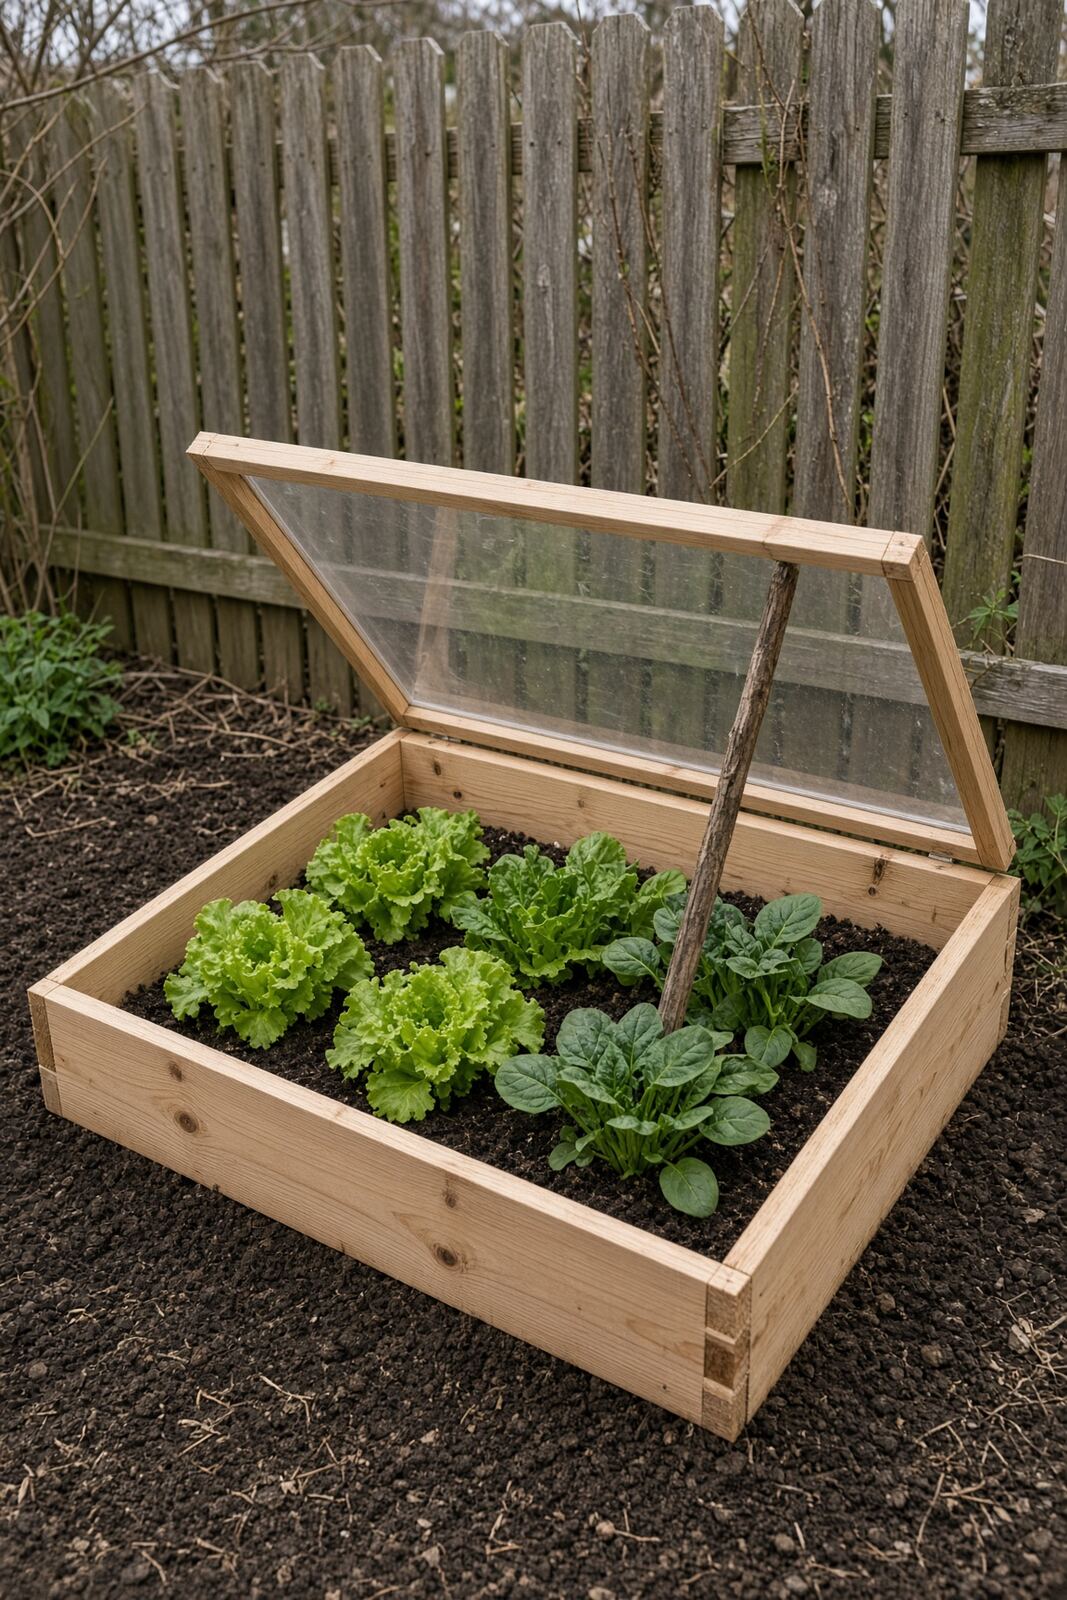
A bottomless box with a sloped glass or polycarbonate lid that captures solar heat and protects tender plants from frost.
Estimated time
1.5 – 2 hours
Lifespan
5–8 years
Soil needed
Bottomless — sits on existing bed soil; no bagged fill needed
Weight empty
30–50 lbs
Weight full
150–250 lbs with plants, soil, and lid
Best for
Overwintering greens, hardening off seedlings, starting cool-season crops early
Placement
Face the sloped lid south for maximum sun. Nestle against a wall or hedge for wind protection. Prop the lid open on sunny days.
Boards to Buy
| Boards to Buy | Quantity | What You Use Them For |
|---|---|---|
| 1×12 cedar or rot-resistant board, 8 ft | 1 | Back wall (48 in × ~12 in) |
| 1×8 cedar or rot-resistant board, 8 ft | 1 | Front wall (48 in × ~8 in) |
| 1×12 cedar or rot-resistant board, 4 ft | 1 | Two side walls, ripped to slope 12 in → 8 in |
| 1×2 cedar strips | 2 | Lid frame |
| Polycarbonate sheet or old window, 4 ft × 2 ft | 1 | Lid glazing |
| Exterior hinges | 2 | Attach lid to box |
| 2.5-inch exterior screws | 1 lb box | Assembly |
- ·Exterior wood sealer or paint (outside only)
- ·Optional: automatic vent opener
- ·Optional: stick or prop for manual venting
Steps
- 1Cut the back wall 48 inches long from the 1×12 board.
- 2Cut the front wall 48 inches long from the 1×8 board.
- 3Cut two side walls 24 inches deep from the 1×12 board, then rip each so it slopes from 12 inches tall in back to 8 inches tall in front.
- 4Screw the front, back, and two sides together to form a sloped rectangle.
- 5Build a matching 4 ft × 2 ft lid frame from 1×2 strips.
- 6Attach the polycarbonate sheet or old window to the lid frame with screws and washers.
- 7Hinge the lid along the back wall.
- 8Set the bottomless box on prepared soil or over a raised bed.
- 9Prop the lid open 2–6 inches on sunny days, or install an automatic vent opener.
- 10Plant cold-hardy greens in late summer for winter harvest, or use it to harden off seedlings in spring.
Tools needed
- ·Circular saw or miter saw
- ·Table saw or circular saw with rip guide
- ·Cordless drill / driver
- ·Tape measure
- ·Speed square
- ·Safety glasses
Common mistakes to avoid
- ·Building a flat lid — rain pools and it overheats faster
- ·No venting — a closed cold frame can hit 80–90°F inside on a sunny winter day
- ·Using an old window with cracked glass or in a windy spot where shatter is a risk
- ·Placing it in deep shade or where water pools
- ·Filling the box with bagged soil instead of setting it on living ground
- ·Sealing or painting the inside of the box — plants need food-safe, untreated wood
Maintenance tips
Prop the lid 2–6 inches on sunny days, or install an automatic vent opener. Paint or seal only the outside wood. Lift or support the lid before heavy snow if it is glass; polycarbonate can stay put. Empty and scrub the box at season's end.
Community builds
See how other gardeners built their simple cold frame — and share photos of yours.
Sign in to view photos other gardeners have shared.
Sign in to share photos of your build.